Condition your dog’s paw pads gradually over eight weeks to build callus thickness and resilience for rough terrain. Start with brief 5–10 minute walks on smooth, cool surfaces, then add packed sand and fine gravel by weeks 3–6. Finish with longer rocky hikes. Use the 7-second heat test, inspect pads daily, and apply lick-safe balm. Know the vet-stop signs too. The right schedule and safety steps make all the difference.
TLDR Key Takeaways
- Build pad toughness gradually over 8 weeks, progressing from soft surfaces to rough terrain to avoid injury and support resilience.
- Weeks 1–2: keep walks brief (5–10 minutes) on smooth, cool sidewalks, using the 7-second palm test before each outing.
- Weeks 3–6: introduce mild abrasion like packed sand then fine gravel, changing one variable at a time with daily pad checks.
- Weeks 7–8: tackle longer 2–4+ hour hikes on rocky, mixed terrain, allowing 24–48 hours recovery between sessions.
- Maintain paws by rinsing off salt and chemicals, drying between toes, and massaging lick-safe balm into each pad.
Why Paw Conditioning Matters for Rough Terrain
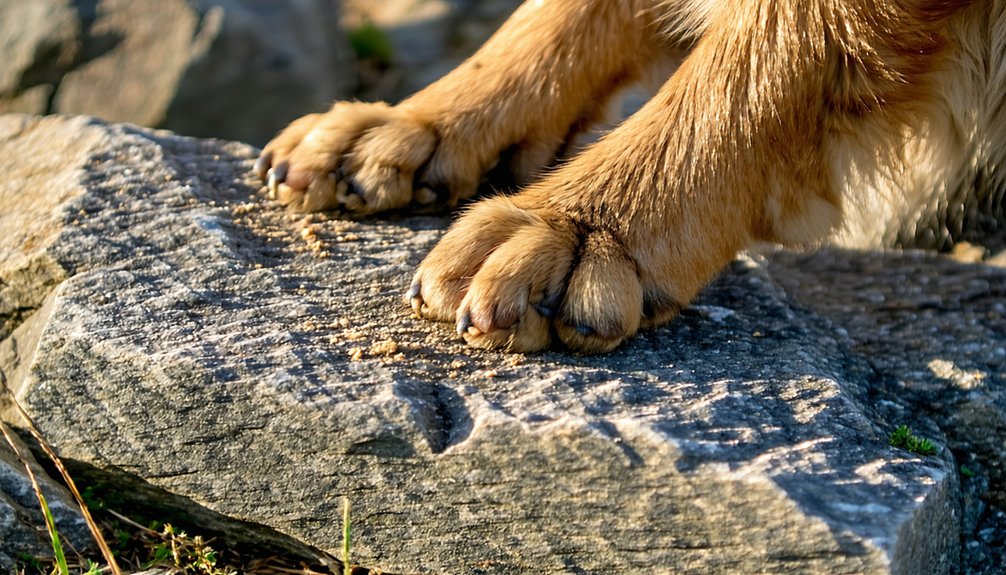
Your dog’s paw pads are the first line of defense against rough terrain, absorbing the impact and shear forces from rocks, roots, gravel, and uneven ground.
When you condition these pads, you’re building the thickness and resiliency that tolerate sharp substrates and repetitive friction, lowering the incidence of tears, worn spots, and blister-like lesions.
Trauma prevention starts here: tough, well-maintained pads minimize foreign-body penetration from thorns, glass, and grass awns that cause lameness and infection.
Proper pad hydration, maintained through balms and waxes, keeps pads pliable and resistant to cracking.
Together, these efforts reduce cuts, burns, and abrasions—meaning fewer activity interruptions and vet visits.
You and your dog can confidently join fellow hikers, runners, and hunters on challenging ground.
How Paw Pads Toughen With Gradual Exposure
Although your dog’s paw pads might look tough already, they don’t start out that way—they toughen through repeated contact with varied ground over time.
Pad callus formation happens slowly, as each walk creates mechanical stress that the outer tissue adapts to.
Following stress adaptation principles, you build resilience by progressing from softer to harder surfaces, never rushing the process.
Here’s how the progression works:
- Start on grass and soft dirt with brief walks.
- Add asphalt and concrete as pads strengthen.
- Introduce gravel and rocky trails later in the sequence.
- Increase frequency before distance or difficulty.
When you follow this staged approach, you’re giving your dog’s pads time to develop genuine toughness.
Overloading an unconditioned dog only invites injury instead of building resilience.
Start Slow on Grass and Soft Dirt
Soft, natural surfaces like grass and loose soil are always your best starting point, and for good reason. These yielding surfaces reduce impact forces on your dog’s pads, offering higher friction with lower abrasion. That means safer practice of gait and turning without the shearing, tears, or blisters that gravel and pavement cause.
Surface Safety matters here: check the ground manually for thorns, foxtails, glass, and sharp rocks, and avoid chemically treated lawns. Choose cool, shaded grass or slightly moist, non-muddy soil for better cushioning. Keep early sessions short, walk at a controlled pace, and rest between outings so pads recover.
Through Gradual Progression, you’ll move from lush grass to mixed grass and dirt, building proprioception and tolerance before tackling rougher trails together.
Weeks 1–2: Brief Walks on Easy Surfaces
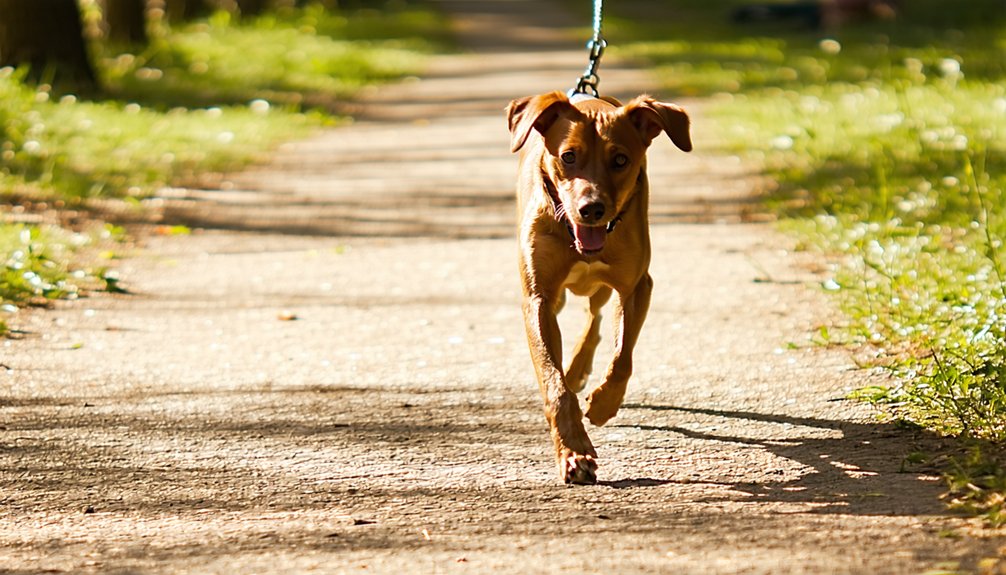
The first two weeks set the foundation, so keep walks brief: 5–10 minutes on smooth, cool sidewalks, once or twice daily.
You’re joining a community of owners who put paw health first, and that starts with gatekeeping heat safety. Schedule sessions during the coolest parts of the day, and rely on sidewalk surface testing—the 7-second palm test—before every walk:
- Press your palm flat for 7 seconds; if it’s too hot for you, it’s too hot for unconditioned pads.
- Avoid asphalt and dark concrete, which retain more heat.
- Skip wet pavement, which softens pads and risks shearing.
- Steer clear of de-icer and chemical residues.
Allow 24 hours between longer sessions, favoring frequent short outings over single long walks.
Weeks 3–4: Add Packed Sand and Fine Gravel
With your dog’s pads now used to smooth surfaces, you’re ready to introduce mild abrasion. Start with packed sand, which adds gentle instability and texture before you advance to fine gravel’s sharper point pressure. Change one variable at a time, and keep these first outings short—just a couple of brief hikes weekly to allow soreness recovery between exposures. Distance isn’t the goal here; repeated, moderate contact builds tolerance best.
Check paws daily for redness, cracking, or limping, and back off if irritation appears. Clean and dry the pads afterward, then massage in a dog-safe balm.
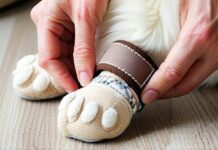
If you’re using booties, proper boot fitting prevents rubbing and keeps protection secure. Trim nails and tidy toe fur so grit can’t collect and worsen abrasion.
Weeks 5–6: Step Up to Small Gravel and Trails
Now that your dog’s pads have handled packed sand and fine gravel, you’re ready to step up the challenge. Begin on small, rounded or compact pea gravel adjacent to smoother paths, keeping sessions to 5–10 minutes.
Choose rounded over sharp stones to build abrasion tolerance while reducing cuts. Then proceed to beginner-friendly dirt trails with scattered gravel patches, introducing short 20–30 minute out-and-back hikes.
Follow these guidelines to protect your dog’s progress:
- Schedule 2–3 gravel sessions weekly, separated by rest or softer-surface days.
- Prioritize heat management with early morning or evening walks and the 7‑second hand test.
- Apply dog-safe balm to support paw moisture without blocking toughening.
- Advance difficulty only when no redness, cracks, or limping appear.
Weeks 7–8: Longer Hikes on Tougher Terrain
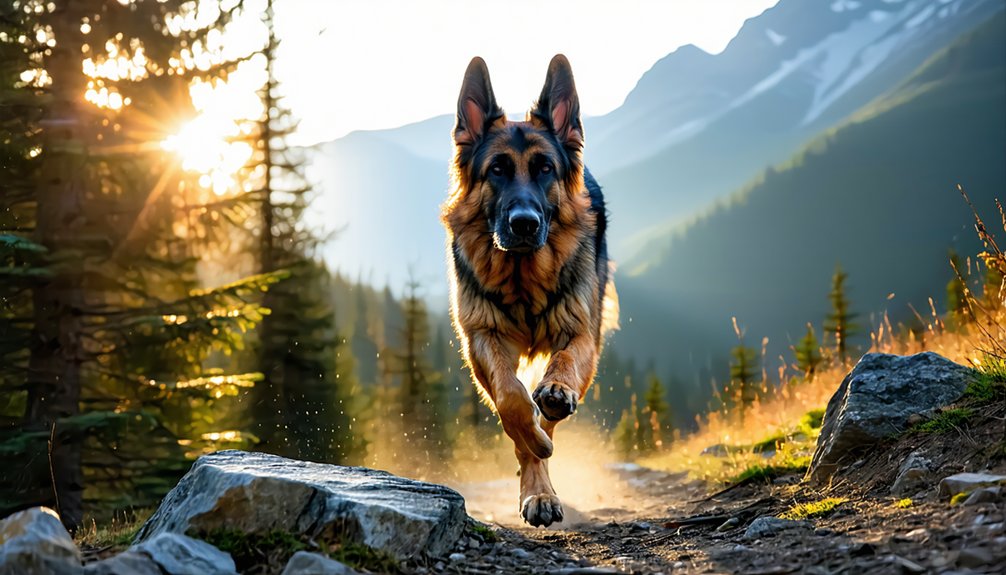
Because your dog’s pads have built real abrasion tolerance over the past six weeks, you’re ready to finish conditioning on tougher terrain. Now you’ll target hikes of 2–4+ hours and 6+ miles on rocky, rooty, mixed surfaces, adding sustained elevation to harden pads through this boot free progression.
Schedule 2–3 longer hikes weekly with 24–48 hours between them, letting pad micro tears heal and keratin thicken.
Run a trail inspection every 30–60 minutes, checking pad edges and between toes for grit, cracks, or glossy over-wear.
Watch gait changes as your cue to stop.
Practice surface temperature testing with the back of your hand, avoiding hot rock.
Steer clear of scree, talus, and sharp debris.
You’re joining seasoned handlers who condition smart, not fast.
Do Dog Booties or Paw Balm Work Better?
Which works better depends entirely on what you’re protecting against, and the honest answer is that booties and balm solve different problems. If you’ve followed this program, you already know your dog’s pads are tougher now—but they still need the right tool for each hazard.
- Booties thermal shielding: the only proven defense on scorching pavement or packed ice.
- Chemical resistance: booties block de-icing salts, fertilizers, sharp gravel, and glass.
- Moisture barrier: balm repairs cracked pads with beeswax and shea butter, applied nightly.
- Winter protection: pair booties on the harshest surfaces with regular balm conditioning.
Lab testing shows balm cuts heat transfer just 4–7%, so don’t rely on it alone in extremes.
How to Inspect Paws During and After Hikes
Conditioned pads still get injured, so you can’t skip inspections just because your dog’s feet are tougher than they were eight weeks ago. During hikes, glance at each paw at every break, checking for cuts, lodged stones, ice balls, redness, or shiny burn spots. Watch your dog’s gait for subtle limping, shortened stride, or weight-shifting at rest. Use water and viewpoint stops as scheduled checkpoints.
After hikes, inspect in good light using a consistent order: front left, front right, rear left, rear right. Flex joints, spread toes, palpate for heat or swelling, and compare paws side by side. Remove debris with tweezers. Add a training checklist to your routine, and log findings for paw hotspot mapping—tracking recurring cracks helps you catch problems before they sideline you both.
Clean Paws and Reapply Balm Each Day
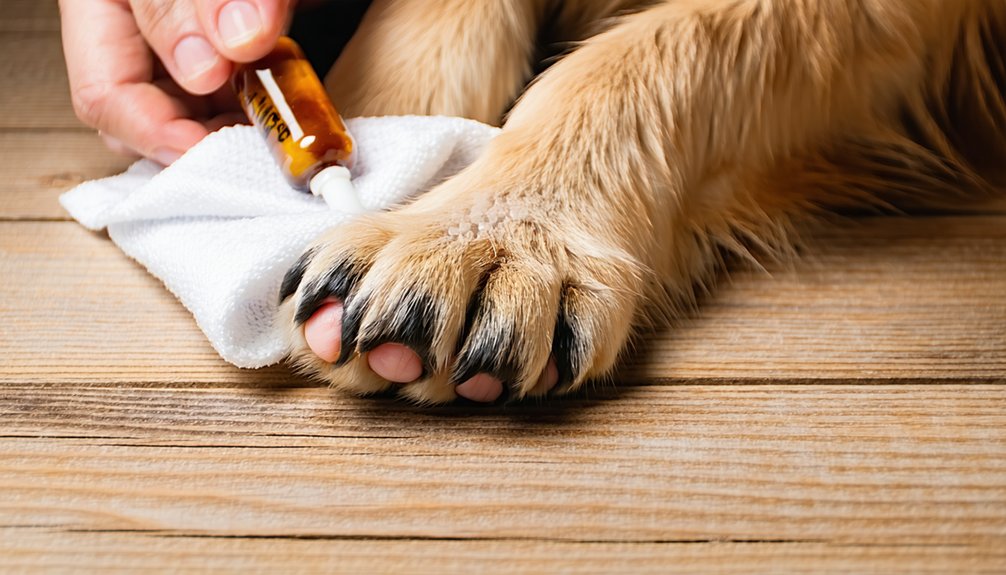
Always clean a paw before you apply balm to it, since dirt, salt, and chemicals trapped under a fresh coat can irritate the pad and breed bacteria. Wipe the pads and between the toes with a warm damp cloth or pet-safe wipe. When paws are muddy, use warm water and a little pet-safe shampoo, then dry thoroughly—lingering moisture invites bacterial growth.
For consistent winter paw care, follow these steps:
- Rinse away salt, debris, and chemicals after each hike.
- Pat paws dry, focusing between the toes.
- Massage a pea-sized amount of dog-safe balm into each pad.
- Let it absorb a few minutes before walking.
For paw balm safety, choose lick-safe products and distract your dog while the balm sets.
Surface Hazards That Burn or Crack Pads
Because the ground your dog walks on can do real damage, you’ve got to know what threats it hides.
Hot asphalt hits 120–140°F when air’s just 85–90°F, burning pads within minutes.
Use the 7-second rule: if you can’t hold your hand on the surface, it’s too hot.
In winter, ice and packed snow dry and crack pads, while De icer Avoidance matters because road salt and chemicals irritate and fissure tissue.
Rough terrain—gravel, scree, broken concrete—abrades pads and causes painful blowouts.
Hidden glass and thorns puncture and tear.
Watch Fertilizer Contact, too, since lawn chemicals, pesticides, and herbicides chemically burn pads.
We’re all working to protect our dogs, so spot these hazards early and you’ll keep your companion walking comfortably alongside you.
When to Stop and Call Your Vet
- Pad avulsion guidance: torn pads, large skin flaps, or exposed fat, tendon, or bone need sutures, not bandages.
- Infection signs: increasing redness, warmth, swelling, pus, foul odor, or fever paired with a pad injury.
- Lameness flags: severe limping, refusal to bear weight, knuckling, or sudden worsening during your 8-week program.
- Uncontrolled bleeding: heavy bleeding that won’t slow after 10–15 minutes of firm pressure.
When you spot these, stop and call your vet immediately.
Frequently Asked Questions
Does Breed or Paw Size Affect How Quickly Pads Toughen?
Yes, they do. Working breeds and dogs with compact “cat feet” develop pad thickness and traction grip faster than toy or indoor companions. You’ll find larger pads toughen gradually, so progress your dog’s training patiently together.
Can Puppies Follow the Same 8-Week Conditioning Plan?
No, puppies can’t follow this plan. Their growth plates and thin pads need protection, so you’ll limit puppy activity to brief, low-impact sessions. We recommend gradual changes and vet clearance—keeping your growing companion safe together.
How Does a Dog’s Age Impact Paw Conditioning?
Your dog’s age shapes everything. Puppies’ soft pads and seniors’ hyperkeratotic, fragile skin need gentler approaches, while young adults condition fastest. You’ll adjust for health, paw sensitivity, and seasonal weather adaptation to keep your companion thriving.
Are Certain Dog Breeds Naturally Better Suited for Rough Terrain?
Yes, mountain and working breeds like Bernese Mountain Dogs and Huskies show natural breed adaptability for rugged ground. But remember, terrain experience matters most—you’ll find any dog conditions well when you commit to consistent training together.
How Long Does Paw Conditioning Last Without Regular Maintenance?
Conditioning won’t last long without upkeep—it fades once exposure and wear resume. You’ll keep your pup thriving with seasonal routine planning and boot durability checks, reapplying as terrain, activity, and visible pad changes demand together.
Conclusion
You’ve now got the blueprint to build tougher, trail-ready paws over eight weeks. Stick to the gradual progression, inspect those pads daily, and never rush the timeline—your dog’s comfort depends on it. Watch for burns, cracks, or limping, and don’t hesitate to call your vet when something’s wrong. Consistency wins here. Keep conditioning steady, reward progress, and you’ll have a confident hiking partner whose paws can handle whatever rough terrain you tackle together.
References
- https://www.zoetispetcare.com/blog/article/caring-dog-paw-pads
- https://k9sportsack.com/blogs/news/how-best-to-protect-dog-paws-from-rough-terrain
- https://wagwalking.com/grooming/condition-dogs-paw-pads
- https://dogpacking.com/dog-paw-anatomy-and-footpad-care-for-outdoor-adventures/
- https://www.facebook.com/groups/9003421258/posts/10162444952586259/
- https://www.youtube.com/watch?v=24WJkY5Kkf0
- https://www.youtube.com/watch?v=1vLSn_iP9PM
- https://youdidwhatwithyourweiner.com/how-to-keep-your-dogs-paw-pads-from-tearing-or-getting-cut/
- https://k9conquest.com/dog-paw-care-on-trails-tips-to-prevent-injury/
- https://www.reptileknowledge.com/reptile-pedia/should-i-moisturize-my-dogs-paws