Start with a thorough vet exam to confirm your dog’s cardiovascular, musculoskeletal, and orthopedic readiness. Build daily stamina first with short flat walks, then increase mileage by just 10% weekly, never more. Add hills and rough terrain gradually once flat mileage is steady. Protect paws, condition pads, and practice back-to-back hiking days to match thru-hike demands. Keep rest days and nightly recovery routines. The details below show exactly how to do it right.
TLDR Key Takeaways
- Build a daily stamina foundation first with 4–5 weekly sessions, starting with 10–30 minute flat walks before adding trail distance.
- Increase weekly mileage or duration by only about 10% per week, avoiding sudden jumps that cause overuse injuries.
- Add hills after steady flat mileage, starting with short 5–10% grades and alternating with flat recovery segments.
- Maintain recovery structure with at least one full rest day weekly and recovery weeks every 3–5 weeks dropping mileage 20–30%.
- Practice back-to-back hiking days, gradually reducing recovery time, to match the daily effort of a multi-day thru-hike.
Start With a Vet Check Before Trail Training
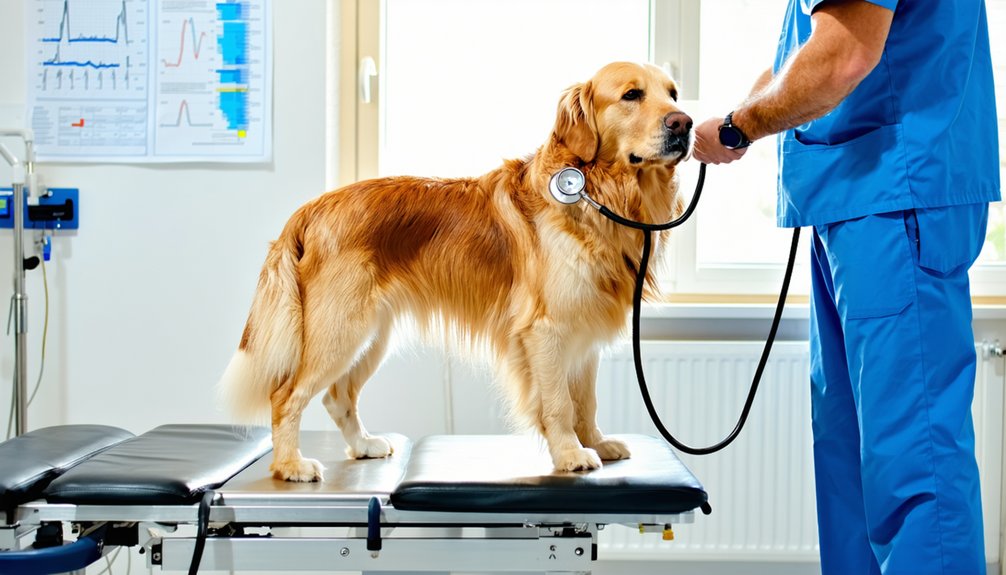
Before you log a single training mile, schedule an thorough vet exam.
You and your dog are joining a community of trail-ready teams, and that starts with a full physical evaluation cardiovascular, respiratory, musculoskeletal, and neurologic status.
Ask for baseline diagnostics—CBC, chemistry panel, and urinalysis—to rule out kidney, liver, anemia, or infection issues.
Insist on orthopedic screening to catch lameness, joint instability, stiffness, or reduced range of motion that pack weight worsens.
Your vet should check body condition score, since obesity or underconditioning raises injury and heat-stress risk.
Cover vaccine planning too, confirming rabies, distemper, parvovirus, and adenovirus are current, plus non-core options like Leptospira and Lyme for backcountry routes.
This evidence-based foundation keeps your hiking partner safe.
Is Your Dog’s Breed and Age Trail-Ready?
Beyond a clean bill of health, your dog’s breed and age set realistic limits on what a thru-hike demands.
Genetic Suitability matters: working, herding, and sporting breeds—Border Collies, pointers, retrievers—bring the aerobic capacity, deep chests, and lean muscle that sustained climbs require. Breed Temperament rounds out the scene; biddable, focused dogs stay safe around wildlife and fellow hikers. Age Readiness is non-negotiable, since open growth plates risk joint damage in young dogs.
- Genetic Suitability: Match breed traits and coat to your trail’s terrain and climate.
- Age Readiness: Wait until 2 years; prime window is 2–7.
- Fitness Baseline: Confirm endurance before adding mileage or pack weight.
Knowing your dog’s limits keeps you both thriving on the trail together.
Build Hiking Stamina With Daily Walks First
Once you’ve confirmed your dog’s breed and age can handle the demands, you’ve got to build the engine that powers a thru-hike.
Start with 4–5 sessions per week, beginning with 10–30 minute walks on flat terrain you both already find comfortable.
This flat consistency lays the foundation, so don’t rush it.
Increase walk time by 5–10 minutes weekly, or add 10–15% mileage, and progress from short neighborhood loops toward 1–2 miles.
Use these early weeks to sharpen leash skill, since steady control matters once trails get challenging.
Maintain a regular schedule, build in rest days for muscle recovery, and watch post-walk behavior for limping or sluggishness.
Track time and distance with an app, and you’ll join countless hikers conditioning trail-ready companions the proven way.
Increase Trail Distance Without Causing Injury
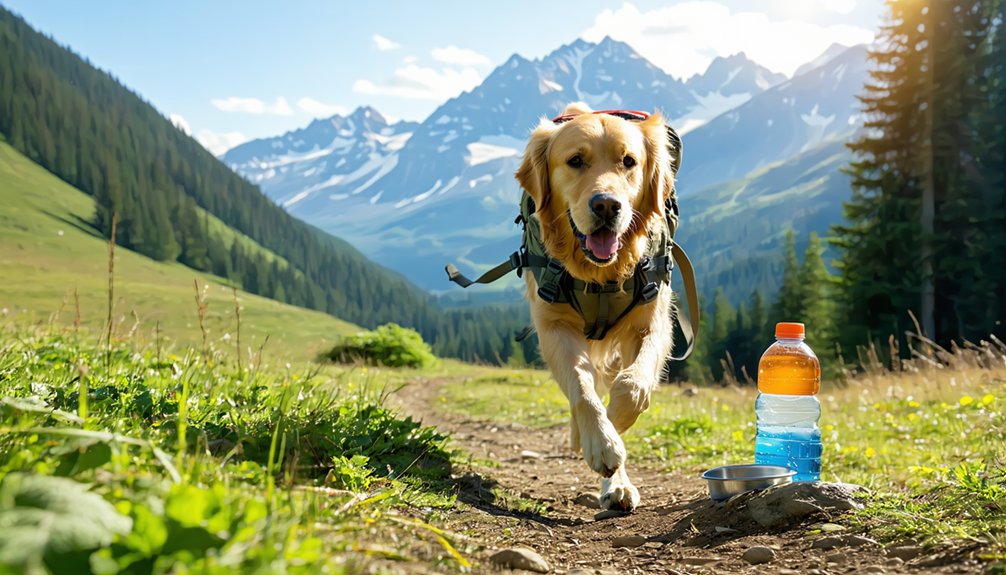
Stretch your dog’s trail distance the smart way: increase weekly mileage or duration by about 10% per week, never more. Sudden jumps—like doubling distance—strongly correlate with overuse injuries, so keep your build-up gradual and your pack disciplined. Use 2-week blocks where workload stays stable, then nudge it upward. Prioritize increasing either distance, speed, or elevation, never all at once.
- Pace consistency: Hold a steady, moderate pace so your dog handles longer outings without spiking total training stress.
- Rest day timing: Schedule at least one full rest day weekly, and insert recovery weeks every 3–5 weeks, dropping mileage 20–30%.
- Surface choice: Favor softer dirt and forest trails over asphalt to protect joints and paws.
You’re building this together—patiently, safely.
Add Hills and Rough Terrain for Real Strength
Now that your dog’s logging steady mileage on flat ground, it’s time to add the kind of resistance that builds real trail strength. Hills recruit more glute, hamstring, and quad muscle than flat terrain, building the climbing power your hiking partner needs. Start with short grades of 5–10%, just a few repetitions per walk, and alternate hill segments with flat recovery to limit overexertion.
Incline pacing matters here—progress only one variable at a time, whether length, steepness, or speed. Plan 2–3 hill sessions weekly, separated by rest days.
Terrain variety builds functional strength too. Walking on roots, rocks, gravel, and side slopes activates stabilizing muscles and sharpens balance.
Introduce low-risk obstacles gradually, increasing complexity without piling on mileage, so your dog stays confident and injury-free.
Train Your Dog to Carry a Trail Pack
Because a well-conditioned dog can carry its own supplies, teaching your hiking partner to wear a trail pack frees you from hauling their food, water, and gear. Start by choosing a balanced saddlebag-style pack sized for your dog’s mileage and load needs, then introduce it gradually using high-value rewards and short, positive sessions.
Proper weight distribution matters: keep the load even on both sides, position it over the shoulders and mid-back, and place heavy items centrally.
- Fit it right: Adjust straps snug but comfortable, checking stride adjustment as your dog moves in all directions.
- Load slowly: Begin empty, then build to 15–20% of body weight.
- Stay safe: Confirm baseline health with your vet before load-bearing work.
You’ve got this together.
Feed Your Hiking Dog for Lasting Energy
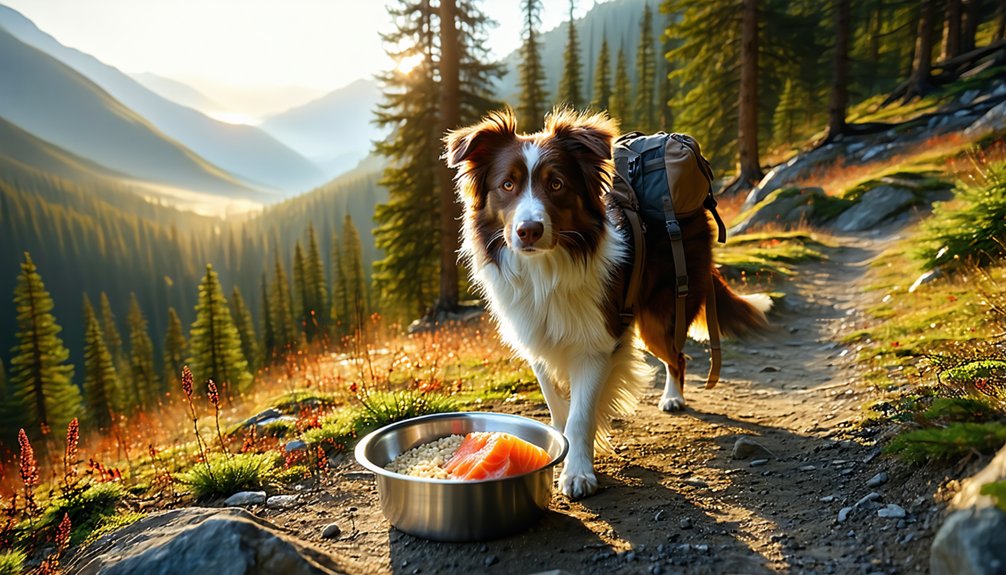
Fuel matters as much as fitness on a multi-day thru-hike. Start by estimating your dog’s resting energy requirement—about 20 kcal per pound—then multiply by an activity factor of 2–5× for demanding trail days.
Expect calorie needs to climb 50–100% above home intake on strenuous terrain.
Choose energy-dense performance diets rendering 500–600 kcal per cup with up to 35% fat, and pack at least one extra day of rations.
To prevent digestive upset, shift to new food over 2–4 weeks before departure and keep the same formula across resupplies.
Feed your main meal in camp after exertion, supplementing with small trail snacks.
Mind hydration timing alongside feeding, and monitor body condition daily—adjust rations if ribs sharpen, energy fades, or stool quality declines.
How Much Water Does Your Dog Really Need?
Although calories keep your dog moving, water keeps them alive—and on a multi-day thru-hike, you can’t afford to guess.
Start your water intake planning with baseline needs: about 1 ounce per pound daily, dropping toward 0.5 for larger dogs and rising to 1.5 for those 20 pounds and under. Then adjust for the trail and weather.
- Activity: Light hiking demands 1.5x baseline, moderate 2x, and strenuous 2.5–3x.
- Heat and humidity impact: Add 25% at 60–75°F, 50% at 75–85°F, and up to 100% above 85°F—plus another 25% in humid air.
- Hydration timing: Offer water 30 minutes before starting, then every 15–20 minutes.
Consider electrolyte options for long, hot days, and pack a collapsible bowl so everyone drinks reliably.
Spot the Warning Signs of Heat Stress
Water planning protects your dog only if you can read when their body starts losing the cooling battle. Start with baseline watch temperature monitoring: anything above 102.5°F signals trouble, and 104°F means you stop.
Watch for panting that turns louder, faster, or labored, plus bright red gums and a bounding pulse.
On trail, your dog tells you too—lagging, refusing cues, seeking shade, or drooling thick, ropey saliva.
As stress climbs, you’ll see wobbling, sticky gums, vomiting, or diarrhea.
Treat collapse, seizures, gray or brick-red gums, and disorientation as emergencies demanding immediate veterinary care.
Heat and humidity above 80°F amplify every risk.
Smart hydration break planning—shade, cool surfaces, and water before symptoms appear—keeps your hiking partner safe alongside you, mile after mile.
Protect Paws on Rocky and Hot Trails
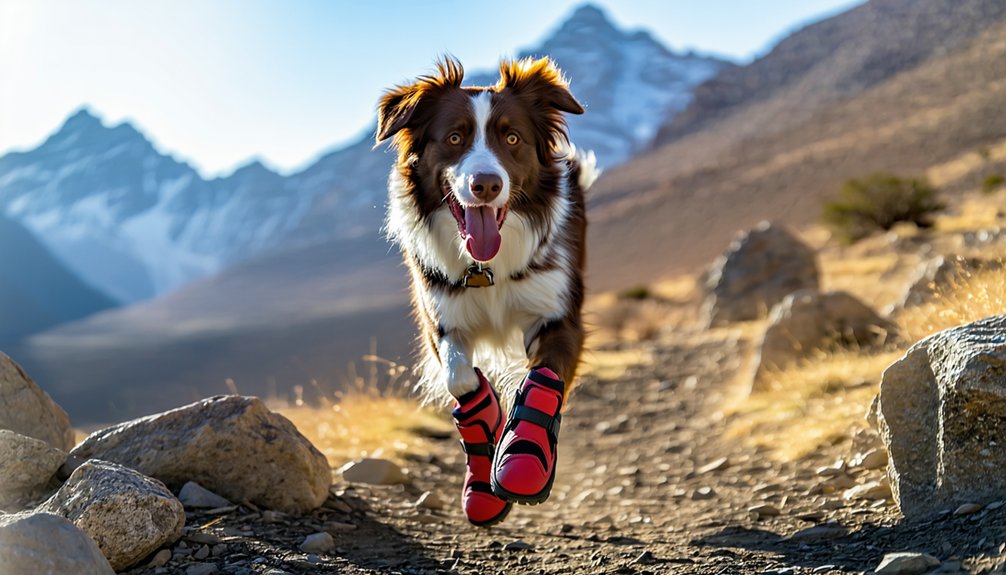
Because your dog’s paws absorb every mile of rock, heat, and friction, protecting them directly determines how far you’ll travel together. Smart hikers favor dirt, grass, mulch, and shaded trails, scheduling main mileage for early morning and late evening to dodge peak-sun pavement. Use the 7-second hand test before committing your dog to any surface, and adjust for seasonal surfaces that turn dangerous fast.
- Boot strategically: Deploy fitted dog boots on jagged rock, talus, and hot sand; omit them on cooler, softer trails.
- Condition gradually: Build pad toughness on rougher surfaces before your trip, increasing distance incrementally.
- Maintain hydration: Support paw pad hydration with balm or wax, reapplying every few hours in harsh conditions.
Trim fur, short nails, rest often.
Practice Back-to-Back Hiking Days First
Since a thru-hike demands repeated effort day after day, your dog needs practice handling that fatigue before you ever hit the trail.
A single long outing won’t prepare your hiking partner the way consecutive conditioning will.
Start with rest days between hikes, then gradually reduce that recovery time until your dog handles back-to-back days comfortably.
This progression builds the fatigue management you both need, teaching your dog to perform while already tired from the previous day.
Use weekend simulation to match the total workload of your planned trip, ramping up to your expected daily average mileage.
Apply readiness scoring throughout: watch for consistent energy, steady pace, and willingness to continue.
When your dog clears that multi-day weekend with confidence, you’re ready to belong on the trail together.
Build a Nightly Camp and Recovery Routine
After a hard day on the trail, what your dog does at camp determines how well they’ll perform tomorrow. Build a consistent recovery routine that your trail partner learns to anticipate—predictability lowers arousal and improves rest quality.
Enforce a mandatory cool-down before any play, then move through these essentials:
- Mobility cooldown: Once your dog’s relaxed, gently massage large muscle groups and lightly stretch limbs to support circulation and reduce stiffness.
- Injury spotting: Run the same nightly check—paws, joints, coat, ears, eyes—catching cuts, ticks, swelling, and cracked pads early.
- Nightly hydration: Offer small, frequent amounts of fresh water, delaying the main meal until breathing normalizes to prevent bloat.
Finish with a settle cue and familiar sleeping system to deepen overnight recovery.
Frequently Asked Questions
How Do I Keep My Dog Calm Around Trail Wildlife?
Keep wildlife distance by spotting animals early, then redirect with calm cues you’ve built through reward training. When trail scent triggers interest, shorten the leash, reward focus, and retreat slowly together—you’ll both stay grounded and confident.
What Should I Do if My Dog Gets Lost?
Mark the last-seen spot immediately and stay put. You’ve already set ID tags and a photo backup, so create a lost-dog plan, practice recall, and use whistle calls. We’ll find your companion together.
Are There Leash Laws I Should Know on Trails?
Yes, you’ll face varying rules—most agencies require 6-foot leashes, banning retractable ones. Always check ranger stations first. Practicing solid trail leash etiquette and Leave no trace rules keeps you welcome among fellow responsible hikers everywhere.
How Can I Tell if My Dog Dislikes Hiking?
Watch your dog’s body language and stress signals—yawning, lip licking, lagging, or sitting down. Monitor trail comfort and pacing cues, like reluctance to leave the car. When you’re tuned in together, you’ll recognize when they’re struggling.
What Vaccinations Are Essential Before Backcountry Trips?
You’ll need core vaccines—rabies, distemper, parvovirus, adenovirus—plus regional ones like leptospirosis and Lyme. Join fellow hikers prioritizing preventive care; schedule trail checkups and parasite preventives with your vet weeks ahead. We’re keeping our pack safe together.
Conclusion
You’ve got the blueprint—now put in the work. Start with that vet check, respect your dog’s breed and age, and build mileage gradually so you’re strengthening, not straining. Watch for heat stress, protect those paws, and practice back-to-back days before committing to the trail. A solid recovery routine keeps your dog going strong. Train smart, stay consistent, and you’ll both reach the trailhead ready to log the miles together.
References
- https://happydogtraining.info/advice/hiking-with-dogs/
- https://thepettrek.com/training/building-your-dogs-endurance-for-long-hikes.html
- https://pettrailessentials.com/blogs/pettrails-blog/from-couch-to-trail-conditioning-your-dog-for-long-distance-hikes
- https://qpaws.com/blog/dog-endurance-training-build-stamina-safely-guide/
- https://www.youtube.com/watch?v=7VW0sN87DhQ
- https://www.greenmountainclub.org/hiking-the-long-trail-with-your-dog/
- https://www.outsideonline.com/health/training-performance/definitive-guide-endurance-training-your-dog/
- https://www.hurtta247.com/single-post/conditioning-your-dog-to-longer-hikes
- https://youdidwhatwithyourweiner.com/our-secret-start-small-and-then-go-big/
- https://www.youtube.com/watch?v=G4jmsj547Rw