Build your travel binder with a standard A4 ring binder and clear top-loading sleeves, so pages stay flat and protected. Pack passport and visa first for fastest border access, then printed e-tickets with PNR codes, lodging proof, and bank statements. Make labeled “COPY” duplicates, and store originals on-body. Add a one-page summary sheet with your identity block and itinerary table. Keep names and ISO 8601 dates consistent. The details below sharpen every section.
TLDR Key Takeaways
- Lead with a one-page summary sheet covering who, where, when, why, and how to route agents quickly and reduce questioning.
- Order core documents for fast access: passport first, visa directly behind, then printed itinerary, lodging proof, and onward/return travel.
- Ensure consistency everywhere using exact legal name spelling (SURNAME, Given Name) and ISO 8601 dates with 24-hour times across all bookings.
- Use labeled, tabbed sections (Passport/ID, Visa, Itinerary, Accommodation, Supporting Documents) in a flat D-ring binder with protective sleeves.
- Include proof of financial means, home ties, health/insurance, and required customs forms (CBP 6059B, I-94, FinCEN 105) as supporting evidence.
Why a Travel Binder Beats Phone Apps
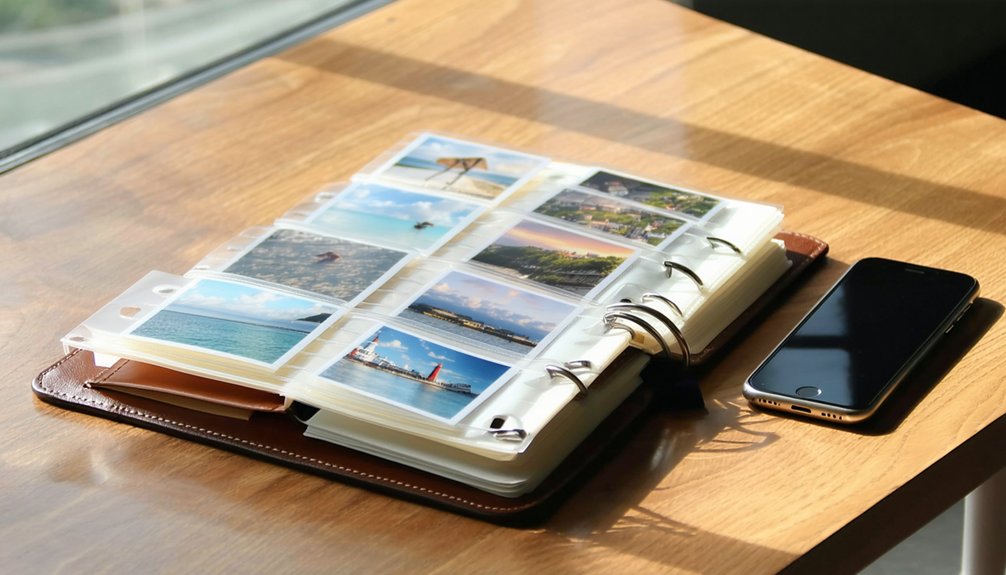
When your battery dies at a border checkpoint, a paper binder keeps working. You don’t need a login, a signal, or a software update to show your documents.
That’s offline readiness you can count on when cellular service drops, your device is lost, or roaming limits kick in.
A binder gives you predictable access. Tabbed sections and ordered pages let you present your itinerary, lodging, and identity documents in the sequence officers expect.
This enables quick verification without scrolling, searching, or switching apps.
This matters most under pressure. Printed pages make multiple records visible at once, so you compare dates and confirmation numbers instantly.
That leads to reduced delays at the checkpoint.
Travelers who plan this way treat the binder as their primary reference—phone as backup.
Pick Your Travel Binder and Sleeves
Because your binder is the hardware that holds everything together, choose it deliberately. Fellow travelers who breeze through inspections rely on smart specs, not luck. A standard A4/letter ring binder fits printed itineraries without folding, while a compact A5 zip folio trims bulk at security. D-ring mechanisms keep pages flat and aligned for quick agent review.
- Waterproof materials: PU leather, coated polyester, or nylon covers shield documents from spills, rain, and tarmac exposure.
- Zipper security: Sturdy zippers around folio-style binders stop papers slipping out during bag checks.
- RFID prevention: Aluminum-lined sleeves block 13.56 MHz scanning of e-passports and contactless cards.
- Sleeve durability: Clear polypropylene top-loading protectors resist tearing and keep pages from sliding out.
Pick deliberately, and you’ll belong among seamless travelers.
Make Copies and Separate Your Originals
With your binder sorted, fill it the right way: make high-quality photocopies of your passport, visas, driver’s license, and other IDs, then keep those copies apart from the originals.
For document clarity tips, make sure every copy is legible and captures all text, stamps, and images—border and consular staff can’t use blurry pages.
Practice fraud prevention labeling by marking each duplicate “COPY” so no one mistakes it for tampering.
Build copy storage separation into your plan: stash one set in main luggage, an encrypted USB in your daypack, a cloud backup, and a set with someone at home.
Keep originals on person security tight—carry passports and primary IDs in your most secure, on-body spot during transit.
You’ll travel confident, organized, and ready.
Pack the IDs Agents Check First
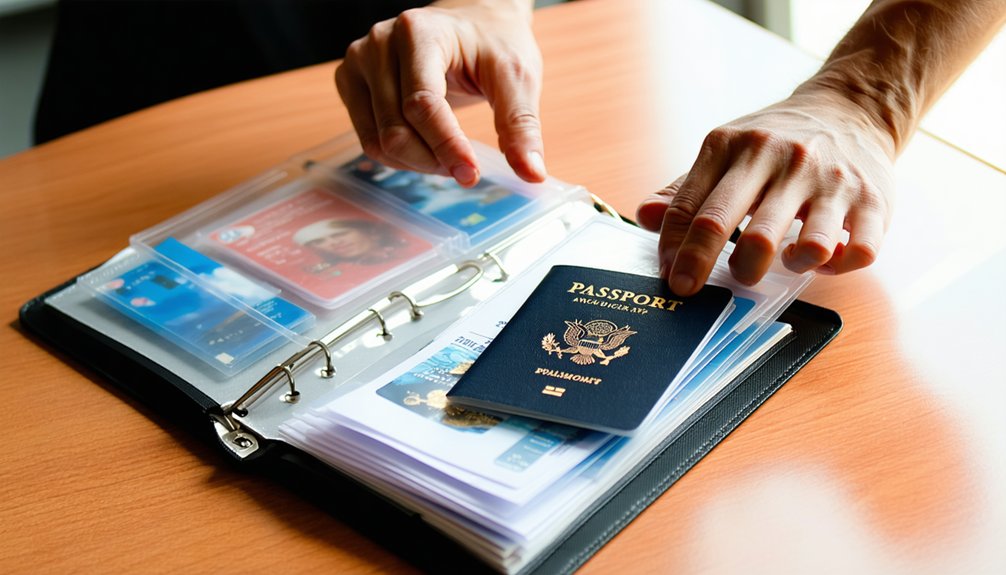
Border officers almost always check your passport first, so it’s the document you’ll want fastest at hand.
Keep it undamaged, readable, and current through your trip, since some destinations require extra validity beyond arrival.
Remember that passport cards work only on specific land border and sea routes, not for universal air travel.
Next, officers reach for your visa, so position it right behind the passport.
- Make sure your visa stamp matches the passport and your stated entry purpose
- Stage residence or status documents, like a Green Card, after the visa
- Group dependent papers with the responsible adult traveler
- Confirm names and document numbers match across every ID
Expect photo matching against your appearance, so present originals that look like you.
Prove Your Itinerary, Transport, and Hotels
Once officers clear your IDs, they’ll want to see where you’re going and how you’ll get there.
Lead with printed e-tickets showing your passport name, flight numbers, dates, and PNR code, plus proof of onward or return travel that confirms you’ll leave before your stay ends.
Show internal transport too—domestic flights, train, ferry, or car-rental confirmations—so each leg makes sense.
Cover every night with confirmed hotel, rental, or host bookings listing your name, address, and check-in/check-out dates.
Cross verification checks go faster when city names and dates match across all documents, so align transport with accommodation.
Build a backup document strategy with offline PDFs and refundable reservations for flexible plans.
Skip “hold” bookings and handwritten notes—they’ll weaken your story instantly.
Show Financial Means and Ties to Home
The money question comes next: officers want proof you can fund your trip and that you’ll head home afterward.
You’ll demonstrate Budget Clarity by packing recent bank statements from the last 3–6 months, showing stable balances and consistent income inflows—not one-time deposits. Plan for roughly $100–$150 per travel day, with $5,000–$10,000 minimum for short U.S. visits.
To prove Home Ties, bring documents anchoring you back home:
- Employment letter stating job title, salary, and approved leave with a return date
- Property deeds or land titles showing significant assets
- Marriage and children’s birth certificates confirming family staying behind
- Mortgage or business loan records evidencing ongoing obligations
Together, these show you belong somewhere, with every reason to return.
Pack Health, Insurance, and Emergency Info
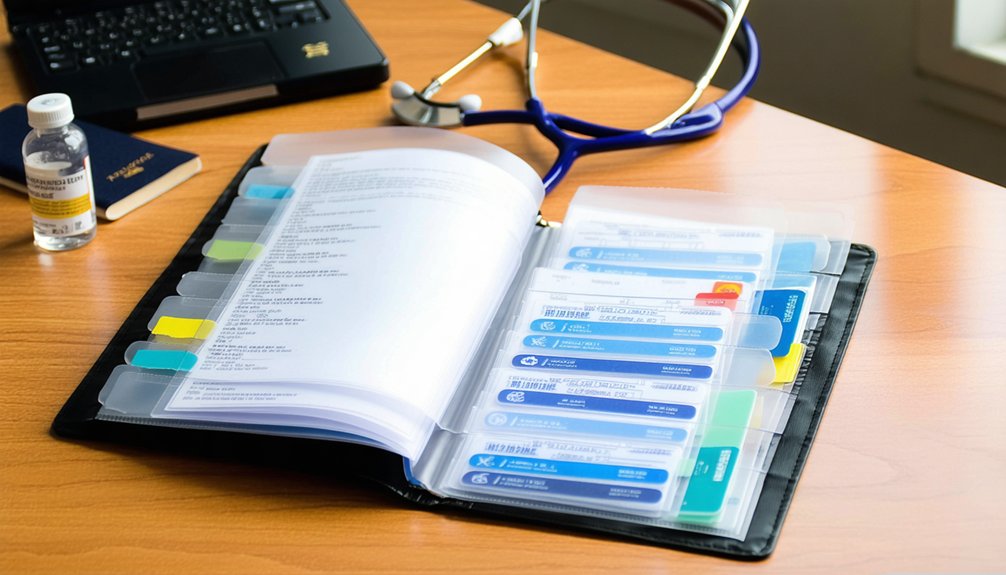
Because medical emergencies don’t wait for convenient moments, you’ll want your health documentation organized and accessible before you ever reach the airport. Carry a concise medical summary listing your diagnoses, surgeries, chronic conditions, allergies, and treatment plan, plus a physician letter on letterhead confirming your stability to travel.
Keep medicines in original labeled containers with original prescriptions, and verify medication legality—narcotics, stimulants, and certain psychotropics may be banned in transit or destination countries.
Pack device documentation, like manufacturer cards and doctor letters for insulin pumps, CPAPs, or syringes, to satisfy security officials.
Include your travel health insurance certificate, evacuation and repatriation coverage summary, and claim instructions. Be sure to purchase this coverage before departure, since U.S. Medicare and Medicaid do not cover care overseas.
Translate key documents into the destination language, and you’ll join travelers who move confidently across any border.
Handle Customs Forms and Declaration Lists
Just as your medical documents need to be ready before you reach the airport, your customs paperwork has to be complete before you land. CBP requires Form 6059B from every traveler, though immediate family traveling together can file one form.
Refugees, asylees, and certain parole holders also need Form I-94. Keep these papers ready for item by item compliance:
- The completed 6059B in an easy-access pocket with your passport
- A written declaration list of foreign purchases, gifts, and reportable items
- Receipts separated from other papers so values match quickly
- Supporting forms like I-94 or FinCEN Form 105 for currency declaration rules
Carry Receipts for Valuables and Medications
Two categories of paperwork carry the most weight at the border: proof of ownership for important items and prescription documentation for medications.
For your high-value items—laptops, cameras, jewelry—pack original value receipts listing description, date, and price.
Register serial-numbered electronics on CBP Form 4457 (or CBSA BSF175) before you leave, so border agents accept your proof of ownership and won’t treat items as trip purchases.
For jewelry, carry appraisal reports plus signed photos, and consider pre-trip customs validation.
Keep digital backups offline in case paper goes missing.
For medications, keep everything in original packaging with pharmacy medication labels matching your name.
Add a paper prescription or doctor’s note, especially for controlled substances or large quantities.
Together, these documents keep you confident and welcomed through inspection.
Build a Front Summary Sheet Agents Love
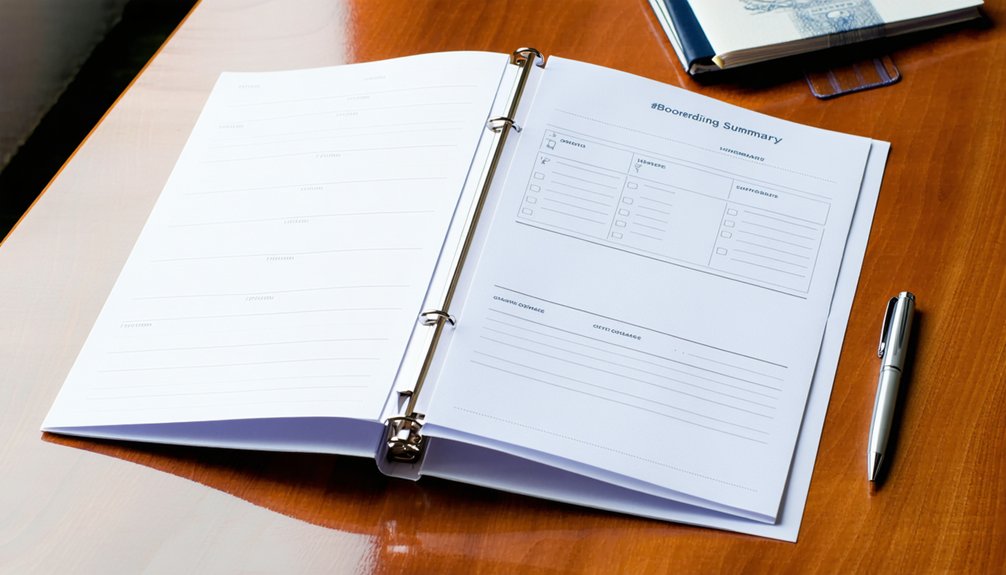
With your receipts and prescriptions sorted, you need one page that ties the whole binder together: a front summary sheet.
This single-page snapshot gives officers a coherent narrative—who, where, when, why, and how funded—cutting questioning time and lowering your odds of secondary inspection.
Treat it as a routing key, pointing agents to binder sections by name and page.
Include these essentials:
- Identity block: full legal name, date of birth, nationality, and passport number, matching your bio page exactly.
- Quick itinerary: a table showing dates, locations, lodging, and arrival/departure flights.
- Purpose and ties: a short trip statement plus employment or study status.
- Emergency contacts: home-country numbers, local emergency lines (police, medical, fire).
Keep wording short, standardized, and consistent throughout to demonstrate transparency.
Label Your Travel Binder Sections
Because border officers scan stacks under time pressure, your labels need to mirror official-document logic, not your personal filing habits. Use short, plain top-level labels like Passport/ID, Visa/Authorization, Travel Itinerary, Accommodation, and Supporting Documents. This border safe wording matches what agents expect and speeds fast document triage.
Keep identity separate with labels like Passport Copy, Driver’s License Copy, and National ID Copy, and tag each by traveler name when you’re traveling together. For entry permission, use direct labels—Visa, e-Visa, ESTA, ETA, or Entry Authorization—as IATA’s border-management manual recommends.
Make transport specific: Flight Itinerary, Boarding Pass, Train Tickets, Car Rental, and Return Travel. This consistent sectioning creates an officer friendly layout, letting you join the ranks of travelers who clear checks confidently and without delay.
Keep Names, Dates, and Formats Consistent
Clear labels get officers to the right section fast, but mismatched details inside those sections can still stall you. When you join travelers who breeze through inspection, you’ve usually done the same thing: a document audit that aligns every name, date, and time.
Passport consistency means copying your exact legal name spelling and order—SURNAME, Given Name—onto every ticket, hotel booking, and binder summary.
Pair that with disciplined file organization across your travel itinerary:
- Use ISO 8601 dates (2026-01-09) with leading zeros everywhere
- Pick one time format (24-hour) and one time-zone reference
- Match suffixes, middle names, and capitalization to your passport
- Apply a standard file naming pattern like `2026-06-20_FRA-YYZ_flight_confirmation_v01`
Consistency signals you belong, not raises questions.
Frequently Asked Questions
How Long Should I Keep My Travel Binder After Returning?
Keep your binder at least 12 months after a leisure trip, longer for multi-year visas or tax records (3–7 years). Like fellow savvy travelers, you’ll want digital backups and emergency contact details archived for lasting peace of mind.
What Should I Do if My Binder Gets Lost or Stolen?
You’ll report it to local police immediately, then notify your consulate for document replacement. Lean on your back up copies and digital scans, contact your emergency contacts, and you’re never truly stranded—help’s always within reach.
Should Children and Infants Have Their Own Binder Sections?
Yes, you should create a separate child section for each minor. Add infant-specific forms, medical contacts, and identity copies. This document redundancy keeps your family organized, ensuring border agents quickly find everything you’ll need together.
Can I Share One Binder for a Whole Family?
Yes, you can share one binder for your whole family. Follow shared binder rules: organize by person with labeled dividers, keep originals accessible. Respect family document limits—officers still inspect each traveler individually, so separate everyone’s documents clearly.
How Early Should I Prepare My Binder Before Departure?
Start 2–4 weeks out, like seasoned travelers do. You’ll gather Customs forms copies, emergency contacts, and your arrival day checklist early, then finish printing within 7–10 days. Don’t forget your digital backup before departure.
Conclusion
You’ve now got a binder that works when your phone won’t. Keep your originals separated from copies, lead with that summary sheet, and maintain consistent names, dates, and formats throughout. Customs and Border Protection agents process travelers faster when documents are organized and verifiable, so you’ll move through inspection with fewer questions. Update your binder before every trip, double-check expiration dates, and you’ll cross borders with confidence instead of scrambling at the counter.
References
- https://www.cbp.gov/travel/us-citizens/know-before-you-go/your-trip
- https://www.cbsa-asfc.gc.ca/travel-voyage/td-dv-eng.html
- https://www.cbp.gov/travel/us-citizens/know-before-you-go
- https://www.uscis.gov/green-card/green-card-processes-and-procedures/travel-documents
- https://www.cbp.gov/sites/default/files/documents/privacy_july08_2.pdf
- https://travel.gc.ca/returning/customs/entering-canada
- https://www.wacac.org/wp-content/uploads/2014/07/How-to-Build-a-Travel-Binder.pdf
- https://www.cbp.gov/sites/default/files/documents/WelcomeToTheUS.pdf
- https://www.youtube.com/watch?v=tcYU2oRGi88
- https://thetravelbinder.com/2018/04/27/how-to-create-the-perfect-travel-binder/