Start by making the crate a cozy open den in week one, using soft bedding and scattered treats. In weeks two and three, feed every meal inside, teach “kennel up,” and build closed-door tolerance. By weeks four through six, practice alone time, desensitize car rides, and run a full pre-flight rehearsal. Reward only calm behavior, never whining. Confirm readiness with your vet. Below, you’ll uncover exactly how to nail each step.
TLDR Key Takeaways
- Weeks 1–3: Make the crate a cozy open den, then introduce “Kennel up” cues, feeding inside, and brief closed-door tolerance.
- Weeks 4–6: Build alone time with stuffed Kongs, desensitize to car rides, then complete a full 6–10 hour pre-flight rehearsal.
- Use positive reinforcement with treats, chews, and calm praise, and never use the crate as punishment.
- Teach quiet as the only door-opening behavior by releasing only during calm pauses, never mid-whine.
- Anchor familiar scents using an unwashed T-shirt, the dog’s own bedding, or calming products like Adaptil.
How to Pick an Airline-Approved Dog Crate
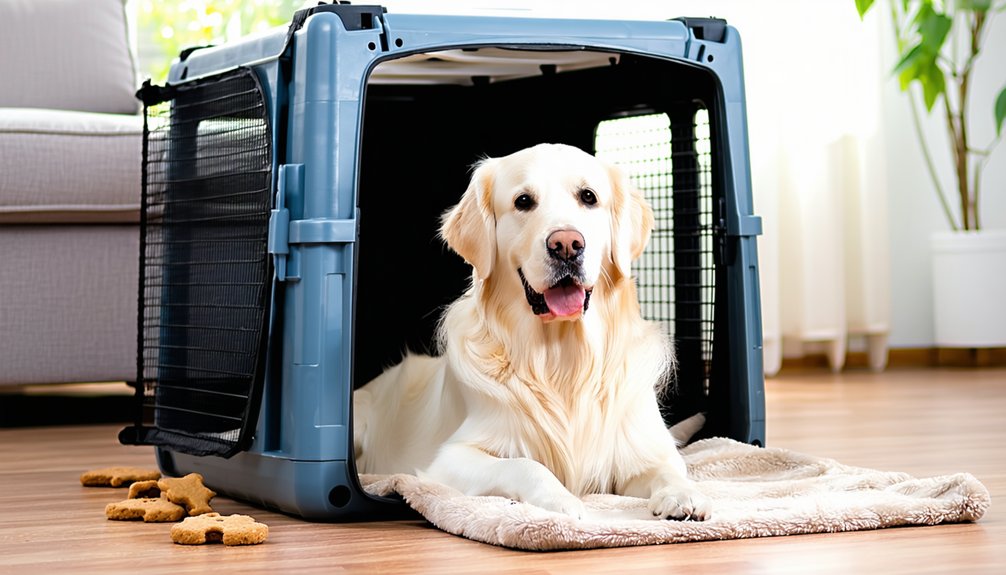
Before you book any flight, pick a crate that meets airline and IATA standards, because a non-compliant kennel can get your dog turned away at check-in.
Start with crate size: your dog must stand without touching the top, turn in a full circle, and lie with legs extended.
Use Length ≥ A + ½B, Width = C × 2, and Height = D + 3 inches.
Confirm IATA labeling on the shell, look for “IATA LAR” or “airline approved,” and choose solid construction—rigid, impact-resistant plastic with a heavy-duty metal door and full-length metal bolts.
Check ventilation openings on all four sides (three minimum), totaling roughly 16% of the surface.
Lock or remove wheels.
Join thousands of pet parents who travel confidently by getting this right.
Week 1: Make the Crate a Cozy Open Den
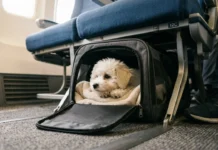
Always start by placing the crate in a familiar, low-stress spot—your living room or your dog’s preferred sleeping area—and leave the door open so your dog can enter and exit without pressure. Add a soft blanket, bed, or fleece lining to build scent familiarity and a den-like resting space.
If your dog hesitates, begin with the bottom section before adding the top and door.
Make the crate rewarding through treat scavenging and calm praise:
- Scatter treats near the entrance and deeper inside
- Place favorite toys and high-value chews within
- Feed meals with the bowl toward the back
- Reward your dog for resting quietly inside
Keep everything positive—never use the crate as punishment. This week, you’re building comfort and willingness, not closing doors yet.
Week 2: Feed Meals and Teach “Kennel Up”
Now that your dog willingly enters the crate, it’s time to deepen that positive association by feeding every meal inside. Place the full ration at the back to encourage deep, relaxed entry, using a non-skid bowl to prevent startling noise. Once your dog eats calmly, close the door briefly, then extend duration using gradual criteria—a few minutes up to 10–15 minutes—releasing only during calm behavior.
Pair a consistent “Kennel up” cue with a pointing gesture, luring with a treat tossed inside. Each entry earns a positive reinforcer, building a reliable, calm association with confinement.
| Behavior | Reinforcer | Goal |
|---|---|---|
| Enters crate | Treat | Reliable cue |
| Eats calmly | Praise | Relaxation |
| Stays quiet | Door opens | Self-control |
| Volunteers entry | Bonus reward | Safe space |
| Lies down | Stuffed toy | Confidence |
Week 3: Build Closed-Door Crate Time at Home
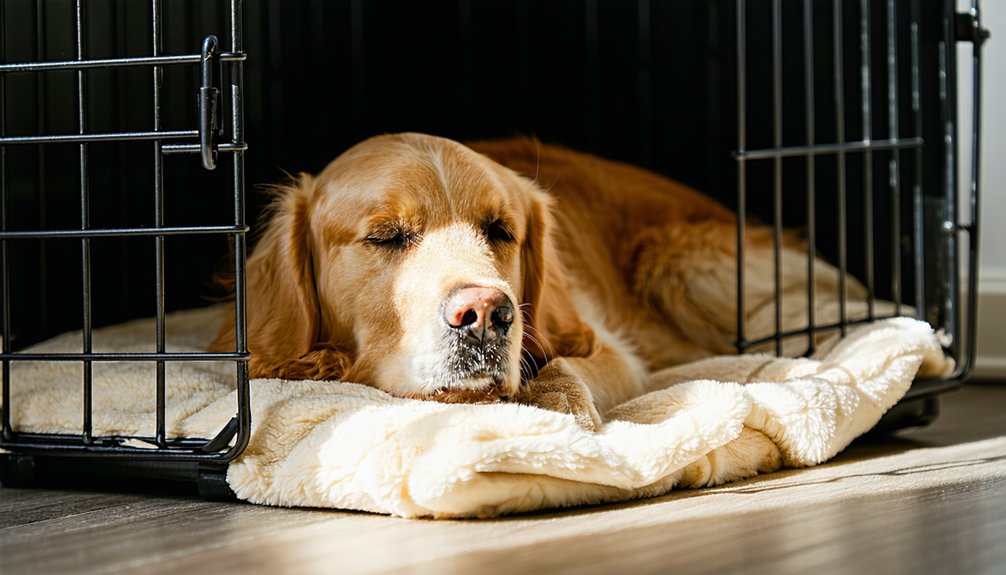
Because your dog now enters and eats calmly, you can begin building closed-door tolerance with very short, controlled holds. Close the door briefly, reopen immediately, then reward inside the crate. Progress to a two-second hold before extending in small increments.
Build calm cues by sitting beside the crate with a quiet, low-key posture, then gradually move away once your dog settles.
- Start with 5 seconds, then 10, then 15–20 seconds at each success
- Use high-value treats so the closed door predicts reward
- Watch for stress signals and reduce duration if discomfort appears
- Keep exits and entries calm, avoiding high-energy greetings
Reward consistency daily, repeating several short sessions to reinforce the crate as a normal resting place where you both belong.
Week 4: Practice Alone Time and Night Crating
With closed-door crate time mastered, you’ll now teach your dog to stay calm alone and sleep comfortably overnight. Start with very short alone periods—about 3 minutes, three times daily—paired with a stuffed Kong or lick mat reserved for crate time.
Increase duration in small increments only when you observe relaxation cues. Practice solo sessions after exercise, when your dog’s more likely to rest. Keep departures and returns low-key, and add short departures (grab keys, step outside) to normalize leaving cues.
Never release your dog while they’re whining. Once they’re comfortable with 1–3 hours of daytime crating, begin night crating with the crate near your bed, then gradually move it farther away.
Aim for 7 consecutive calm nights to confirm reliable night crating before flight.
Week 5: Get Your Dog Used to Car Rides
Once your dog sleeps calmly through the night in the crate, you’re ready to add vehicle motion to the photograph. Short, positive sessions desensitize the car-riding process by breaking the experience into trigger breakpoints. Start with brief rides around the block, then increase distance only after your dog stays calm.
- Secure motion: Fasten the closed crate firmly before moving, adding bedding for comfort.
- Calm monitoring: Have a second person watch for panting, salivation, or stress, ending sessions early if needed.
- Quiet rewards: Deliver praise and treats immediately after each successful ride.
- Travel-style practice: Try dry runs to the vet or airport over varied roads.
Use soothing tones and calm music. The goal teaches your dog that motion predicts safe, manageable success.
Week 6: Run Your Full Pre-Flight Crate Routine
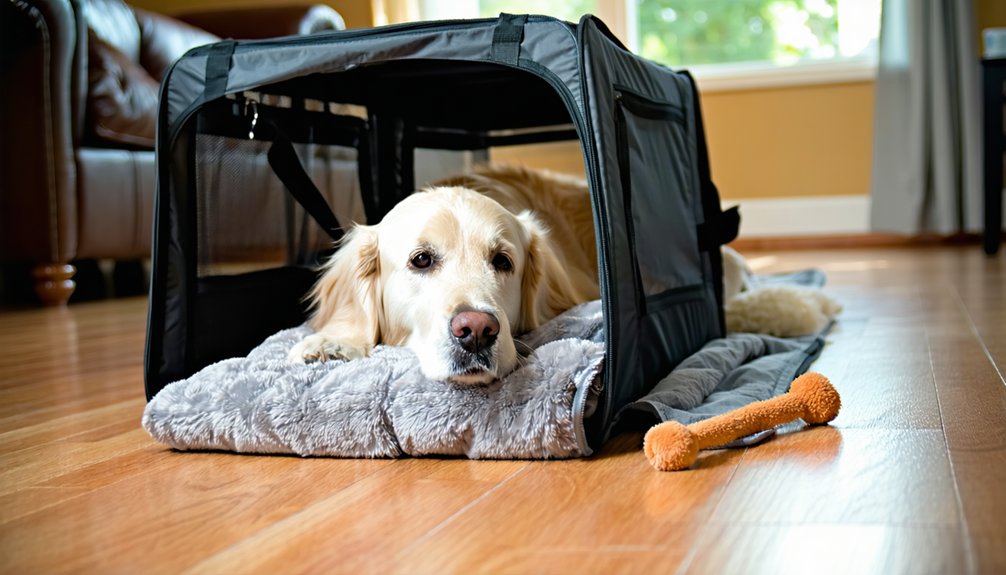
After your dog rides calmly in the car, you’re ready to stitch every skill together into one realistic dress rehearsal. Replicate the full flight-day timeline, starting and ending at your actual travel clock times to honor your dog’s circadian rhythm.
Feed the last meal 4–6 hours before “check-in,” match the water schedule, and walk moderately 2–3 hours before crate time.
Nail your bathroom timing, ending with a final potty break right before extended confinement.
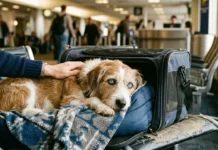
Simulate check in by loading at the doorway, lifting and carrying the crate gently, adding brief separations, and playing low airport sounds.
Use airline-compliant hardware, the exact bedding, and approved chews throughout.
Run one full-duration rehearsal—often 6–10 hours—matching expected temperature and lighting. You’re building the calm, confident teammate every traveler needs.
How Do You Know Your Dog Is Ready to Fly?
Because you’ve drilled every skill across six weeks, you now need to confirm your dog’s actually ready—not just trained. Run through this Readiness Checklist before booking, joining countless owners who’ve flown confidently with their dogs. Travel Readiness means combining medical clearance with proven Calm Indicators.
Look for these signs:
- Vet Confirmation: a recent exam verifying health, vaccinations, and fitness-to-fly, with no chronic disease or sedation concerns.
- Crate comfort: your dog rests willingly for 1–2 hours, settling quickly after disruptions.
- Public composure: calm behavior amid crowds, noise, and movement mirroring airport conditions.
- Quick recovery: heart rate, breathing, and behavior return to baseline after stress.
When you check all four, you’re ready.
Stress Signals That Mean Your Dog Needs a Break
Even a well-trained dog hits limits, and your job is to catch them early. Watch for a tucked tail, pinned ears, whale eye, or lip licking without food—these are your first cues. Listen for persistent barking, intense whining, or excessive panting in a cool space.
Notice sweaty paw pads, drooling, or sudden shedding on the crate floor. When you see pacing, frantic escape attempts, or stress urination, stop immediately and start your break protocol: open the crate, lower stress duration, and let your dog reset.
If signs persist, schedule a vet check to rule out nausea or pain, and discuss a medication pause if needed. You’re not failing your dog by pausing—you’re listening, and that’s how trust grows between you both.
Why You Should Never Open the Crate While Whining
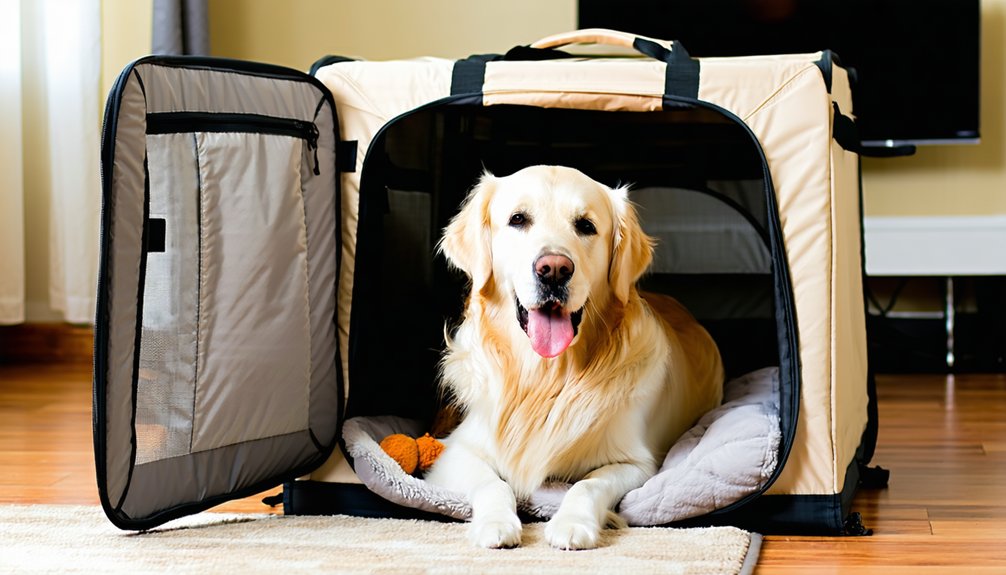
When you open the crate while your dog whines, you teach a costly lesson: noise gets you out. That single act reinforces vocalizing, turning whining into a reliable strategy your dog repeats and escalates. To join the ranks of confident handlers, you’ll want quiet to become the only key that opens the door.
- Quiet contingency: Release only during a pause or relaxed moment, never mid-whine.
- Reward timing: Open the instant calm appears, so your dog connects silence with freedom.
- Behavior extinction: Ignore non-distress whining consistently until it fades because it no longer works.
- Anxiety mapping: Track triggers to distinguish panic from protest, adjusting your approach accordingly.
Stay consistent, and you’ll prepare your dog for calm, predictable airline confinement.
Make Your Crate Pass Airline Rules and Labeling
Before your dog ever sets paw in a cargo hold, you’ll need a crate that meets airline and IATA standards down to the last bolt.
Choose a hard-sided crate of rigid plastic, fiberglass, or wood, secured top-to-bottom with all-metal nuts and bolts.
Measure crate clearance so your dog can stand with at least 3 inches above the head, turn around, and lie naturally.
Confirm door locking uses a metal, spring-loaded or two-point mechanism that won’t pop open.
Verify ventilation placement on three sides for domestic flights, four for international, without compromising structural integrity.
Check label placement: attach “LIVE ANIMALS” labels on multiple sides plus top, add up-arrow orientation labels on opposite corners, and never cover vents.
Finally, display your dog’s details and your 24/7 contact information.
Add Familiar Scents That Calm Your Dog
Because scent shapes how your dog reads its surroundings, you can use familiar odors to turn an unfamiliar crate into a place that feels safe.
Through scent anchoring, you give your dog cues that signal belonging and security, helping reduce anxiety as you introduce routine crate sessions at home.
- A worn, unwashed T‑shirt or pillowcase carrying your body odor as a social bonding cue, free of strings or zippers.
- Your dog’s own bed or mat, already holding home scent, encouraging voluntary entry and longer rest.
- Adaptil spray applied 15–20 minutes beforehand, or a diffuser running 24 hours ahead.
- A diluted lavender or chamomile sachet under the padding for low‑level calm.
Pack a backup item to maintain odor consistency throughout travel.
Frequently Asked Questions
What if My Dog Has Only 3 Weeks Before the Flight?
You’ll need schedule compression: start today with multiple daily micro-sessions building a crate routine. Use stepwise exposure—voluntary entry, mealtime feeding, gradual door-closing—plus stress mitigation like familiar bedding and your scent. We’re confident you’ll get there together.
Should I Sedate My Dog During Air Travel?
You shouldn’t sedate your dog—vets warn it risks breathing, heart, and overheating problems. Instead, join other prepared owners using crate games and short car rides to build calm confidence. That’s the safer, evidence-based choice we trust.
Can Puppies Under 6 Months Be Crate Trained for Flying?
Yes, you can crate train puppies under 6 months for flying. Start with socialization basics and short, positive sessions building crate comfort. Just don’t confine them over 3 consecutive hours, since they’re still developing potty control.
What Should I Do if My Dog Has Accidents in the Crate?
Clean immediately using enzymatic odor control tips, never ammonia. Get a vet check, hydration and schedule review to rule out issues. Stay calm—you’re not failing. We’ve all been there, and consistency keeps your pup progressing.
How Much Does It Cost to Fly a Dog?
You’ll pay $100–$500+ domestically, while international trips run $1,000–$5,000+. Cargo fees, airline restrictions, and a pet passport affect totals. Add travel insurance for peace of mind—fellow pet parents agree it’s worth protecting your companion.
Conclusion
You’ve now got a proven, science-backed roadmap to change that crate from a strange box into your dog’s safe haven. Stick to the schedule, watch for stress signals, and never reward whining by opening the door. By following these gradual steps, you’ll set your dog up for a calmer, safer flight. Start early, stay consistent, and you’ll arrive at your destination with a confident, well-adjusted travel companion ready for the trip ahead.
References
- https://www.youtube.com/watch?v=hcy7unMm4Gs
- https://manoirkanisha.com/en/pet-relocation/pet-travel-crate-training/
- https://www.starwoodpet.com/blog/how-to-crate-train-your-pet-for-airplane-travel
- https://www.dryfur.tv/pets-on-airplanes-blog/acclimating-your-pet-cat-or-dog-to-airline-crate/
- https://www.starwoodpet.com/blog/5-tips-to-acclimating-your-pet-to-his-crate
- https://www.aphis.usda.gov/pet-travel/pets-on-planes/preparing-pets-air-travel
- https://www.aacargo.com/learn/animals-kennel-guidelines.html
- https://www.ral.org/pet-behavior-resources/crate-training-adult
- https://www.alaskacargo.com/petconnect/guidelines
- https://www.austintexas.gov/sites/default/files/files/Animal_Services/Resource Library/AAC Crate Training.pdf