For dawn and dusk trail safety, you need layered visibility that works from every angle. Choose a Class 2 or 3 reflective vest certified to ANSI/ISEA 107, and pair it with fluorescent yellow-green or orange for low-light contrast. Add 360-degree LEDs at shoulder, chest, waist, and lower-leg levels. Don’t skip ankle bands or reflective socks—biomotion gear pushes detection past 100 meters. Below, you’ll find exactly which gear earns its place.
TLDR Key Takeaways
- Choose Class 2 or 3 certified reflective vests (ANSI/ISEA 107 or EN ISO 20471) for detection over 1,000 feet away.
- Wear fluorescent yellow-green or orange clothing, which appears several times brighter and excites under high twilight UV exposure.
- Add ankle reflectors or micro-glass-bead socks to boost detection from under 30 meters to over 100 meters.
- Use 360-degree light-up systems at shoulder, chest, waist, and lower-leg levels for visibility from every approach angle.
- Match headlamp output to terrain: 200–300 lumens for hiking, 400–700 for singletrack, 700–1,100+ for all-night efforts.
Why Dawn and Dusk Demand Serious Visibility Gear
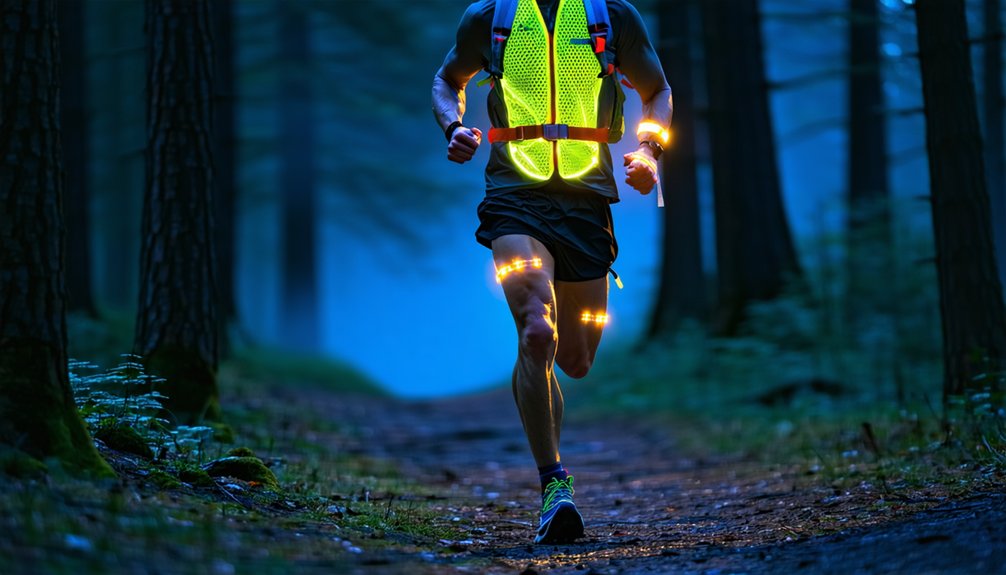
Although dawn and dusk might seem bright enough to skip your safety gear, these turnover hours are deceptively dangerous.
Light changes fast, leaving you caught between conditions too bright for headlights and too dark to see unlit hazards.
Low sun angles create intense glare that erases contrast, making you blend into the background just when commuter traffic peaks.
Drivers can’t spot you in time, and their glare reduction struggles only worsen the problem.
Your own vision fights you too.
Eye adaptation takes 20–30 minutes, so moving between bright and shaded patches leaves you temporarily blind to roots, rocks, and approaching cyclists.
Depth perception fades, and dark clothing nearly disappears.
Join the runners and walkers who know these hours demand serious reflective and light-up gear.
How Far Reflective Gear Lets Drivers See You
When you wear a compliant reflective vest, drivers can spot you from over 1,000 feet away under ideal conditions—a staggering advantage over dark clothing, which may go unseen until you’re just 20 to 25 meters away. That distance directly shapes driver reaction time. At 60 mph, a vest gives drivers roughly 5–6 seconds to respond, while dark clothing offers less than one second.
Smart retroreflective placement extends your visibility even further:
- Arms and legs: Moving reflectors register from 60 meters, versus 30 meters for a vest alone.
- Eye-level markers: Backpacks, hats, and clothing sides catch headlights where drivers look.
- 360-degree coverage: Front, back, and sides keep you seen from every angle.
You belong on that trail—make sure they see you coming.
Picking Fluorescent Colors That Pop in Low Light
Every fluorescent color works by absorbing UV and short-wavelength light, then re-emitting it as visible light—which is why these hues can appear several times brighter than conventional colors in the same conditions. That advantage matters most at dawn and dusk, when twilight UV exposure runs high and feeds fluorescent excitation just as ambient light fades.
Join the crowd that stays seen: choose fluorescent yellow-green, the most visible hi-vis color, or fluorescent orange against green and brown foliage. Lime green, hot pink, and optical-brightened white all keep you conspicuous too.
Skip red, brown, navy, and untreated black—they barely fluoresce and disappear into trail backgrounds. Fluorescent fabric testing confirms it: standard hues simply can’t match the pop of true fluorescent equivalents when the light goes low.
How to Build True 360-Degree Visibility
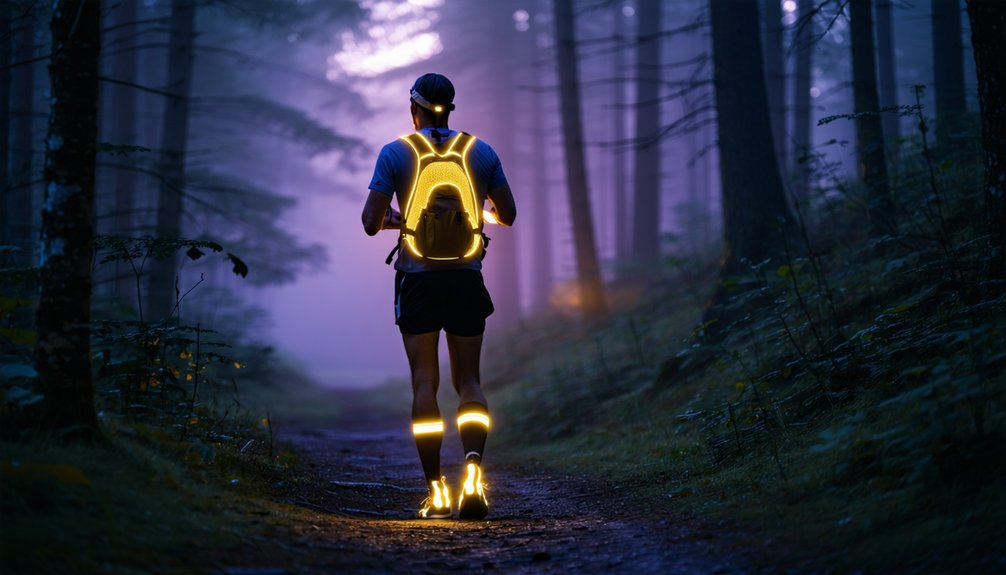
On the trail, true 360-degree visibility means you’re seen from every approach angle—front, back, and both sides—not just when a beam happens to catch a reflective strip. You build it by layering active light and passive reflection across multiple gear points, so no single arm swing or pack strap masks your signal.
- Distribute light sources across vests, hats, belts, and packs at shoulder, chest, waist, and lower-leg levels.
- Plan waterproof placement so LEDs and panels keep working in fog, rain, or changing trail conditions.
- Build reflective redundancy by mounting reflective surfaces symmetrically on both sides as a backup to your active lights.
This system makes you distinguishable, helping fellow trail users recognize your motion, direction, and speed instantly.
The Best Reflective Vests and Jackets for Trails
Among your visibility layers, a reflective vest or jacket does the heaviest lifting, anchoring the system with the widest coverage area. Choose Class 2 or 3 garments certified to ANSI/ISEA 107 or EN ISO 20471, since they meet the reflective area and placement standards trail runners rely on. Check labeling and verify coverage—premium Class 2 vests offer around 201 square inches.
For Reflective Material Durability, look for 3M Scotchlite or printed reflective patterns integrated into fabric, which resist peeling and survive repeated washing. Prioritize 360° reflective prints so you’re seen from every angle.
If you want Packable Weather Protection, pick a lightweight shell under 200–250 g with DWR or windproof fronts and breathable backs. You’ll stay visible, comfortable, and protected through changing light.
Hi-Vis Base Layers That Glow at Twilight
At twilight, your base layer becomes the foundation of your visibility system, working hardest when light fades but hasn’t fully disappeared. Fluorescent pigments absorb ultraviolet light and re-emit it as visible glow, extending your detection distance even under overcast skies, since UV penetrates cloud cover.
That’s twilight visibility psychology working in your favor—fellow trail runners and drivers spot you sooner.
Choose fluorescent yellow-green, orange-red, or red, the three ANSI-recognized colors offering superior low-light contrast.
- Pick moisture-wicking polyester, nylon, or merino for comfort during high-output efforts.
- Add reflective accents on torso, shoulders, and arms for 360° visibility.
- Inspect reflective elements regularly—reflective fabric durability testing confirms they dull when dirty or cracked.
Keep hi-vis at your base, and you’ll always belong among the seen.
Trail Headlamps Worth Buying at 200+ Lumens
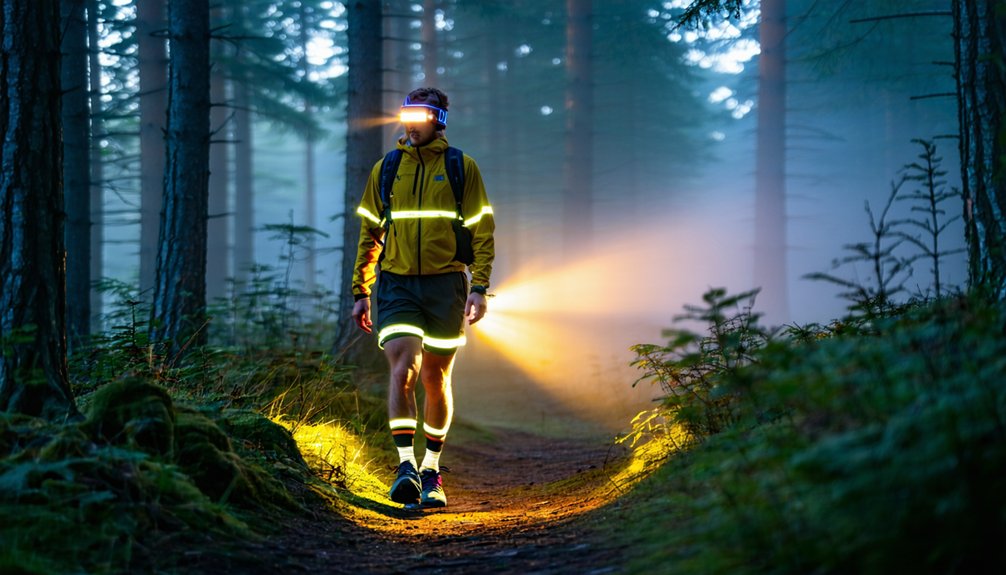
When darkness swallows the trail, your headlamp becomes your primary defense against missteps and unseen obstacles.
Start at 200–300 lumens for standard hiking, but if you’re chasing faster lines on technical singletrack, step up to 400–700 lumens to spot obstacles earlier.
Going long? Choose 700–1,100+ lumens for all-night efforts when fatigue sets in.
Look for 80–100 m beam distance and a mixed flood/spot pattern—the flood widens your peripheral view while the spot extends route-finding ahead.
Battery Runtime matters more than peak specs, so prioritize at least 3 hours at high power, 6+ for ultras.
Remember that bright 700–1,500 lm models use Thermal Stepdown to manage heat, dimming over time.
Join the runners who trust sustained brightness over flashy numbers—your safety depends on it.
Waist Lights vs Headlamps for Uneven Terrain
Because light hits the trail at a lower angle, a waist light casts longer, sharper shadows from rocks, ruts, and roots—giving you depth perception a forehead-mounted beam can’t match. Mounted low at your hips, it moves less relative to your center of mass, so you’ll get better beam stability and less mounting bounce on technical descents. Since the beam starts below eye level, you’ll also fight less back-glare and eye fatigue from fog, dust, or breath vapor.
Headlamps still earn their place:
- Directional control that follows your gaze for spotting turns and trail markers.
- Focused beams for distance spotting on fast descents.
- Tilt and spot/flood modes for camp tasks.
Run both, and you’ll join the ultrarunners who light up every step.
Rear Red Flashers and Clip-On LEDs for Front-and-Back Safety
Since drivers detect flashing rear lights from roughly three times farther away than steady ones—about 82 meters earlier on a straight road—a rear red flasher is your single highest-impact safety upgrade for trails that cross or parallel roads. Mount it high on your upper back or pack top, where clothing and gear won’t block the beam.
Pair it with white or amber clip-on LEDs on your chest and shoulder straps for forward conspicuity, and add side-mounted lights for those driveway and crossing angles.
This signal redundancy means you’re still seen if one light fails or gets covered.
Choose dual-mode lights so you can flash at 1–4 Hz to get noticed.
Prioritize weatherproof mounting, because dawn and dusk often bring dew, fog, and rain.
Reflective Socks and Ankle Bands for Biomotion
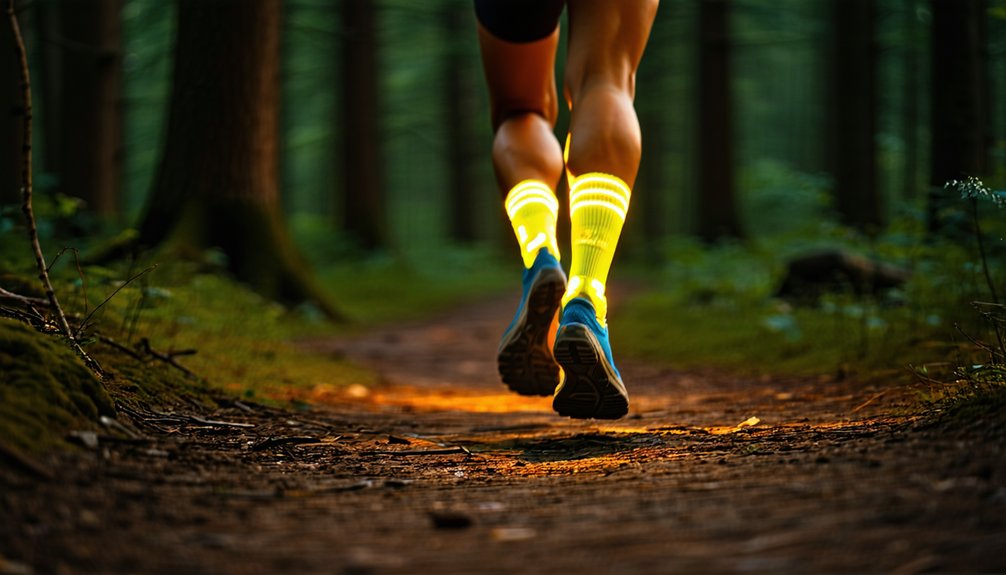
Lights make you visible, but reflective gear at your ankles tells drivers you’re a person. The biomotion detection science is clear: reflectors on moving joints like your ankles trigger the human recognition drivers instinctively register. Studies show ankle reflectors push detection distances from under 30 m to over 100 m under low-beam headlights.
When you join the night-running community, here’s what works:
- Reflective socks with woven micro-glass-bead yarn deliver up to 7x greater visibility and survive repeated washing.
- Adjustable ankle bands offer 360° coverage, fitting over socks, sleeves, or winter layers.
- Crew-height socks extend your reflective moving area higher for brush and shallow snow.
Prioritize reflective ankle durability—embedded yarn outlasts surface printing, keeping you seen mile after mile.
Fit and Comfort Checks Before Your First Dark Run
Dial in your gear before darkness changes everything. Start with your shoes: leave a thumb-width between your longest toe and the front to spare your toenails on descents, lock down your midfoot without numbness, and confirm minimal heel lift when you jog stairs.
Match the insole outline to your arch and forefoot, then test on gravel or grass to catch hot spots.
For clothing, choose moisture-wicking base layers and run the no rub test—hip rotations, arm swings, high knees—to flag seams or straps that bite during 30+ minutes.
Layer 5–10°F cooler than forecast, since you’ll heat up.
Finally, check your reflective fit: secure belts and packs so lights don’t bounce, and confirm nothing covers your reflective panels.
Now you’re ready to belong out there.
How to Wash and Store Reflective Gear So It Lasts
Because reflective tape and fluorescent fabric break down faster than the gear around them, how you wash and store your kit determines how long it keeps you visible. Check the care label first—it overrides everything.
Brush off loose dirt, pre-clean heavy soiling, turn garments inside out, and close zippers and Velcro to protect reflective surfaces.
- Detergent selection: Use a mild detergent free of enzymes and optical brighteners, and skip bleach and fabric softeners that coat reflective coatings.
- Reflective tape care: Wash cold on a delicate cycle, separate from rough items, and air-dry or use low heat to preserve adhesives.
- UV protection: Store fully dry in a cool, dark place, never sharply folded, away from sunlight.
Inspect regularly for fading.
Frequently Asked Questions
How Long Do Headlamp Batteries Typically Last on Dark Trail Runs?
You’ll typically get 3–6 hours on mid-range trail headlamps at normal brightness. Battery runtime varies with typical usage patterns; temperature effects matter, and brightness drain considerations apply. We recommend planning 6+ hours for all-night efforts.
Are There Legal Requirements for Runner Visibility Gear on Public Trails?
Yes, sometimes. You’ll find local ordinances mandating reflective gear from dusk to dawn on roads, and trail regulations often require lights at night. Check your city’s codes—we runners stay legal and visible together.
Can Reflective Gear Interfere With Night-Vision Wildlife or Attract Insects?
Yes, your reflective gear can heighten night-vision detection, though insects chase light, not fabric. Join fellow trail lovers practicing safe signal etiquette: pick weatherproof reflective gear, dim warm lamps, and minimize flashes to protect wildlife you share trails with.
How Much Should I Budget for a Complete Reflective Kit?
Budget $75–$200 for a solid kit. Using gear priority tiers, you’ll spend most on lighting and torso visibility, then fill gaps with cheap accessories. Budget breakdown checklists help you join fellow runners staying safely visible.
Do Reflective and Light-Up Options Exist for Running With Dogs?
Absolutely—you’ve got plenty of options. Outfit your running partner with reflective collars for side-on visibility and light-up leashes that signal your movement to drivers. Join countless runners who keep their dogs safely seen together.
Conclusion
Don’t gamble with twilight visibility—the data’s clear that drivers spot you far sooner when you combine fluorescent colors, 360-degree reflectivity, and active LEDs. Build your kit around biomotion: light up your ankles and wrists where movement catches eyes fastest. Choose a vest that fits comfortably over layers, add front-and-back flashers, and wash your gear right to preserve its reflective punch. Do this, and you’ll own every dawn and dusk run safely.
References
- https://www.treelinereview.com/gear-list/reflective-gear-for-running-in-the-dark
- https://www.trailrunnermag.com/gear/12-of-the-best-reflective-gear-options/
- https://www.runnersworld.com/gear/a38254827/reflective-gear-to-run-safely-in-the-dark/
- https://www.weeviews.com/rundown/reflective-running-gear
- https://www.irunfar.com/best-reflective-running-gear
- https://blueprint1892.rssing.com/chan-78229814/article605.html
- https://www.runweekly.com/best-reflective-running-gear-for-night-runs/
- https://www.facebook.com/groups/freepmarathon/posts/1295977700974215/
- https://www.amazon.com/Best-Sellers-Reflective-Gear/zgbs/sporting-goods/3395071
- https://rundreamachieve.com/running-essentials/best-reflective-clothing-for-runners/