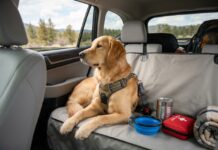
Start by measuring your SUV’s cargo area at multiple points, accounting for wheel wells and seat humps. Match the platform height to your dog’s shoulder and pick a ramp angle that fits their needs. Use 3/4″ plywood with heavy-duty hinges for a collapsible bi-fold or tri-fold design. Seal everything with pet-safe, low-VOC coating, then anchor it to factory tie-down points with rated straps. Each step below reveals the details that make it crash-safe.
TLDR Key Takeaways
- Measure your SUV’s cargo length, width, height, and hatch opening to ensure the platform fits and slides in cleanly.
- Choose a collapsible design like bi-fold or tri-fold with folding legs, matching platform height to your dog’s shoulder and reach.
- Build the main platform from 3/4″ plywood with 1/2″ plywood extensions, framing lumber legs, and heavy-duty rated hinges.
- Seal panels with pet-safe, low-VOC water-based polyurethane, applying 4–7 thin coats over every edge and underside for urine protection.
- Anchor the platform to factory tie-down loops with rated ratchet straps, spreading loads across multiple points to prevent projectile risk in crashes.
Measure Your SUV for a Dog Platform
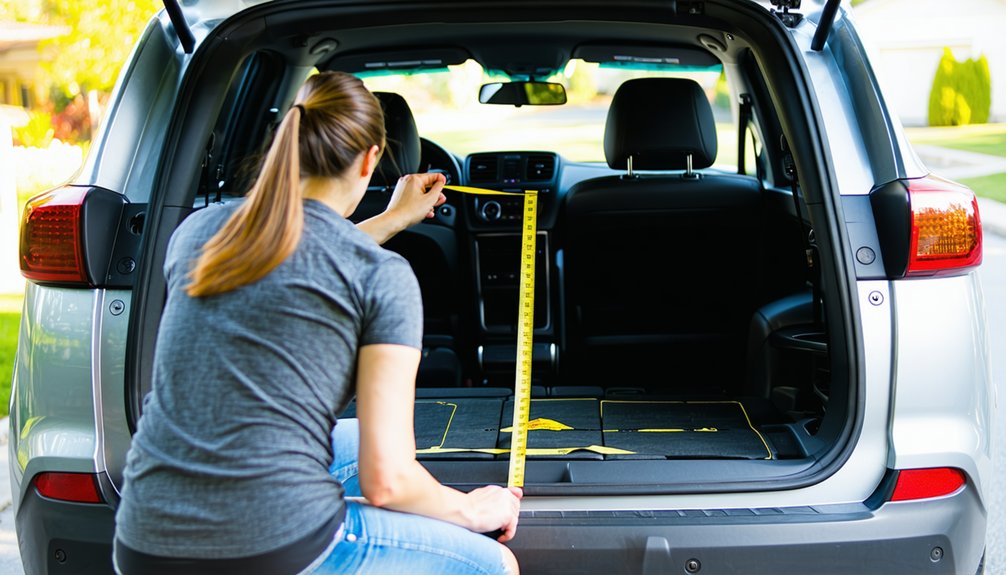
Why measure before you build? Because a platform that doesn’t fit wastes your time, materials, and your dog’s comfort. Start with the cargo floor: measure length from the rear seats to the liftgate, width at the narrowest point between wheel wells, and vertical height to the lowest roof point. Note any step between folded seats and the floor, since that affects leveling.
Next, tackle hatch opening constraints. Measure the opening width and height, plus bumper depth and sill height, so you can slide the platform in without tilting. Watch for latch housings, hooks, and speakers that snag corners.
Finally, allow several inches of interior trim clearance around your footprint. This protects panels, guarantees smooth removal, and gives your pup a snug, safe space.
Pick the Platform Height for Your Dog
With your SUV measured, you can set the platform height around the one passenger who matters most: your dog. Match the top surface to your dog’s shoulder height and front-leg reach, keeping it at or below about half the leg length plus the landing height. Base the working height on the final top surface—mattress and padding included—not the bare frame.
| Dog Profile | Ramp Angle Math | Height Priority |
|---|---|---|
| Senior/IVDD | 15–20° | Lowest practical |
| Small breeds | 18–22° | Low rise |
| Young, athletic | up to 25° | Moderate allowed |
Use ramp angle math to back-calculate a comfortable climb, and confirm your build with weight capacity testing before your dog trusts it. Add storage clearance only when fit justifies it—never at access’s expense.
Gather Materials and Hardware You’ll Need
Before you cut a single board, gather everything you’ll need so your build moves without stalls. Start with 3/4″ plywood for the main platform, 1/2″ plywood for hinged extensions, and 2×3 or 2×4 framing lumber for collapsible legs.
Add 1×3 or 1×4 boards for slats and stiffeners, plus scrap strips for cleats and hinge backing.
For hardware, grab folding or removable steel legs, heavy-duty hinges, corner braces, and exterior screws. Mind the weight ratings—hinges rated for 50–100 lb per pair keep your platform solid during stability testing.
Secure everything with turnbuckles, D-rings, and carabiners anchored to factory tie-downs.
Finish with closed-cell foam, washable covers, non-slip matting, and felt leg pads.
With these gathered, you’re ready to build confidently.
Choose a Collapsible Dog Platform Design
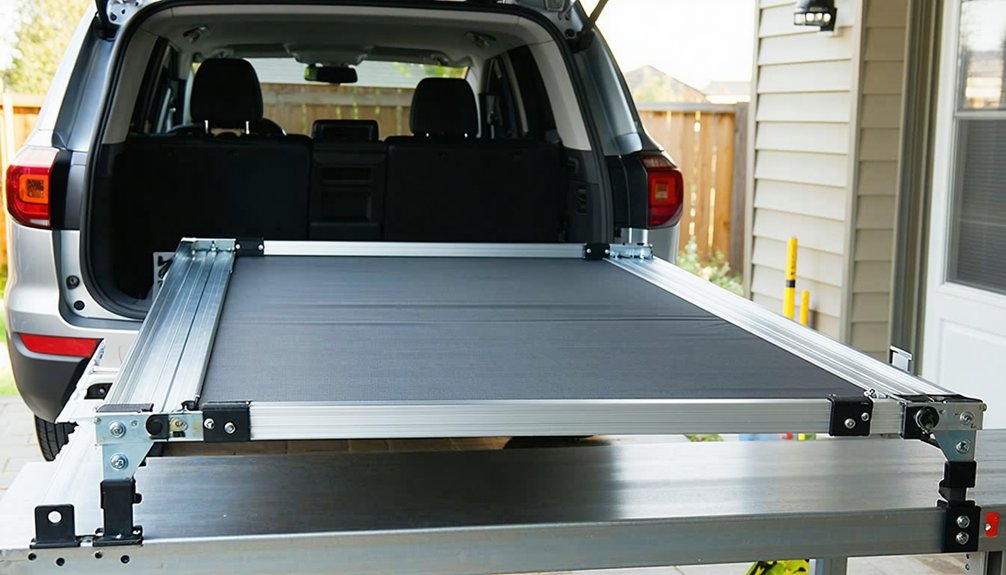
Now that your materials are staged, you’ll decide how the platform actually works before you cut anything.
Start with the fold: a bi-fold uses one center hinge for simplicity, while a tri-fold shortens folded length for tighter storage.
Choose hinged tops on fixed legs for easy construction, or sliding extensions to maximize length in a shorter cargo bay.
One-piece tops deliver strength and quiet; modular panels let you deploy one side for mixed cargo and dog use.
Account for seat humps, recline angles, and step-ups with cutouts or tapered edges.
Aim for a 3–6 inch folded thickness.
Plan two to four leg sets with leveling feet, schedule Safety load testing for 100–200 pounds, and commit to weatherproof hinge care so your build lasts.
Cut and Sand Your Plywood Platform Panels
Grab your tape measure and start by capturing the cargo area’s true dimensions, because SUV interiors rarely form clean rectangles.
Measure length, width, and height at multiple points to account for wheel-well curves and taper near the hatch.
Transfer those numbers to plywood with a straightedge, framing square, and pencil, then build a cardboard template for wheelwell notches before committing to final cuts.
Leave 1/8″–1/4″ clearance around the perimeter for trim and flex.
Choose exterior-grade or Baltic birch plywood, 1/2″–3/4″ thick, and cut straight runs with a track saw, curves with a jigsaw.
Support sheets on sawhorses to prevent splintering.
Sand faces progressively (80→120→180 grit), round over exposed edges, and perform edge safety checks so your dog rides smooth, splinter-free, and secure.
Build Folding Legs and Removable Support Boxes
Because your platform’s stability depends entirely on what’s beneath it, you’ll want to plan your leg layout and support structure before cutting a single piece of lumber. Align legs with your SUV’s floor support points, using four to six legs to limit plywood flex. Build leg stock from 2×2, 2×3, or 2×4 lumber, sizing it for proper weight distribution and a flush passage with folded seats.
| Component | Material | Key Detail |
|---|---|---|
| Folding legs | 2×4 lumber | Beveled feet, felt pads |
| Brackets | Zinc/stainless | Resists material corrosion |
| Support box | ½–¾ in plywood | Glued, screwed joints |
Choose locking hinges with detents, and apply hinge lubrication to prevent binding. Build cubby-style boxes for storage and cargo anchoring, fitting them snugly against wheel wells to resist sliding.
Add Piano Hinges for Easy Folding
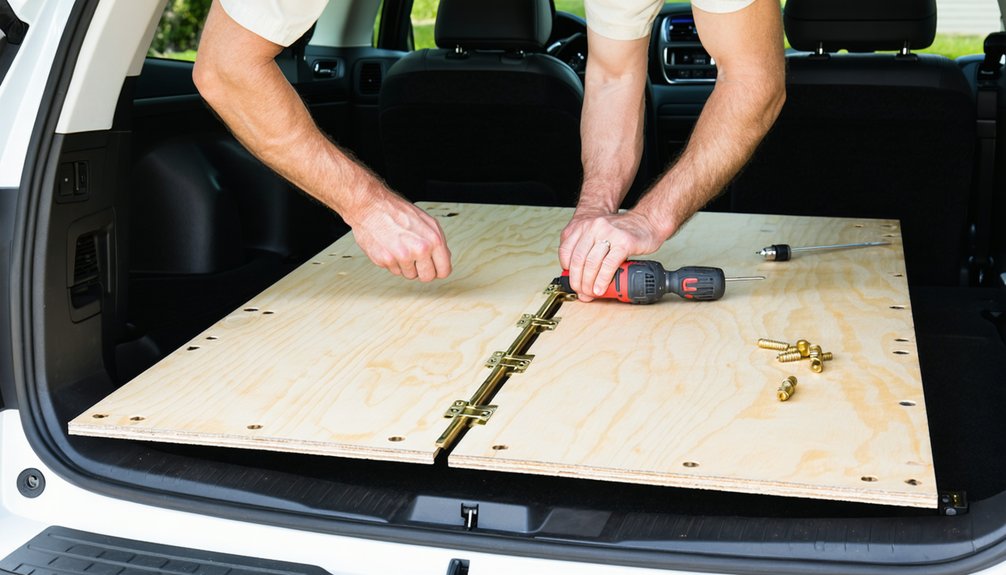
A continuous piano hinge is your best option for joining platform sections, because it spreads the load along the entire folding edge instead of concentrating stress at a few points like butt hinges do.
For your dog’s sleeping platform, choose steel or stainless steel to handle combined dog and gear loads.
A corrosion resistant pin matters if you camp in damp or muddy conditions.
Match the hinge length to your panel width, and pick a leaf wide enough to bite into 3/4″ plywood.
Use wood or machine screws with pilot holes to secure hinge joint durability and prevent tear-out.
Clamp the hinge along the joint so both sections stay co-planar.
A removable pin lets you separate panels for deeper SUV cleaning whenever you need it.
Install Quick-Release Pins and Locking Braces
Every collapsible platform needs hardware that agile down hard and releases fast, and that’s exactly the job quick-release pins and locking braces handle. You’ll want locking pins with spring-loaded balls or detents so vibration and your dog’s movement can’t shake them loose. Go marine-grade stainless steel for corrosion resistance, and match diameter and shear strength to agile forces from jumping and braking.
- Drill precision receiver holes and reinforce them with steel collars or bushings for crush resistance.
- Add over-center locking braces that load in compression, not bending.
- Tether pins with lanyards so you don’t lose them.
- Plan emergency unloading ideas around tool-free, straight-line access.
Verify positive-lock indicators before every drive, and you’ve built a platform your pack can trust.
Make the Dog Platform Non-Slip and Splinter-Free
Once your platform locks down solid, you’ve still got two safety risks to handle: a slick surface that sends paws sliding during braking, and rough edges that snag fur or scratch skin.
Start by sanding every cut edge and corner smooth, since exposed end grain splinters easily. Plywood with a hardwood veneer finishes cleaner than rough softwood. Then add a traction layer to keep your dog secure.
| Surface Goal | Solution |
|---|---|
| Paw grip | Textured rubber, TPE, or non-slip carpet |
| Splinter-free | Rounded, sanded edges and smooth faces |
| Stability | Grippy base plus seat anchors or straps |
Choose a slightly textured finish over glossy coats. Practice easy tool safety while sanding, and if you’ve added outdoor bed ventilation slats, smooth those edges too. Now your companion rides safely.
Seal the Wood Against Mud and Accidents
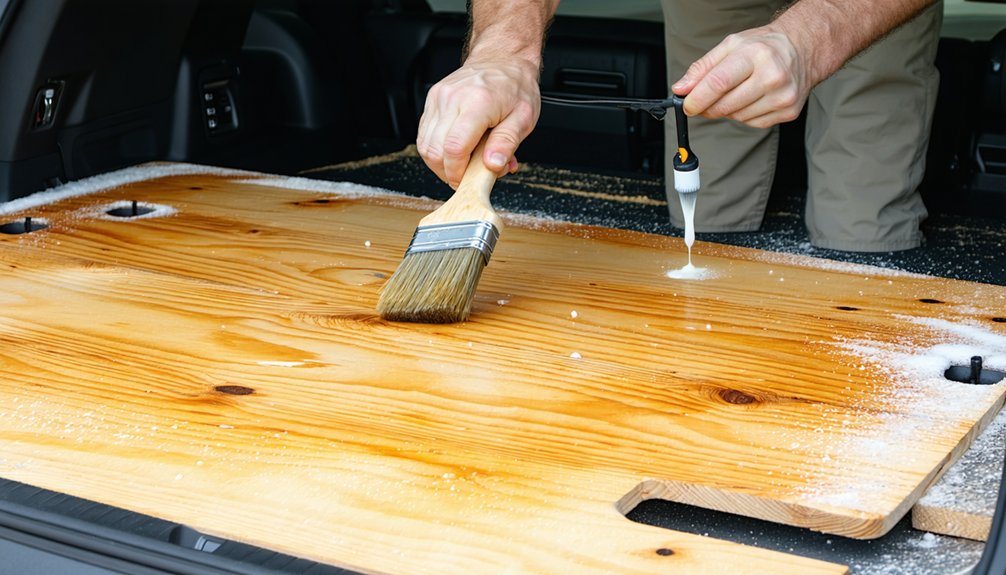
The non-slip surface protects your dog’s paws, but it won’t protect the wood underneath from muddy water, spills, and the occasional accident. Sealing the plywood properly is what separates a platform that lasts from one that warps and stinks after a few muddy hikes.
Choose pet safe sealants like water-based polyurethane or polycrylic—both offer low VOC coating options that keep your SUV’s enclosed cabin safe from off-gassing.
- Prep the wood with cleaning, light sanding, and a stain blocking primer on previous accident spots.
- Apply 4–7 thin coats, fully encapsulating every edge and the underside.
- Follow urine proofing tips by adding a penetrating sealer beneath your topcoat.
- Re-seal when scratches or dull areas appear.
You’ve now built something that endures.
Strap the Platform Down for Crash Safety
A sealed platform that lasts for years won’t matter if it becomes a projectile in a collision. Anchor your build to the SUV’s factory tie-down loops, seatbelt anchors, and LATCH points—these resist real crash loads, unlike hardware screwed into trim.
Use weight distribution by keeping the platform low and tight against the seatbacks, then route load paths so straps wrap structural crossmembers and pull down and back into the floor.
Check anchor ratings before trusting any point, and choose ratched straps with rated working limits over bungees.
Spread loads across multiple anchors—two forward, two rear—so no single failure frees the platform.
Inspect strap hardware regularly, replacing rusted or frayed components.
Latch unused seatbelts across empty seats for redundancy.
Your dog rides with the same protection you do.
Test-Fit and Fix Clearance Problems
Before you screw down a single panel, dry-fit the whole platform inside the SUV and run it through every real-world position your seats and hatch will see. This is where careful builders separate themselves—you’ll catch problems now instead of after the glue sets.
Mark contact points with painter’s tape or chalk so you know exactly where to trim.
- Slide front seats fully back and recline them, confirming the platform clears their travel range.
- Run latch bulge checks at seat-back hinges where the deck rests on folded seats.
- Cycle rear seats from folded to upright, watching for binding or forced flex.
- Verify seat belt clearance so legs and supports don’t pinch buckles or anchors.
Trim and shim until everything fits cleanly.
Frequently Asked Questions
How Do I Introduce My Dog to the New Platform?
Start with Scent Familiarization Tips—place familiar bedding or your worn clothing on the platform. Then use Positive Reinforcement Training: lure your dog with high-value treats, add a cue like “go to bed,” and reward every success.
Can I Leave the Platform Installed for Daily Driving?
Yes, you can! Just anchor it securely to factory tie-downs, respect your platform’s weight limits, and apply a waterproof coating. Keep it below your window line for visibility, and you’ll join countless confident car-camping dog owners.
What Type of Dog Bed or Mattress Works Best?
You’ll want orthopedic memory foam, 3–4 inches thick, for joint support your dog deserves. Add a waterproof cover for messes and raised ventilation to prevent overheating. Together, you’re building comfort that keeps your travel companion thriving.
How Do I Clean the Platform After Muddy Camping Trips?
Shake off mud first, then remove the removable cover and follow its washing instructions separately. Brush hard surfaces, wipe with damp microfiber, and let everything dry fully. You’ll keep your pup’s space fresh and welcoming.
Will This Affect My Vehicle’s Fuel Economy or Insurance?
You’ll see a modest fuel hit since lightweight, removable platforms add little drag. Keep installation safety in mind, preserve towing clearance, and document your build. Since it’s non-permanent, warranty coverage and insurance claims usually stay protected—you’re covered.
Conclusion
You’ve now got a custom-built, collapsible platform that fits your SUV and keeps your dog comfortable and secure. You’ve measured carefully, chosen the right height, and sealed the wood against life’s messes. Don’t skip the crash-safety straps or the final test-fit—they’re what make this build truly road-ready. Fold it down when you need cargo space, set it up when your dog rides along. You’ve earned every expedition ahead. Now go enjoy them together.
References
- https://www.youtube.com/watch?v=a061w0q1Dgc
- https://www.facebook.com/groups/580149545785912/posts/1824688147998706/
- https://www.youtube.com/watch?v=H6kId0xgkcQ
- https://www.youtube.com/watch?v=1NZgrtfe6f8
- https://www.facebook.com/groups/502190756476649/posts/4249589641736723/
- https://feliciafullwood.com/blog/diy-suv-bed-platform-that-sleeps-2-people
- https://www.youtube.com/watch?v=wjEcZV0nnKo
- https://www.youtube.com/watch?v=WwqphM_gyJA&list=WL&index=4
- https://carcampers.com/diy-car-camper/sleeping-platform
- https://www.youtube.com/watch?v=64RllwPrXaA