Start with waterproof vinyl flooring or marine vinyl to resist mud, urine, and water. Add textured planks or cork plus rubber-backed runners for senior-dog traction. Seal every seam with flexible polyurethane, building a shallow “bathtub lip” over marine plywood and insulation. Install a powered roof fan in exhaust mode to keep your dog cool. Harden latches, add security film, and use lockable gap-limiters. Want the full, step-by-step setup? Keep going below.
TLDR Key Takeaways
- Choose waterproof vinyl or cork flooring with a matte, textured finish to resist mud and provide traction for senior dogs.
- Seal subfloor seams, wheel wells, and thresholds with flexible polyurethane or silicone, forming a shallow bathtub lip against moisture.
- Install a powered roof fan in exhaust mode, sized to interior volume, for active air exchange and heat removal.
- Harden latches with anti-break-in kits, security film, and polycarbonate panels, while using lockable gap-limiters to prevent escapes.
- Secure dogs in crash-tested aluminum crates or back-clip harnesses anchored to factory D-rings, with all corners evenly tensioned.
Pick Dog-Proof Van Flooring That Survives Mud
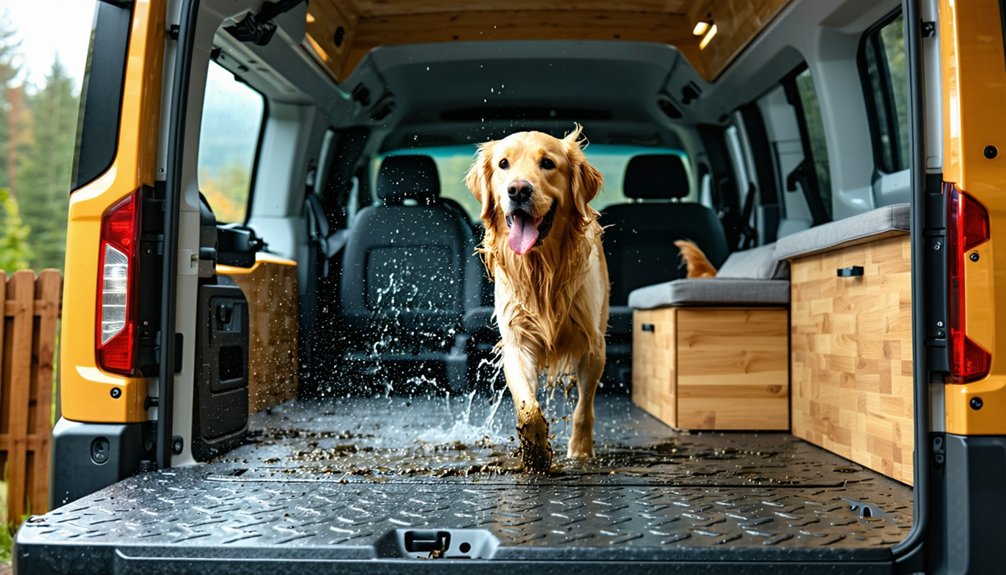
When your dog tracks mud into the van after every hike, your flooring becomes the first line of defense. Choose waterproof vinyl flooring or Lonseal marine vinyl—both resist mud, urine, and spilled water without swelling the subfloor. If you prefer planks, pick luxury vinyl with at least a 20 mil wear layer to survive claws and grit. Laminate rated AC4 handles dried mud and sand, while cork offers lightweight, waterproof insulation. Continuous sheet vinyl eliminates gaps where mud and hair collect, making sweep-and-mop cleanup quick.
Add sealed threshold strips to stop muddy water from seeping under your floor at doorways. Then layer mud containment mats inside the sliding door, creating a sacrificial zone that captures the worst before it spreads. You’ll thank yourself later.
Choose Non-Slip Floors for Senior Dogs
A senior dog’s joints need traction your van’s hard floors can’t provide on their own. Choose textured vinyl planks with a matte finish or cork flooring, which delivers grip plus shock absorption for arthritic joints.
Add rubber-backed runners along common routes—bed to water bowl, sleeping area to door—creating continuous “traction highways” instead of scattered islands.
Secure every edge with rug tape or grippers so nothing slides, since a moving rug’s more dangerous than bare floor.
Keep pile low to protect nails, and aim for 3–6 mm thickness to balance stability and cushioning.
Apply pet-safe, low-VOC anti-slip treatments where needed, including paw friendly grout on tiled zones.
Extend outdoor traction onto your ramp and door step, so your companion braces confidently everywhere you go together.
Seal Floor Seams and Gaps to Protect Your Subfloor
Traction keeps your senior dog steady on top of the floor, but what happens beneath it matters just as much. Accidents, spilled water bowls, and muddy paws all find their way into seams, so you’ll want a waterproof perimeter that locks moisture out of your subfloor.
Start by cleaning van metal and panel edges of dust, oils, and rust—solvent wipes make sure proper sealant adhesion and a lasting bond.
Use flexible polyurethane on panel-to-metal seams, and 100% silicone or hybrid polymer where spills are likely.
Run continuous beads along every joint, smoothing them into concave fillets that shed liquid.
Seal where the subfloor meets walls, wheel wells, and thresholds, then extend sealant up vertical surfaces to form a shallow bathtub lip protecting everything underneath.
Build a Durable, Insulated Floor Assembly
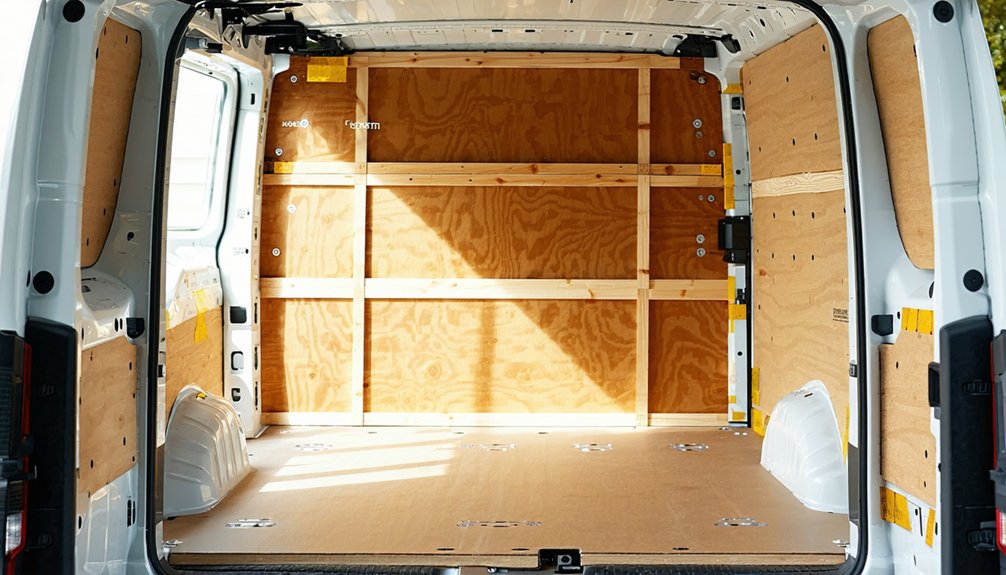
Once your seams are sealed, you’re ready to build the floor that sits on top of them—a layered assembly that balances durability, insulation, and headroom. Like others who’ve built reliable rigs, you’ll stack materials that work together against cold, moisture, and muddy paws.
| Layer | Material | Purpose |
|---|---|---|
| Base | Sound deadener + minicell | Quiet ride, fills valleys |
| Insulation | XPS/polyiso (0.75–1.5 in) | R-3 to R-6 thermal break |
| Subfloor | Marine-grade plywood (9–12 mm) | Strength, load distribution |
| Surface | LVP or rubber coin | Replaceable wear layer |
Use subfloor flatness mapping with straightedges, shimming low spots so joints don’t flex. Leave edge expansion gaps (~1/2 in) around the perimeter to prevent squeaks. Apply seam stagger patterning over ribs, anchoring concentrated loads like crates securely.
Anchor Crates and Tie-Downs for Crash Safety
Every secured crate starts with the right hardware: a crash-resistant aluminum or steel model with integrated tie-down points, reinforced corners, and a locking mechanism that won’t fail under impact.
Crate materials matter, so choose one sized correctly—enough room to stand, turn, and lie down, but not so much that your dog slides in a crash.
Place larger crates flat in the cargo area, lengthwise along a wall, with the door facing rear or side, never the windshield.
Anchor to factory D-rings, cargo hooks, or latch bars using ratchet or cam-buckle straps.
Secure all four corners with even tension—snug, not over-tightened.
Then rock the crate; re-tighten if it shifts.
Before every drive, run a strap inspection and confirm latch durability.
We don’t compromise on safety.
Tether Your Dog Safely While Driving
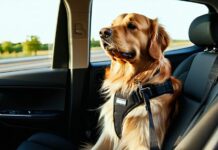
When a crate isn’t practical, a properly fitted tether reigns your dog secure without sacrificing comfort or safety. Choose a crash-tested or vehicle-specific harness with a back-clip attachment point—never clip to a collar or front-clip, which risks neck and tracheal injury.
Prioritize crash testing safety and a secure harness fit by matching weight and girth ratings, and pick padded, wide straps that spread impact forces.
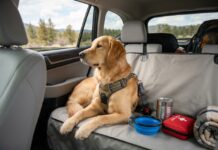
Use a seatbelt-compatible tether anchored to a rear seat belt, cargo tie-down, or seat frame, never removable trim.
Adjust the length so your pup can sit, stand, and lie down but can’t reach the driver or windows.
Choose swivel clips to prevent tangling, keep the floor clear, and inspect webbing regularly for fraying or stressed hardware.
Keep Walkways Clear and Edges Chew-Proof
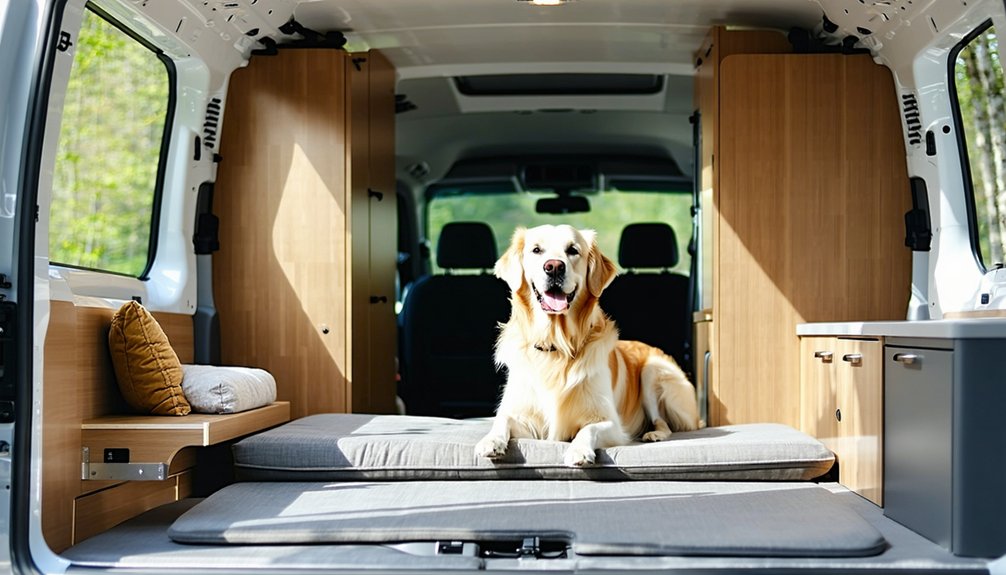
Because a cluttered aisle invites tripping and tempts curious teeth, you’ll want to design your floorplan with both flow and durability in mind. Smart Traffic Flow Design keeps a primary walkway 18–24 inches wide from door to bed and galley, so you and your dog move freely. Tuck the dog bed, crate, and feeding station outside the lane to create Bowls Free Zones in the aisle. Stash leashes and toys in cubbies, and protect edges from chewing.
| Component | Solution | Benefit |
|---|---|---|
| Walkway | 18–24 in clear path | Fewer trips |
| Bowls | Recessed nook | Clear aisle |
| Plank edges | Metal trim, nosing | Chew-proof |
| Gaps | Backer rod, caulk | No debris |
Seal exposed plywood with rounded, chew-resistant trim so no raw edge invites gnawing.
Add Roof Vents and Fans to Beat the Heat
Since still air traps heat fast inside an enclosed van, a powered roof fan does the heavy lifting your dog can’t.
Unlike a cracked window, a roof fan creates active air exchange, pulling warm air out near the ceiling where heat collects.
Run it in exhaust mode to clear trapped heat, moisture, and stale air, then switch to intake when outside air runs cooler.
That intake exhaust tuning keeps your pup comfortable as conditions shift.
Pair the fan with open windows for a cross-breeze that moves real air.
When you’re handling climate fan sizing, match airflow capacity to your van’s interior volume, and choose a high-output, weather-resistant unit with variable speeds.
Install it with a clean, well-sealed cutout so rain stays out and your dog stays cool.
Keep a Parked Van Cool for Dogs
A roof fan moves air, but it can’t fight the heat of a van baking in direct sun. Start with shade-first parking: full shade is the single most effective cooling strategy, so chase it as the sun shifts. Add window insulation—reflective windshield covers, blackout shades, and external Aluminet—to block 70–80% of solar gain. Insulate walls and raise your dog’s bed off hot metal.
| Strategy | Action | Benefit |
|---|---|---|
| Shade-first parking | Re-park as sun moves | Lowest interior temp |
| Window insulation | Reflective/blackout covers | Blocks solar gain |
| Evaporative hydration | Chilled water, cooling mats | Sustained cooling |
| Interior heat sensors | Temperature alerts | Remote intervention |
| Surface protection | Cover exposed metal | Less radiant heat |
You’re keeping your companion safe, together.
Escape-Proof Your Van Doors and Windows
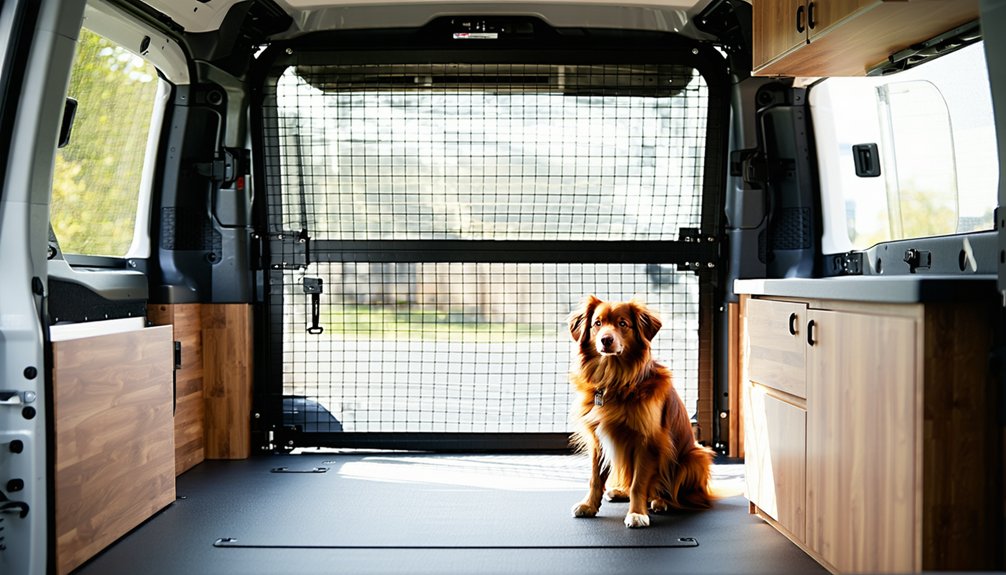
Every door and window is a potential exit point, and your dog will find the weak one. Start by reinforcing locks with secondary interior deadbolts or barrel bolts, so latches can’t pop open if factory locks fail.
Search latch hardening options like mechanical anti-break-in kits and cross-bar systems between front handles.
Install weatherproof hardware that withstands constant road exposure without seizing.
Critically, build in quick release safety—a single-motion release reachable from the bed or dog area—so you can evacuate fast during fire or collision.
For windows, a proper security film install keeps shattered glass intact, blocking arms from reaching interior latches.
Add polycarbonate panels or steel grilles near vulnerable openings.
Skip vented-but-unlocked sliders; use lockable gap-limiters instead, keeping your traveling companion safely contained.
Create a Cozy Dog Den to Reduce Stress
Because dogs feel safest in a consistent, enclosed space, you’ll want to build a dedicated den rather than shuffling bedding between stops. A built-in crate under the bed platform uses dead space and gives your dog a Familiar Retreat. Position it near living areas but out of high-traffic flow, keeping Bedding Placement consistent for Predictable Comfort.
Line your Secure Nook with breathable, padded materials so it feels like a true hideout, not a random compartment.
| Den Feature | Why It Matters |
|---|---|
| Padded bedding | Improves rest, calmer feel |
| Good ventilation | Dogs can’t self-regulate heat |
| Non-slip surface | Reduces sliding during braking |
| Fastened crate | Stable, secure resting area |
Add a small 12 V fan nearby, and your dog gains a dependable, stress-reducing retreat.
Plan Your Emergency Egress and Recovery Kit
When seconds count in a fire, collision, or gas leak, you can’t afford to improvise your exit.
Map a primary exit and at least one secondary route—opposite door, window, or roof hatch—for every zone of your van.
Keep access paths clear; never let crates or gear block latches.
Choose tool-free, glow-marked hardware so you and your dog can escape in low light.
Build a one-page emergency plan covering fire, collision, medical events, gas leaks, and severe weather, with an external meeting point and an emergency contact list including your vet and poison control.
Stage a grab-and-go bag by the main door holding IDs, spare keys, your dog’s records, microchip number, and recent photos.
Then make evacuation drill practice routine, so everyone responds calmly together.
Frequently Asked Questions
How Do I Help My Dog Adjust to Van Life?
Start with short van visits, using Positive Reinforcement and Reward Training to build confidence. You’ll ease anxiety through Routine Scheduling—fixed feeding, potty, and exercise times. Watch for Stress Signals like panting, adjusting pace so your pup feels safe.
What Vaccinations and Vet Documents Do I Need for Van Travel?
You’ll need current rabies vaccination plus core vaccines—distemper, parvovirus, adenovirus—and often bordetella. Carry proof of rabies, a health certificate, vaccination records, and vet contact info. Crossing borders? Add a microchip and USDA-endorsed certificate.
How Often Should I Stop for Bathroom and Exercise Breaks?
Stop every 2–3 hours or 100–150 miles, taking 15–20 minutes off-vehicle to walk, stretch, and use facilities. Match your hydration routine and potty timing—you’ll keep everyone in your crew comfortable, alert, and happy together.
What’s the Best Diet for Dogs During Long Road Trips?
Keep your dog’s usual high-quality diet—stick with familiar food for stress comfort and easy digestion. Feed lighter meals 3-4 hours before driving, and prioritize water hydration every 2-3 hours. You’ll keep your travel buddy thriving.
How Do I Manage Dog Shedding and Odor Inside the Van?
Brush your dog daily and stick to a consistent Hygiene Routine to reduce shedding at the source. Vacuum often, use Pet Friendly Cleaning products on wipeable surfaces, and keep vents open—you’ll all breathe easier together.
Conclusion
You’ve now got the structure to build a van that protects your dog through every mile. Start with bombproof flooring, lock down crates for crash safety, and never underestimate heat—it kills fast. Escape-proof your doors, give your dog a calm den, and keep that egress kit within reach. Don’t cut corners on ventilation or anchoring; these aren’t optional. Build it right, test everything, and you’ll travel with confidence knowing your dog’s safe.
References
- https://wildpackcollective.com/dog-friendly-van-conversion-a-practical-guide-to-building-a-van-your-dog-will-love/
- https://thevansmith.com/blogs/beginners-guide-to-the-vanlife/best-camper-vans-for-dogs
- https://rvlifestyle.com/dog-proofing-your-rv/
- https://www.youtube.com/watch?v=Mz_KeCODBYw
- https://thedubhut.co.uk/commercial-domestic-dog-van-conversions/
- https://www.ourvantasylife.com/vanbuild/camper-van-flooring
- https://www.youtube.com/watch?v=E9GJuBalRYg
- https://bearfoottheory.com/van-conversion-flooring/
- https://faroutride.com/floor/
- https://www.reallycheapfloors.com/blog/the-best-van-life-flooring/