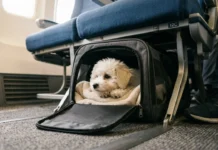
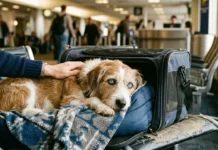
To get an airline to approve an oversized custom crate, you’ll need to meet IATA Live Animals Regulations and any stricter airline specs. Build it rigid and escape-proof, using metal nuts and bolts instead of plastic clips, with ventilation on all four sides. Measure your pet correctly, then photograph every side. Contact the airline’s special baggage desk and secure written approval before you fly. Here’s how each step works in detail.
TLDR Key Takeaways
- Contact the airline’s official “special baggage” or “live-animals” desk to confirm whether your oversized crate is treated as baggage or cargo.
- Prepare exact crate specifications including L×W×H, total weight with animal, and full flight details with PNR, route, and aircraft type.
- Secure written approval rather than a verbal “yes” to provide documented evidence and reduce refusal risk at check-in or loading.
- Ensure crate construction meets IATA standards: rigid build, metal nuts and bolts, four-sided ventilation, and leak-proof flooring.
- Photograph every crate side and match dimensions and weight sheets to aircraft cargo-hold specifications for pre-approval.
Know the IATA and Airline Crate Rules
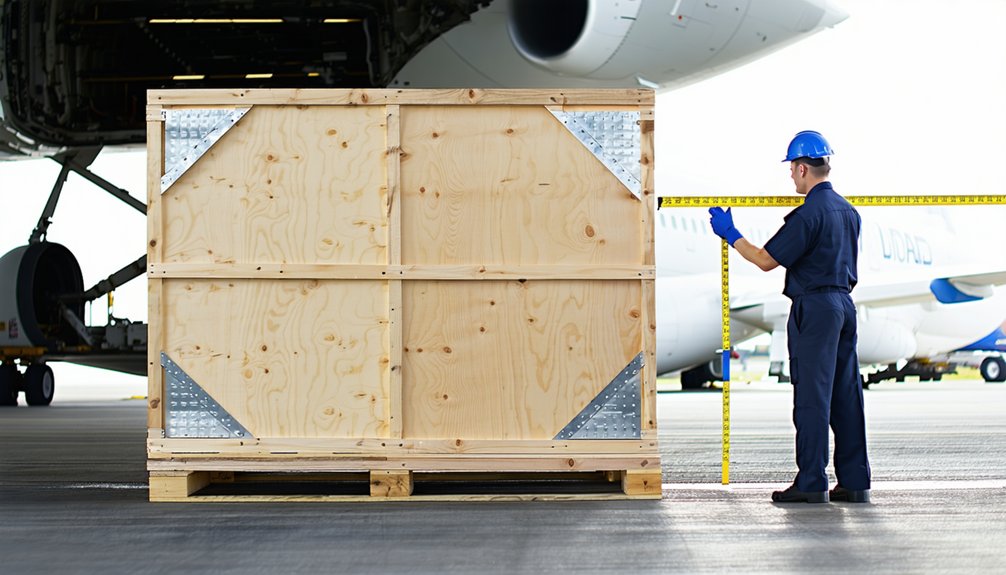
Before you build or buy an oversized crate, you need to understand the rules that govern its design. The IATA Live Animals Regulations set the baseline through container requirement series (CR1–CR99), defining minimum construction standards by species and size. Your crate must be rigid, escape-proof, leak-proof, and ventilated on at least three sides—four for larger units.
But IATA’s just the starting point. Airlines publish stricter specifications in their cargo manuals, and many won’t accept plastic kennels for large or strong breeds, requiring custom wooden builds instead.
So confirm airline policies early, because carriers reserve the right to inspect before shipment and reject non-compliant crates.
When you know both standards upfront, you join the travelers whose pets fly without last-minute surprises.
Measure Your Pet for the Right Crate Size
Once you’ve confirmed the rules, you need precise measurements to apply them. Position your pet in a natural standing stance against a wall, keeping the muzzle parallel to the floor.
Mark the nose, tail base, and top of head or ears, then measure twice for consistency.
Record these four base measurements separately before adding clearance:
- Length: nose to tail base, pet standing relaxed.
- Height: floor to top of head or ears.
- Width: across the widest torso point.
- Leg length: floor to front elbow joint.
Hold your tape snug but never compressing the fur.
Then add the required margins, ensuring turning room and full standing height.
Finish with comfort testing, confirming your pet can circle, stand, and lie stretched out naturally.
Build a Crate That Passes Airline Inspection
With your measurements in hand, you’re ready to build a crate that won’t get flagged at the gate. Use rigid, non-collapsible materials—metal, hard plastic, fiberglass, or ISPM-15 compliant wood—with solid top and bottom panels for structural integrity. Add ventilation on at least three sides, drilling consistent ≈1-inch holes above floor level. Fit a sturdy metal grid door with spring-loaded, dual-point latches that resist vibration. For safety compliance, keep flooring leak-proof and add absorbent mats for odor control during long flights.
| Component | Requirement | Purpose |
|---|---|---|
| Body | Rigid materials | Impact resistance |
| Ventilation | Three sides | Airflow |
| Door | Metal, dual-latch | Escape prevention |
| Floor | Leak-proof, absorbent | Containment |
Run through this inspection checklist before arrival, and you’ll join approved travelers confidently.
Use Metal Hardware Instead of Plastic Clips
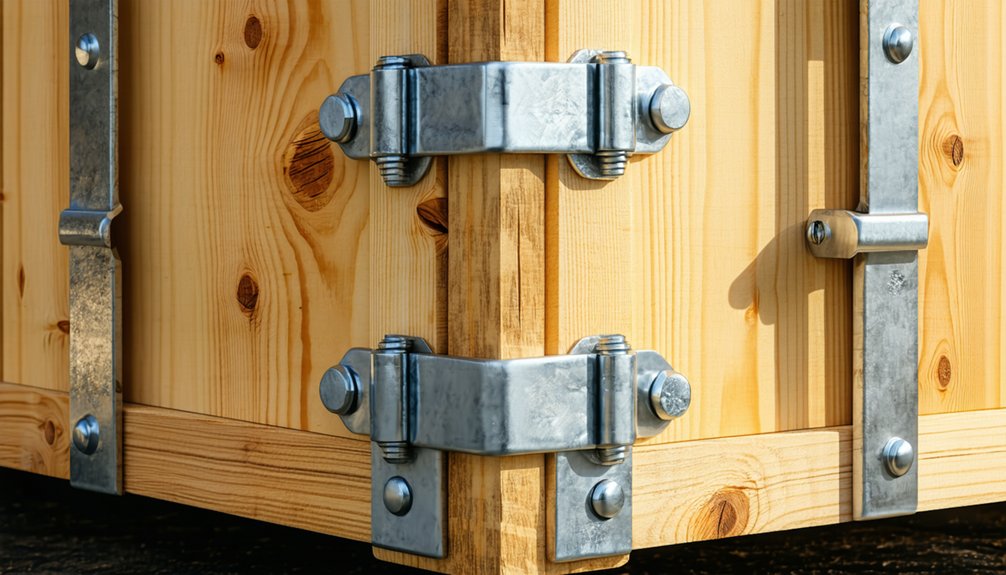
Even if your crate nails every dimension, plastic clips can still get it rejected at cargo acceptance. Airlines and pet-transport providers expect all-metal nuts and bolts, so you’ll want to swap out every plastic peg, clip, or nut before you arrive.
Metal fastening keeps panels from separating under load and helps your crate clear inspection alongside others that meet IATA, USDA, and FAA-aligned standards.
Check these points before travel:
- Top and bottom panels secured with metal nuts and bolts
- Door closures held by metal clips or tie-compatible hardware
- Every connection point, not just the latch, fitted with metal
- Airline documentation confirming your carrier’s hardware requirements
Replace any plastic part now, and you’ll join travelers whose crates pass without gatekeeping.
Ventilate Your Crate on All Four Sides
Because international pet-transport guidance treats ventilation as a formal requirement, your crate needs visible openings on all four sides—not just two.
Four-sided ventilation supports crossflow airflow planning, which prevents stagnant air inside a closed crate and keeps your animal safe.
Aim for ventilation covering at least 16% of the crate, placed on the upper two-thirds where airflow matters most.
Get your mesh vent sizing right: openings should be large enough for airflow but small enough to prevent injury or escape.
Cover wooden-crate openings with mesh or wire grid, and keep every vent clear rather than blocked or partially hidden.
Airlines review your crate more favorably when they see visible ventilation on all sides and no obstructed panels.
Build airflow into your design from the start.
Line the Crate With Non-Slip Bedding
When you line your crate with non-slip bedding, you’re building in a safety measure that airlines notice during their assessments. Stable footing reduces slips and joint strain during takeoff, turbulence, and landing, keeping your animal aligned when ramp agents move the crate.
Through bedding traction testing, you’ll confirm your setup stays put on slick plastic floors instead of bunching or flipping.
Build a layered system with moisture absorbency layers to keep paws dry and traction reliable:
- Non-slip base: rubberized vet bedding or trimmed PVC mat anchored under the lip.
- Absorbent core: high-density polyester pile that drains fluids through.
- Washable top cover: secured snugly to the footprint.
- Cardboard or pee pad: anchors layers and captures accidents.
These measures demonstrate genuine care.
Match Your Crate to the Right Aircraft
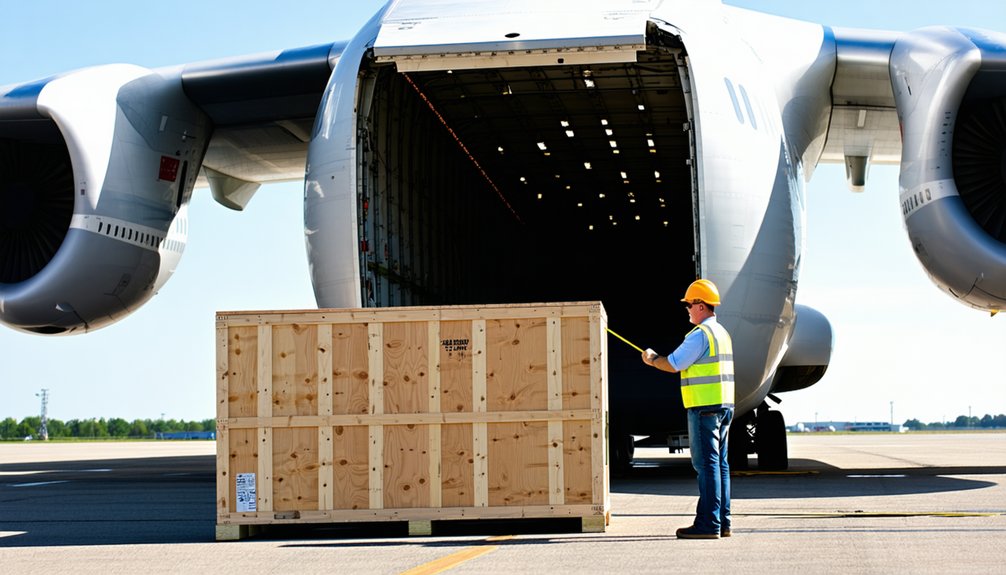
Although your crate might clear every IATA size rule, it still won’t fly if it doesn’t fit the specific aircraft working your route.
Pull the airline’s cargo-hold specs and compare your crate’s L×W×H against real limits.
A Boeing 737 bulk door runs just 102–107 cm high and 74–89 cm wide, while a 777 forward door opens around 1.63 m by 3.40 m.
Watch the catch: many wide-body lower holds cap loose-cargo height at 152–160 cm even when the door’s taller.
Factor doorway clearance against hinges, latches, and frame curvature, then commit to loading angle planning so your crate tilts through, not just theoretically fits.
If height or width exceeds passenger-hold limits, you’ll need main-deck freighter loading—so confirm your route’s aircraft early.
Prepare Your Crate Dimension and Weight Sheets
Build your dimension and weight sheets before you ever approach the airline, because load-control engineers approve what they can verify on paper. Document both metric and imperial measurements, flag your longest side, and state your inspection tolerance so engineering understands your clearance margins.
Capture interior space against IATA formulae to prove your animal stands, turns, and lies naturally.
- Exterior dimensions: Record L × W × H, max projection, and a bounding box for irregular geometry.
- Interior fit: List usable space, door opening, ventilation percentage, and bedding depth.
- Weight breakdown: State tare weight, gross weight, and component masses by method.
- Structural data: Confirm center of gravity and safe working load.
Submit clean, source-backed sheets, and you’ll earn the approval you’re seeking.
Photograph Every Crate Side for Pre-Approval
Because reviewers can’t inspect your crate in person, your photos have to do the talking. Capture all six sides—top, bottom, front, back, left, and right—using clear, well-lit images that show the full outline without cropping edges.
Shoot at eye level from a slight distance to reduce distortion, adjusting lighting angles for each side so vents, seams, and fasteners stay visible. Use natural light, not flash, and reshoot anything with glare or blur.
Add a metal tape measure inside, positioned straight, to confirm length and height. Then move in for close up labels and hardware shots, including latches, joints, and live-animal markings.
Maintain consistency across the set—logical order, simple filenames, matching dimension numbers—and retain originals in case the airline requests higher-resolution versions or resubmission.
Contact the Airline’s Special Baggage Desk

Before you dial, find the airline’s dedicated “special baggage” or “special items” desk on its official baggage or help pages—don’t trust third-party numbers. Confirm special desk hours and time-zone, then verify whether your airline treats oversized pet crates as special baggage, bulky baggage, or cargo/live-animals, since channels differ.
Have your data ready and ask advance registration thresholds upfront.
When you call, you’ll want answers fast, so come prepared:
- Crate specs: exact L×W×H and total weight (crate plus animal).
- Flight details: PNR, route, dates, aircraft type, all connecting segments.
- Lead time: required advance notice—often 24–48 hours, longer for pets.
- Backup options: alternate flights or cargo service if limits apply.
You belong with travelers who plan thoroughly and fly confidently.
Get Written Crate Approval Before You Fly
Although a verbal “yes” feels reassuring, you need written crate approval because it serves as documented evidence that the airline accepts your crate’s specific dimensions and design. This confirmation reduces your risk of refusal at check-in or loading, and it documents exceptions when your crate exceeds standard checked-baggage or live-animal limits.
Because airlines treat oversized containers as “special items,” written notation in your booking record protects you on travel day.
Use the approval to clarify which rules apply—passenger baggage or cargo/freight—since exceeding limits shifts your crate to cargo handling. Confirm shipment contingency for aircraft-type changes, ensuring the planned hold accommodates your crate’s height and length.
Clarify transfer responsibility for connecting flights so no one questions who’s accountable. With documentation secured, you’ll travel confidently alongside fellow prepared owners.
Work With a Pet Shipper to Cut Risk
With written approval in hand, you can cut your remaining risk by hiring a professional pet shipper, ideally an IPATA-affiliated agent, rather than going it alone. These specialists access airline cargo networks and freighter routes the public can’t book, and they pre-screen your crate against current IATA Live Animal Regulations before check-in.
A seasoned shipper delivers:
- Cargo access: Commercial booking channels that prioritize live-animal space for oversized crates.
- Compliance: IATA and carrier-specific checks, including brachycephalic ventilation rules.
- Airline communication: Direct coordination with cargo, ramp, and destination handlers to confirm oversize readiness.
- Contingency planning: Alternate flights and rebooking when embargoes, weather, or aircraft swaps threaten acceptance.
Frequently Asked Questions
How Much Does Shipping an Oversized Pet Crate Typically Cost?
Costs vary widely, depending on crate size, weight, and route. You’ll typically pay $150–$400 as checked baggage, $200–$500+ via cargo, or $800–$5,000+ through specialized pet shippers. Custom crates add $300–$1,000+, so budget accordingly.
Can My Pet Be Sedated During the Flight?
You shouldn’t sedate your pet—veterinary guidance and airline policies discourage it because of crate safety and altitude risks. Join responsible pet parents who choose sedation alternatives like crate conditioning, exercise, and pheromones for calmer, safer trips.
What Happens if the Airline Rejects My Crate at Check-In?
You’ll face denied transport, and you’ll need emergency rebooking options if no compliant crate’s available. You might lose prepaid fees too. Document everything for liability claim steps, and lean on staff—we’ve all managed this together successfully.
Are There Breed Restrictions for Animals Traveling in Custom Crates?
Yes, you’ll face breed restrictions, especially for fighting and snub-nosed breeds. Your veterinary health certificates verify breed classification, so confirm your airline’s rules early. Remember, service animal policies differ, so you’re not traversing this alone.
Can I Feed and Water My Pet During Layovers?
Yes, you can! Offer light food and water during layovers, but confirm carrier policies and quarantine rules first. Like fellow pet parents, you’ll attach pre-packed food to crates and use no-spill bowls for hydration.
Conclusion
Getting an oversized custom crate approved isn’t impossible—it just takes preparation. You’ve learned to measure your pet accurately, build a crate that meets IATA and airline standards, use metal hardware, and ventilate all four sides. Don’t skip the photos or written pre-approval; they’re your safeguards against last-minute denials. When in doubt, partner with a professional pet shipper. Do the work upfront, and you’ll get your crate—and your pet—cleared for takeoff.
References
- https://www.youtube.com/watch?v=P0EeA_yY6e4
- https://support.airportr.com/hc/en-us/articles/34693960206737-Handling-Special-Items-e-g-Fragile-Oversized
- https://www.delta.com/us/en/baggage/special-items/overview
- https://www.flyertalk.com/forum/united-airlines-mileageplus/2085324-possible-check-large-oversized-box-international-flight.html
- https://bbs.wera.com/index.php?threads/can-you-ship-large-boxed-items-on-an-airline-as-checked-bags.372409/
- https://www.petsintransit.com/custom-dog-travel-crates/
- https://www.expat.com/en/forum/central-america/costa-rica/720869-bringing-additional-boxes-when-flying.html
- https://dryfur.com/modify_your_kennel/
- https://asiapata.com/airline-approved-travel-crate-size-requirements/
- https://www.reddit.com/r/StandardPoodles/comments/1qb5vdh/airline_approved_dog_crate_recommendations_for/