Start by sizing up your dog’s weight and the obstacle, since most adults shouldn’t solo-lift past 50–60 lb. Choose full-body lift gear that spreads support across front and rear, then fit it using the two-finger rule before your dog leaves the ground. Squat with bent knees, keep your spine neutral, and lift smoothly while propelling the hind end over logs. Knowing when to abort matters just as much—and that’s where it gets critical.
TLDR Key Takeaways
- Assess your dog’s body condition, weight, joint pain, and behavior before lifting, then measure the obstacle height against their shoulder.
- Choose full-body lift gear that supports front and rear sections, with wide panels, sturdy handles, and padded contact points for uneven terrain.
- Fit the harness before lifting by measuring girth, neck, and weight, then verify a two-finger snug fit at neck, chest, and belly.
- Stand close with feet shoulder-width, knees bent, and back neutral, then squat and straighten legs smoothly while holding the dog at mid-chest height.
- Boost hindquarters with gradual upward pressure on the rear harness handle, timing hind feet to leave the ground as the front commits.
Size Up Your Dog and the Obstacle First

Every safe lift starts long before you reach down—it starts with an honest assessment of what you’re working with.
Estimate body condition and weight range first, noting your dog’s BCS to gauge lifting demand and where the center of mass sits.
Factor in breed proportions and age, since seniors and deep-chested dogs distribute weight differently.
Check joint pain tolerance by applying gentle pressure to hips, spine, and chest, watching for arthritis, IVDD, or cruciate flare-ups.
Observe behavior handling stress, too—tucked tails, lip licking, or growling tells you a lift could escalate fast.
Then size up the obstacle: measure its height against your dog’s shoulder, and evaluate obstacle footing grip on both approach and landing.
When you read the whole scene, you lift smarter together.
When Is a Dog Too Heavy to Lift?
Once you’ve sized up your dog and the obstacle, you need an honest answer to a harder question: can you lift this dog at all?
For most adults, 50–60 lb marks the ceiling for safe solo lifting, while veterinary staff often flag 40–50 lb as the point to call for help.
On uneven, muddy, or rocky trails, those numbers drop further.
Assess Handler Limitations honestly: fatigue, prior back problems, poor footing, and a struggling or fearful dog all push an otherwise liftable weight into “too heavy” territory.
Giant breeds (90–150+ lb) and dogs with arthritis, hip dysplasia, or IVDD raise the stakes.
When the lift demands maximal strain, Use Alternative Tools—ramps, slings, boards, or a second person—instead.
You belong to a community that lifts smart.
Pick the Right Lift Harness for Big Dogs
The right yoke turns a risky lift into a controlled one, so choose with intention.
For large dogs needing obstacle help, a full-body lift gear is your safest default because it spreads support across both front and rear sections.
Rear-support, front-support, and slings each serve narrower needs, but they don’t match whole-body control on uneven terrain.
Never rely on abdomen-only lifting—the belly shouldn’t carry full weight.
Look for wide panels, sturdy handles, padded contact points, and secure attachments that keep your dog neutral and level.
Safe strap placement means chest support that stabilizes the ribcage without restricting breathing, plus abdominal coverage spanning roughly half the belly.
Follow manufacturer comfort sizing guides closely, measuring chest and belly girth—because measured fit beats guesswork every time.
Fit the Lift Harness Right Every Time

Because even the best gear fails when it’s fitted wrong, you’ve got to tune in size and placement before your dog ever leaves the ground.
Start by measuring girth behind the front legs, neck circumference above the shoulders, and weight, then compare against your specific brand’s size chart.
One of the most common sizing mistakes is assuming straps can fix the wrong size—they can’t.
Position rear padding to cradle the abdomen and front sections behind the throat over the sternum, keeping handles over your dog’s center of gravity.
Apply the proper two finger rule: slide two fingers between harness and body at neck, chest, and belly—snug, never compressing.
Re-check after a short walk, sit, and lie-down cycle, since padding settles and fur compresses.
Train Your Dog to Accept the Lift
Train your dog to welcome the lift before you ever need it on the trail.
Start by making the dog harness predict good things. Place it on the ground and reward any voluntary sniff, approach, or orientation, reserving a special treat just for harness moments.
Pair buckle and Velcro sounds with immediate food to counter-condition startle.
Positive reinforcement timing matters: feed the instant your dog engages, keeping sessions short—3 to 5 minutes—with frequent, successful repetitions.
Build calm body handling next, pairing gentle touches to shoulders, chest, ribs, and thighs with treats before adding mild upward pressure and slow weight shifts.
Then shape a cooperative “step in” or “head through” behavior, fading lures over time.
Practice across locations and surfaces, so your dog trusts the process anywhere.
Lift Your Dog Solo, Step by Step
Once your dog accepts the lift calmly, you can put that conditioning to work on the trail. You’re part of a community that prioritizes safety, so respect carry weight limits—many guides advise against solo lifts for dogs over 50 lb (23 kg) without training or gear.
Set firm emergency abort criteria too: stop if you detect severe pain, respiratory distress, or suspected spine injury.
When you’re cleared to proceed, follow these steps:
- Stand close with feet shoulder‑width apart, knees bent, back neutral, toes facing the obstacle.
- Squat by bending knees and hips, grasping front and rear harness handles.
- Cue your dog to stand still, then straighten your legs smoothly.
- Hold your dog at mid‑chest height, spine aligned, without twisting.
Protect Your Back During the Lift
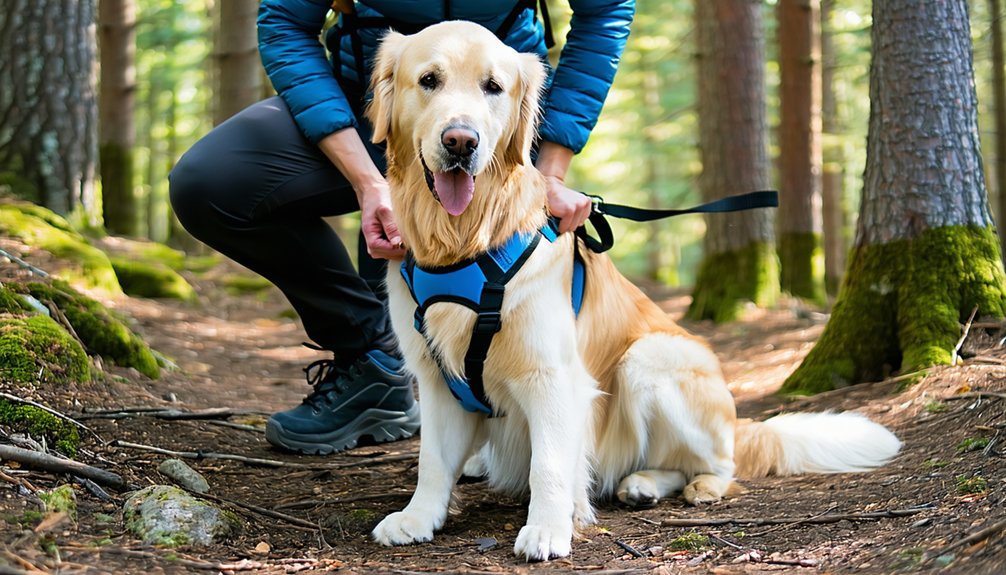
Although your dog’s weight matters, your technique leverages your back more than raw strength ever will.
Start with warm up mobility to prime your hips, glutes, and core before you load up.
Set your feet shoulder-width apart, one slightly ahead, then squat into the lift instead of bending at the waist.
Keep your spine neutral from neck to pelvis, brace your core, and stack your shoulders over your hips.
Grip the harness handles close, drive through your heels, and straighten your knees and hips together.
Control your lifting tempo—smooth and jerk-free—since quick motions spike disc and muscle forces.
Never twist under load; pivot your feet and hips instead.
Inhale before, exhale through exertion.
Lift like us: deliberate, steady, and back-smart every single time.
How Do You Coordinate a Two-Person Lift?
When the obstacle’s too big or your dog’s too heavy to lift alone, you bring in a second set of hands—and that’s where coordination matters more than muscle. You and your partner work as one unit, syncing every move with clear communication.
- Grip confirmation: Before lifting, you confirm hand placement—front supports the chest behind the front legs, rear supports the belly or hips.
- Two person cueing: Use a shared count like “one, two, three” so you both rise together and avoid uneven loading.
- Slip prevention: Wear non-slip footwear and clear the path of tripping hazards first.
- Set down coordination: Reverse the lift slowly, lowering together rather than dropping or twisting your dog.
Keep your dog close and stay calm throughout.
Boost the Hind End Over Logs and Boulders
Because logs and boulders rarely match your dog’s natural stride, a well-placed push helps the hind end clear what the front already committed to.
Bring your dog to a stable, square stand with all four paws planted, then apply force through the rear harness handle or strap—never directly under thighs or abdomen without padding.
Introduce upward pressure gradually, raising the hindquarters only enough for obstacle clearance, not full suspension.
Time the lift so hind feet leave the ground as the front feet commit to stepping, promoting posture alignment and natural joint movement.
Keep the motion smooth and continuous, angling slightly forward and upward to prevent spinal hyperflexion.
For very heavy dogs or high obstacles, add secondary support so you share the load together.
Keep Breathing Easy on Steep Climbs
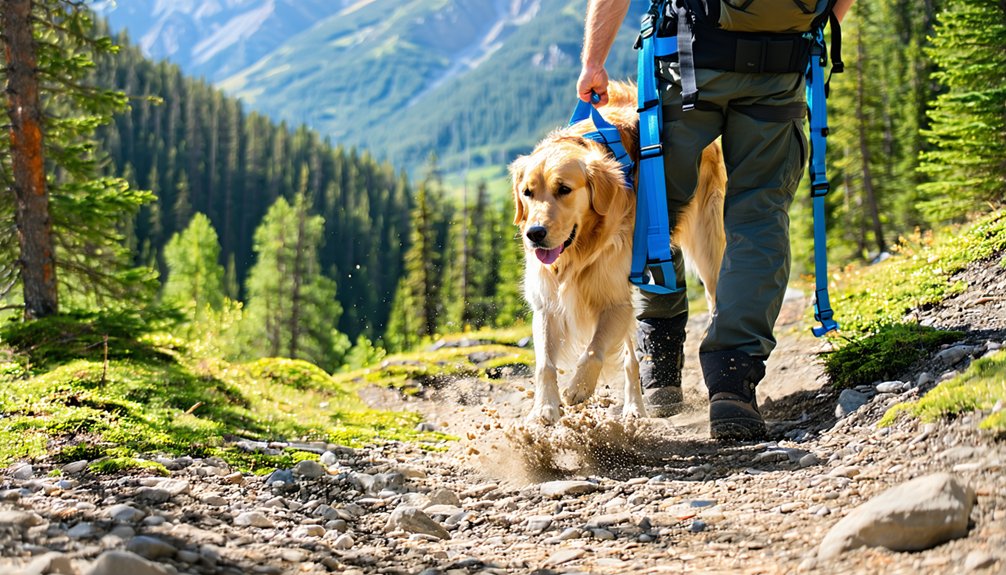
Steep climbs tax your breathing before you ever reach an obstacle, so controlled pacing is your first line of defense. Keep a slow, steady cadence with shorter steps and less vertical bounce to lower oxygen demand.
Match your pace to the talk-test: if you can’t speak short phrases, you’re pushing too hard to safely handle your dog.
- Take micro-rests of 10–30 seconds on long grades to recover without stiffening up.
- Climb in intervals—climb, pause, climb—before technical sections so you’re steady when lifting.
- Practice altitude awareness; thinner air raises your breathing rate and makes lifting more demanding.
- Heed hydration prompts, since dehydration spikes your heart rate and strains oxygen delivery.
Controlled breathing keeps you—and your trail companions—safe together.
No Harness? Try These Improvised Slings
On the trail, you won’t always have a proper lift harness within reach—but you can improvise one from gear you’re already carrying.
Fold a large towel or blanket lengthwise to create broad belly support, centering it under the chest or just in front of the hind legs to avoid the genitals and floating ribs.
A reusable tote with side panels cut out delivers a continuous sling with built-in handholds.
A long sheet, scarf, or jacket works too—just tie ends with a secure double knot.
For improvised handle safety, keep the dog’s spine level and leave two fingers between fabric and body.
Prioritize non slip fabric selection—cotton, canvas, or denim—since slick, stretchy textiles increase the risk of your dog sliding out mid-lift.
When to Abort the Lift and Switch Plans
How do you know when to stop? Trust your instincts and the warning signs your dog gives you. Aborting isn’t failure—it’s how responsible handlers protect their dogs and each other.
- Observe pain signals: Stop immediately if your dog yelps, freezes, flinches, limps, or shows labored, noisy breathing or pale gums while suspended.
- Watch behavior: Abort if your dog snaps, lunges, thrashes, or stays in heightened arousal that you can’t safely calm or muzzle.
- Reassess conditions: Quit if terrain’s slippery or sloped, handlers lack numbers, or fatigue compromises proper lifting posture.
- Check gear: Halt if the harness isn’t lift-rated, fits poorly, or shows frayed buckles, stitching, or D-rings.
When risk climbs, switch tactics and plan alternatives—reroute, rest, or call for backup.
Frequently Asked Questions
How Often Should I Replace My Dog’s Lift Harness?
Replace your lift strap every 6–12 months with active trail use, since lifting demands stricter safety margins. Do a strap inspection before each lift, and follow vet guidance to retire it immediately when damage appears.
Can Puppies Be Lifted With Mobility Harnesses Over Obstacles?
Yes, but cautiously. For puppy safety, you’ll want short, partial-support lifts over single obstacles, never full suspension. Since growth plates are vulnerable, limit training duration and choose multi-point support systems. We all want our young companions protected.
Are There Waterproof Lift Harnesses for Wet Trail Conditions?
Yes, you’ll find waterproof lift leashes built for immersion—SAR, fire, and water-rescue models like KONG Delphinus. They offer buoyant fabrics, rust-proof hardware, and waterproof traction handles, so you’re trail-ready alongside fellow explorers tackling any winter trail.
How Much Do Quality Lift Harnesses Typically Cost?
You’ll find trail lift straps across price ranges from $20–$200, averaging around $50. For safety fit and reliable feature comparison, you’ll want mid-range models ($35–$130) offering padded handles and adjustability—joining countless hikers who trust quality gear.
Should I Consult My Vet Before Harness Training?
Yes, always consult your vet first. For Vet Safety and Training Clearance, they’ll provide Weight Limit Guidance and Injury Prevention strategies designed for your dog. You’ll join countless responsible owners protecting their companions through professional guidance.
Conclusion
You’ve got the tools and the technique now, so trust your training. Size up each obstacle, fit that gear right, and lift with your legs—not your back. When your dog’s too heavy or the terrain turns dangerous, don’t force it; reroute or turn around. A safe hike beats a summit every time. Keep your dog’s breathing clear, watch for fatigue, and you’ll both clear those trails confidently and come home unharmed.
References
- https://www.youtube.com/watch?v=3BrZWOhM2qc
- https://www.youtube.com/watch?v=Lk00PsF0jAM
- https://www.alibaba.com/product-insights/the-complete-guide-to-safely-carrying-your-giant-dog-without-injury.html
- https://walkinpets.com/blogs/blog/how-to-safely-lift-and-carry-your-dog
- https://www.whole-dog-journal.com/care/how-to-safely-lift-and-carry-a-dog/
- https://www.petscare.com/news/faq/what-is-the-golden-rule-for-dogs
- https://www.lispoo.com/A-Complete-Guide-How-to-Use-a-Dog-Lifter-Harness-for-Pets-with-Limited-Mobility
- https://www.vetstreet.com/our-pet-experts/teach-your-dog-to-wear-a-lifting-harness
- https://www.youtube.com/watch?v=2ZjkPJZs1Yc
- https://smart.dhgate.com/expert-tips-for-safely-carrying-a-50-lb-dog-without-strain-or-injury/