Start by confirming your roof’s static and variable ratings, then take the lowest number across your manual, rails, and crossbars. Pick a rectangular tent with at least 80 inches of length for you and a large dog. Fit a padded support rein with multiple handles, then choose a ramp, ladder, or lift based on your dog’s confidence and weight. Load front-first, unload rear-first. There’s more you’ll want to nail down first.
TLDR Key Takeaways
- Choose the right access method: a ramp for confident dogs, a ladder for trained climbers, or a lift for heavy dogs.
- Use a full-body or sling-style support harness with multiple handles, padded straps, and hardware rated for your dog’s weight.
- Position lift handles squarely over the shoulders and hips, keeping load-bearing straps on bony, muscular areas to maintain a neutral spine.
- Load front-first and unload rear-first, using a “suitcase carry” with your back straight and the dog held close.
- Train ladder confidence at home using a low, wide ladder on non-slip surfaces with treats, then run a one-night shakedown.
Check Your Roof Load and Tent Capacity First
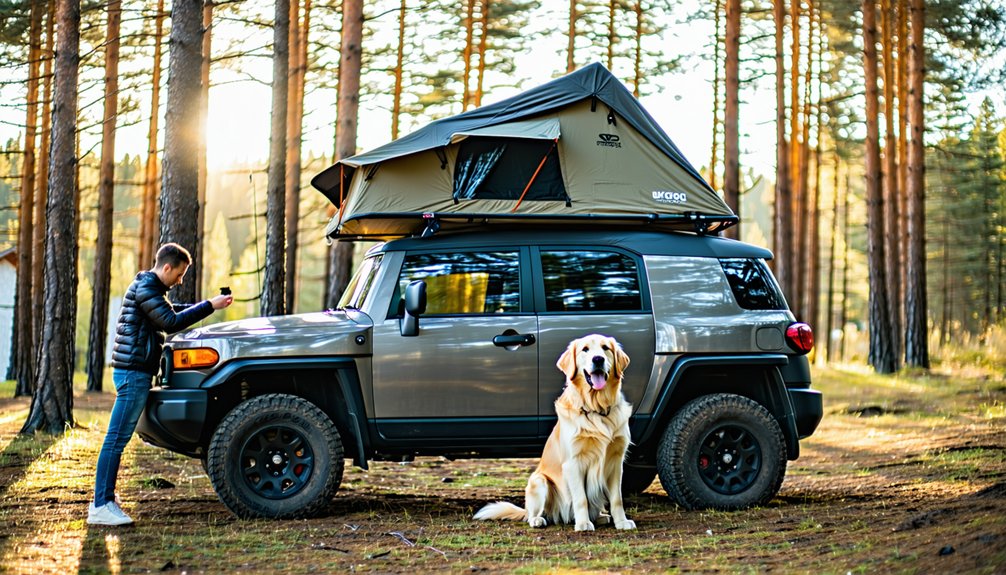
Before you bolt anything to your roof, you need to know exactly how much weight it can carry—both while you’re driving and while you’re parked.
Your variable rating (typically 100–165 lb on passenger vehicles) caps weight while moving; your static rating, usually 3–5× higher, governs parked loads like you, your gear, and your dog.
Check your weight limit sources: vehicle manual, rail specs, and crossbar ratings.
Your real cap is the lowest number among them.
Confirm roof rack compatibility, since crossbars rate differently on raised versus flush rails.
Add it up—rack, tent, hardware, and accessories—then stay 10–15% below your variable limit, or around 70% for rough roads.
Most rooftop tents support 800–1000 lb static, but your roof’s the true limit.
Plan accordingly.
Pick a Rooftop Tent That Fits a Big Dog
Once you’ve confirmed your roof can handle the load, the next decision is which tent actually fits your dog.
Aim for interior sleeping length of at least 80 inches and width of 56–60 inches for one large dog and an adult—72–78 inches if two adults share the space.
Rectangular floor plans give your dog more usable room than aggressively tapered wedges.
Choose durable flooring like reinforced PVC or heavy-duty polyester to prevent punctures from shifting claws, and pick 280–600D fabrics that resist nail snags.
Measure ventilation carefully: multiple mesh windows and vents reduce overheating for thick-coated breeds in confined rooftop spaces.
Consider side-opening clamshells or annex-compatible models, which create larger, ground-level options.
These choices welcome your dog into the trip comfortably and safely.
The Safest Way to Get Your Dog Up and Down
Because a fall from roof height can permanently injure a large dog, you need a deliberate system for getting yours up and down—not improvised hoisting at the ladder.
Start with a full-body c harness featuring chest and rear support, and lift using the “suitcase carry” with the handle—back straight, load close.
Never use a fireman’s carry; that inverted posture stresses your dog’s spine and invites slips.
If your dog climbs, attach a dedicated ramp, reduce the angle by elevating the base, and run Non slip surface checks before every ascent.
Apply Trick refusal training and high-value lures so your dog moves deliberately instead of lunging.
Keep light leash contact to catch missed steps.
Practice these habits at home, and you’ll both climb with confidence.
Load Front-First, Unload Rear-First
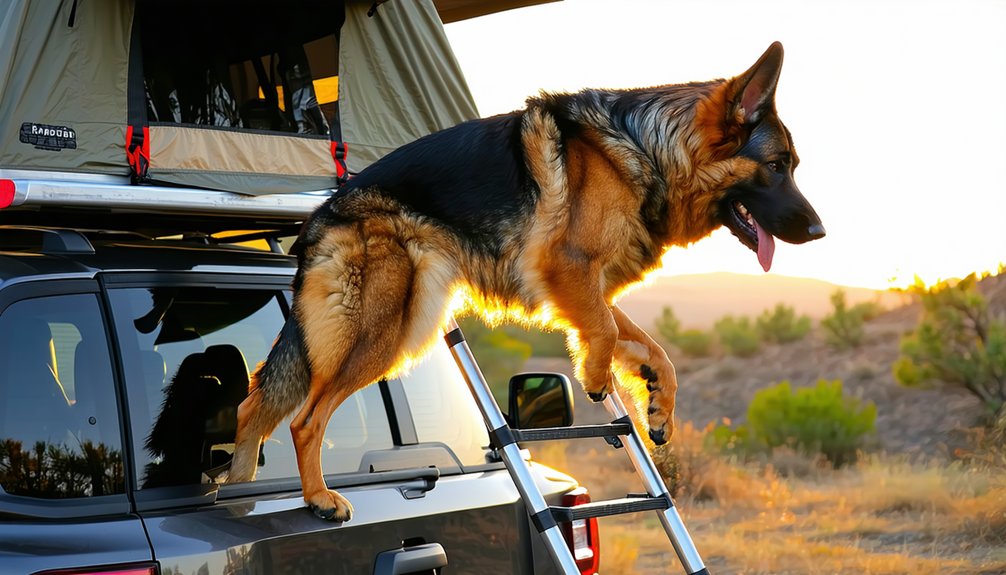
Sequence matters more than strength when you’re carrying a large dog up a ladder. Load front-first, and you’ll control the chest and forequarters before the hind legs leave the ground—reducing the chance your dog slips backward.
Use a two-arm carry, one arm under the front legs, the other under the rear, keeping your dog compact and close to your torso. This posture helps you reduce dog scrambling during the climb.
To unload, reverse the sequence. Lower the rear end first so your dog can’t lunge forward out of the tent opening before you’ve got full control.
Throughout, maintain controlled gripping with one hand on the ladder, and prioritize safe ladder handling by moving deliberately, one step at a time. That’s how confident handlers do it.
Choose Between a Ramp, Ladder, or Lift
Carrying your dog up a ladder works, but it isn’t your only option—and it isn’t always the safest one. You’ve got three paths, and the right one depends on your dog’s size, confidence, and your tent’s height.
| Method | Best Fit |
|---|---|
| Ramp | Confident dogs on a shallow incline |
| Ladder | Trained climbers practicing slow, steady ascents |
| Lift | Heavy dogs or difficult access situations |
A lower-angle ramp reduces climbing difficulty, and stable ramping—propping the base on a cooler, log, or box—keeps it firm. Add traction control with anti-slip mats, carpet, or tape so your dog won’t slip. If climbing’s impractical, lift your dog using a supportive carry, not a fireman’s carry. Whatever you choose, fellow campers, prioritize steady, controlled movement.
Fit a Support Harness for Controlled Lifting
A support bracing turns an awkward, risky lift into a controlled one—if you pick the right design. Choose a full-body or sling-style harness with multiple handles, padded straps, and hardware rated for your dog’s weight.
Measure chest girth behind the front legs—the primary sizing metric—then confirm load-bearing straps rest on bony, muscular areas, not the throat or belly. Avoid common harness sizing mistakes by checking strap pressure points across the sternum, groin, and hips.
- Lift handles sitting squarely over shoulders and hips, keeping the spine neutral
- A two-finger gap under each strap, snug enough to stop rotation mid-air
- Rear pads resting in front of the hind legs, clearing genitals and tail
Test-lift a few centimeters first to confirm everything stays centered.
How Do You Lift a Large Dog Safely?
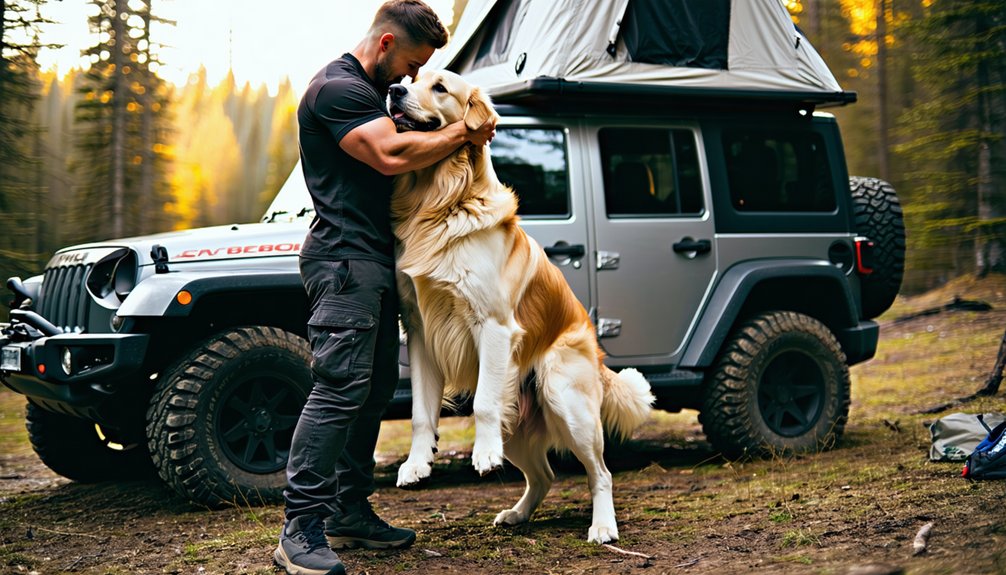
Before you hoist anything, ask whether the lift is even necessary—and whether you should attempt it alone.
For dogs over 40–50 lb, grab a partner; team lifts protect your back and your dog.
Watch for safe stress signals first—whale eye, growling, or a stiff posture—and pause if your dog’s anxious.
Plant your feet shoulder-width apart, squat with knees and hips bent, and keep your spine neutral.
Wrap one arm around the chest behind the front legs, the other under the hindquarters ahead of the back legs.
This is joint friendly handling that distributes weight evenly.
Hold your dog snug against your torso, lift smoothly through your legs, and never twist your spine.
Skip the scruff, armpits, and legs—those cause real injury.
We lift together, safely.
Train Your Big Dog on the Ladder at Home
Lifting works for emergencies, but you don’t want to haul a 70-pound dog up and down every time you camp. Building indoor ladder confidence at home turns rooftop access into a calm, repeatable routine you’ll both trust.
Start with a low, wide practice ladder on a non-slip surface. Lay it flat first, scatter treats between rungs, and reward every interaction—a glance, a nose touch, one paw, then two.
- Rubber mats cushioning each misstep around the base
- Treats luring slow, deliberate paw placement up one rung
- A short, neutral leash guiding without a single correction
Keep sessions to 30 seconds–10 minutes with joint friendly pacing to protect heavy joints.
Get your vet’s orthopedic clearance first, pair cues like “up” and “down,” and progress gradually.
Run a One-Night Shakedown Before You Commit
Once you’ve trained your dog on the ladder at home, prove the whole system works with a single overnight trip close to home before you commit to a multi-night or remote voyage.
This shakedown validates your large-breed access plan under real conditions, reducing the risk of mid-trip failure or injury.
Watch for dog stress signals—panting, pacing, whining, or refusal to climb—during your access fear assessment, since these may signal fear of height, instability, or pain.
Use nighttime behavior testing to gauge restlessness, pacing, noise tolerance, and barking that could disturb neighbors.
Confirm emergency exit readiness so both you and your dog can evacuate quickly if weather, wildlife, or a medical issue strikes.
You’ll also uncover handler fatigue and gear weak points before they matter most.
Set Up a Joint-Friendly Tent Interior
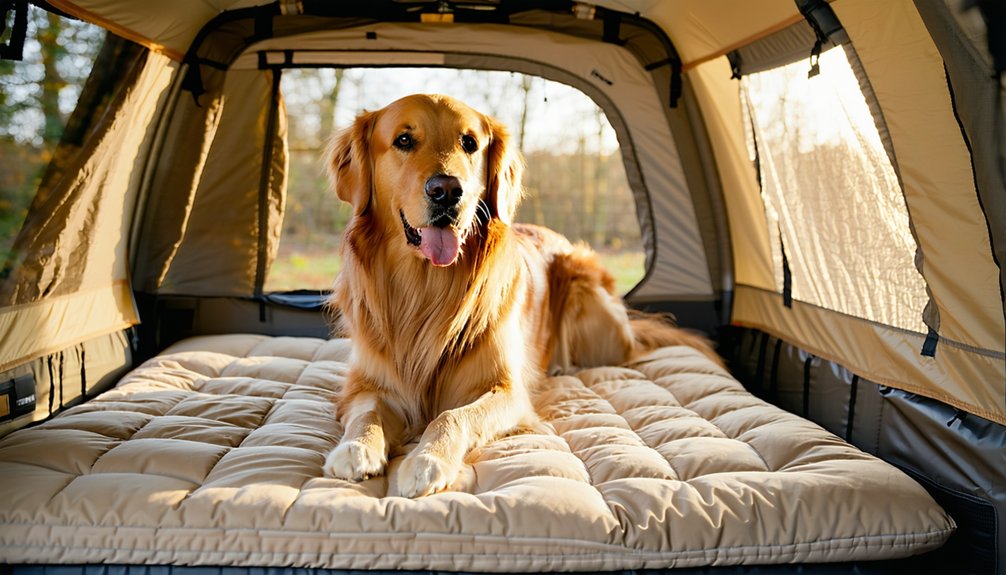
Because your large breed will spend hours sprawled inside the tent, how you set up that interior directly affects their joints, sleep quality, and safety.
Start with pressure relief surfaces: a high-density or memory foam topper and an orthopedic egg-crate bed distribute weight evenly, easing strain on hips, elbows, and hocks.
Add non slip bedding so paws don’t skid when your dog repositions or stands.
- A waterproof, breathable cover keeping foam dry, firm, and odor-free
- A grippy, washable blanket anchoring the bed against sliding
- A clear runway from door to bed, free of hard bins or shoes
Place the bed near the entrance to minimize twisting, and choose medium-firm support that keeps heavy joints aligned.
Your dog belongs here, resting comfortably.
Keep Your Dog Calm and Secure at Camp
Although the tent solves the sleep problem, a stressed dog won’t rest well even on the best orthopedic bed. Build a predictable camp layout with fixed spots for the tent, water bowl, and tether so your dog knows what to expect.
Position your site away from bathrooms, trails, and generators, and use your vehicle or a tarp as a visual barrier to lower arousal.
Anchor a fixed-length tether to your back-clip harness, never a collar, using rope rated above your dog’s weight.
Bring the mat you’ve trained at home so mat relaxation transfers to camp.
Offer quiet nourishment—lick mats, stuffed Kongs, chews—to trigger the rest-and-digest response, and reward calm behaviors with low-key praise.
Keep feeding and walk routines consistent, and you’ll both belong here comfortably.
Pack a Canine First-Aid and Emergency Plan
A calm dog at camp is a good start, but injuries don’t wait for convenient moments. Build a kit that fits your dog and your route.
Stock sterile gauze, non-stick pads, self-adhering wrap, and medical tape for bleeding control, plus saline for flushing wounds and eyes.
A tick removal kit, blunt-tip scissors, and tweezers handle thorns and splinters fast.
Your allergy response plan should include vet-confirmed diphenhydramine dosing for stings and swelling.
Pack these essentials, too:
- Styptic powder for torn nails, plus antiseptic wipes for minor cuts
- A digital thermometer to catch heat or cold stress early
- Laminated vet contacts, records, and a Mylar blanket for shock
Map the nearest 24/7 clinic before you leave, so you’re never guessing.
Frequently Asked Questions
Can My Dog Stay Alone in the Rooftop Tent While I’m Away?
You shouldn’t leave your dog alone up there. Experts agree rooftop tents lack crate safety and ventilation essentials, risking overheating and escape. Like fellow campers, keep your pup supervised—limit absences to 20 minutes only with strict precautions.
What’s the Maximum Age for Training a Large Dog on Rooftop Tents?
There’s no strict age limit—from older puppies to senior dogs, your companion can learn. What matters is individual joint health, so prioritize health screening before trips and choose safe ramped training to keep them comfortable.
How Much Does a Quality Rooftop Tent for Dogs Typically Cost?
You’ll typically spend $1,500–$3,000 on quality rooftop tents. Pricing climbs with dog-specific features, premium materials, and warranty coverage. Hard-shells start near $3,000. For your large breed, prioritize weight-limit considerations and reinforced floors you’ll trust together.
Are Rooftop Tents Legal to Use at All Campsites?
No, they aren’t legal everywhere. Campsite regulations differ state by state, and park policies vary widely. You’ll find most developed campgrounds welcome you, but always check leash requirements and dispersed-camping rules before joining fellow overlanders.
Should I Get Pet Insurance Before Overland Trips With My Dog?
Yes, you should. Get emergency vet coverage before departing, since remote trips raise risks. Check policy exclusions to watch, like breed limits. Time your coverage activation past waiting periods, and trip cancellation claims protect prepaid bookings too.
Conclusion
You’ve got the tools to make rooftop camping safe for your big dog. Start by verifying your roof load and tent capacity, then choose gear that fits your breed’s size and joints. Practice the front-up, rear-down method, run a shakedown night, and keep emergency supplies close. Take it slow, watch your dog’s comfort, and adjust as you go. With patience and preparation, you’ll both sleep easy under the stars.
References
- https://jamesbaroud.com/blog/use-rooftop-tent-dog/
- https://www.edge-overland.com/blog/paws-whiskers-and-overlanding-the-supreme-guide-to-rooftop-tent-camping-with-dogs-and-cats
- https://www.youtube.com/watch?v=1_vAt4XqVjM
- https://campingbaba.com/dogs-into-your-roof-top-tent/
- https://www.campwerk.co.uk/roof-tent-dog-advantages-preparation/
- https://www.reddit.com/r/overlanding/comments/leod9h/how_do_you_use_a_rooftop_tents_with_a_big_dog/
- https://tentbox.com/blogs/travel-tips/what-s-the-best-roof-tent-for-dog-owners
- https://roadtrippers.com/magazine/rooftop-tent-camping-guide/
- https://roofwander.com/en/blog/rooftop-tent-faq
- https://benehike.com/blogs/blog/how-to-get-your-dogs-on-rooftop-tent