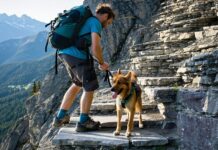
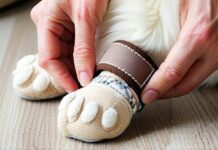
Dog boots stay on sharp volcanic rock when they fit tight, lock the heel, and strap down against twist. Measure paws on weight-bearing surfaces, then choose boots with secure heel pockets that stop lift and forward slide. Add dual or triple wide hook-and-loop straps to resist rotation on ʻaʻā and basalt. Break them in indoors first. But fit’s only half the battle—hot lava threatens paws in ways boots alone can’t fully solve.
TLDR Key Takeaways
- Measure front and rear paws separately on weight-bearing pads, recording the largest width and length to ensure proper, slip-free boot fit.
- Secure a tight heel lock so the calcaneus anchors into the boot’s rear, preventing vertical lift and forward toe slide.
- Use dual or triple wide hook-and-loop straps (0.75–1 in) placed low and mid-shaft to resist twisting and ejection.
- Choose 1000D ballistic nylon uppers with ripstop grids and abrasion zoning to withstand sharp ʻaʻā and rough basalt projections.
- Select deep, widely spaced lugs (~4–6 mm) in durable rubber compounds for braking and lateral grip on scree and volcanic rock.
Why Do Dog Boots Slip Off on Lava Rock?
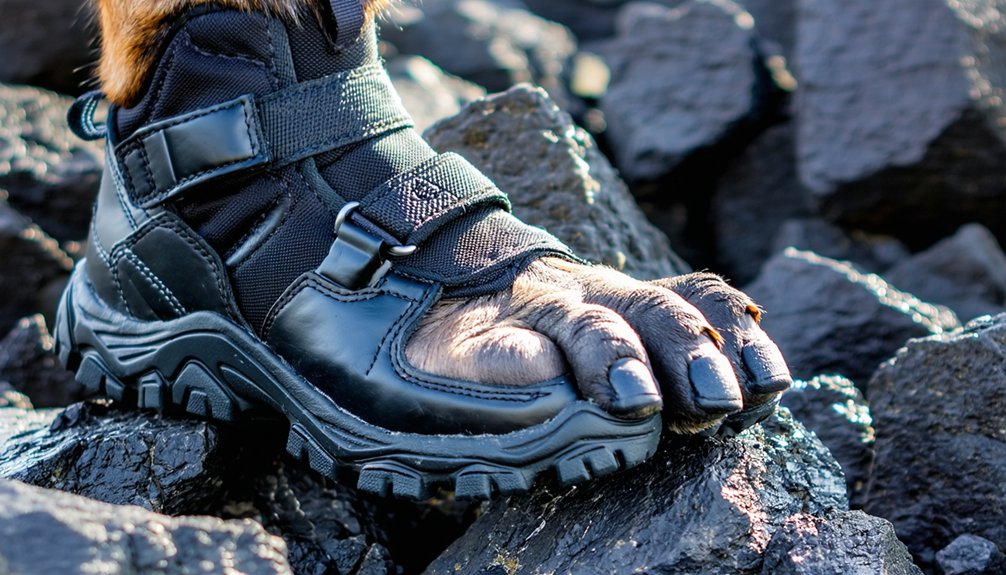
When your dog’s boots keep ejecting on lava rock, the cause usually isn’t a single flaw but a combination of poor fit, brutal surface mechanics, and weak closure design.
Boot fit causes top the list: wrong sizing lets paws slide internally, while single-size sets ignore smaller rear paws, and untrimmed nails or fur block proper seating.
ʻAʻā and rough basalt generate high shear forces, grabbing tread lugs and twisting boots loose with every push-off.
Sharp projections snag fabric, yanking boots off as your dog’s limb keeps moving.
Strap placement errors compound this—straps below the carpal or hock zone slide downward under gravity and impact, and elastic closures creep under flexion.
When you understand these forces, you’ll fix them and hike confidently alongside fellow explorers.
What Does a Secure Heel Lock Actually Do?
On lava rock, a secure heel lock anchors your dog’s calcaneus—the heel bone—into the rear of the boot by increasing lace tension at the collar. This reduces vertical heel lift during stance and push-off, keeping the foot seated in its heel pocket over uneven terrain. By limiting heel motion control, you enhance static friction between counter, sock, and skin—the same sock friction principle that prevents shear-driven hot spots.
Here’s what a tight heel lock delivers for your pack:
- Less micro-movement, taming both vertical and slight horizontal heel shifts that cause rubbing
- Forward-slide prevention, protecting toes from bruising on rocky descents
- Tighter boot-ankle coupling, so the boot tracks your dog’s motion across jagged volcanic surfaces
You’ll trust every step together.
Closures and Straps That Keep Boots On
Across jagged volcanic terrain, your boot’s closure system does the heavy lifting—it’s what actually keeps the boot on when your dog scrambles, pushes off sharp rock, and changes direction fast.
Dual or triple hook-and-loop straps build multiple friction points, cutting rotational twist and slippage.
Place one low—just above the paw, below the carpal pad—and one higher at mid-shaft to fight piston motion and twisting.
For strap comfort, choose wider straps (0.75–1 in) with elastic backing; they distribute pressure, accommodate swelling, and prevent cutting in.
Anti-slip linings grip fur on narrow “stick legs.”
For closure durability, high-quality Velcro outlasts snaps and zippers through grit and repeated use.
Keep hardware low-profile and away from dew claws and joints, and you’ll join handlers whose boots stay put.
How to Measure Your Dog’s Paw for a Tight Fit
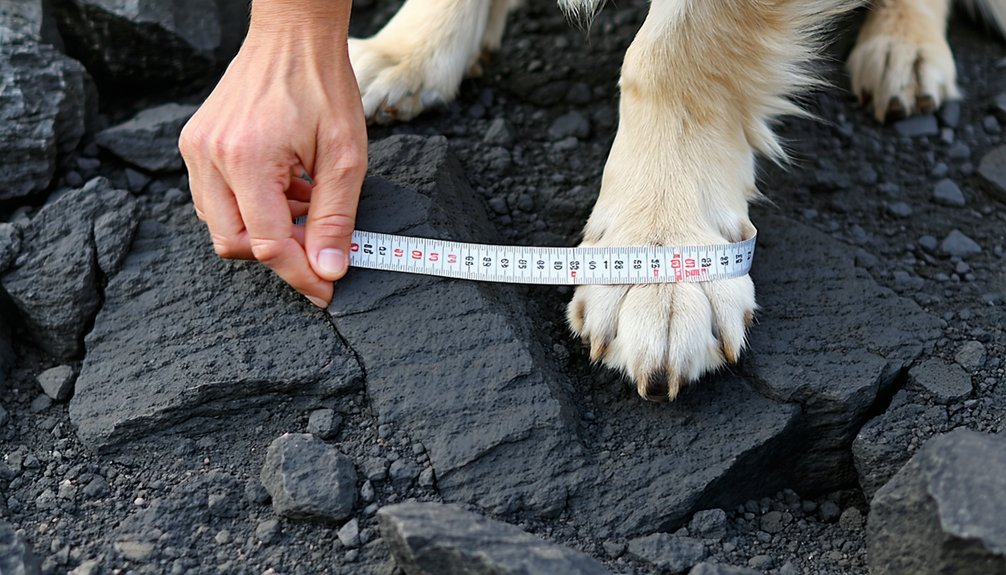
Because a boot can only grip what you’ve measured correctly, start by tracing your dog’s paws while they’re fully weight-bearing on a flat, non-slip surface. Lift the opposite front paw so pads splay to true working size, and hold your pen straight up to minimize parallax error.
For paw measurement accuracy, mark heel and longest toenail, then the widest edges, repeating two or three times per paw.
- Measure front and rear separately—front paws usually run wider and may need a different size.
- Record both width and length in millimeters, using the largest reading.
- When fitting for swelling, bandages, or known injuries, size that specific paw up.
We’ve all guessed wrong before; precise numbers earn boots that finally stay put over volcanic rock.
Break Boots In Before the Trail
Start indoors with sessions of just 1–3 minutes on smooth, non-slip flooring so your dog adjusts gait without battling terrain too.
Flex and twist the uppers and soles first to soften stiff materials.
Pair boots with food or toys—comfort cue training builds positive associations the whole pack relies on.
Run indoor traction games on smooth floors, then mix in boot free practice so your dog stays confident either way.
Do gradual stride checks, watching for high-stepping, paw flicking, or freezing before heading outside.
Add five minutes per session over about a week, progressing to flat outdoor walks.
Position straps above the carpal pad, snug but not constricting.
Check paws every 10–15 minutes for hotspots, loosening or pausing whenever rubbing, redness, or altered gait appears.
Outsole Lugs That Bite Sharp Basalt
The outsole does the heavy lifting on sharp basalt, so its lug design makes or breaks your dog’s footing. Smart basalt tread geometry means deep, widely spaced lugs (≈4–6 mm) that interlock with scree, paired with square edges that bite micro-irregularities better than rounded profiles. You’ll want multi-directional orientation for braking, climbing, and lateral moves across tilted lava plates.
- Match depth to terrain: moderate lugs (2–3 mm) keep contact on polished slabs; avoid going over 6 mm, which causes rocking.
- Layer your bite: alternate large and micro-lugs so debris clears while fine grip stays.
- Add traction edge microtexture: siping and textured faces enhances shear resistance on dusty basalt.
Choose this, and your dog joins the surefooted pack.
Rubber Compounds for Wet and Abrasive Rock
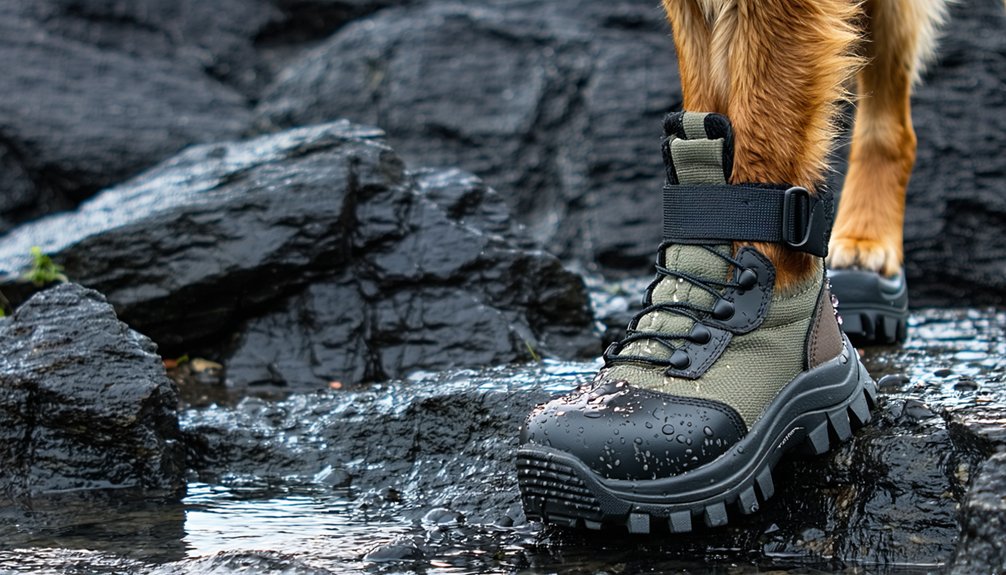
Lugs grip only as well as the rubber they’re cut from, so compound choice decides whether your dog’s boots last over wet, abrasive volcanic rock.
You’ll want carbon-black-filled natural rubber as your base—it’s the standard for abrasion resistance, improving toughness and slowing material loss under repeated sliding.
But raw hardness isn’t everything.
Silica traction matters too, since well-dispersed silica enhances grip on wet surfaces while preserving acceptable wear.
Look for balance: crosslink density that holds shape without going so stiff it loses grip on slick basalt.
Remember, wet abrasion fails differently than dry, with water creating slip and polishing.
And load-dependent wear means your dog’s weight shapes how fast soles degrade.
The best compounds tune wet grip and controlled abrasion together—not maximum hardness alone.
Boot Materials That Survive Volcanic Abrasion
Above the sole, your dog’s uppers take the real beating on volcanic rock, so material choice decides whether the boots survive a single hike or a season of them. You want 1000D ballistic nylon, which endures over 20,000 Martindale rub cycles—roughly two to three times standard 420D—in a tight 2×2 weave that won’t snag on ʻaʻā projections.
- Abrasion zoning: Double- or triple-layer reinforcement over toe caps and lateral sides concentrates protection where claws and edges hit hardest.
- Ripstop grids: High-tenacity 200–400D yarns contain tears locally instead of letting whole panels fail.
- DWR treatment: Hydrophobic finishes keep basalt-dust slurry from embedding grit and fraying fibers.
Add TPU overlays under 0.2 mm, and you’ll join hikers whose boots last.
Protecting Paws From Radiating Lava Heat
Beneath that abrasion-resistant nylon, heat is the threat your boots can’t fully stop. Fresh black lava regularly hits 140–160°F in tropical sun, while your dog’s pads start suffering thermal damage around 118°F. Boots reduce conductive transfer, but interior temperatures can still climb toward 105°F—worse than pavement heat—because dark, non-breathable uppers absorb radiant energy and lava re-radiates stored heat into the sole.
Use the 5-second hand rule: if you can’t hold the rock, it’s unsafe. Hike before 8:30 a.m. or after 5:30 p.m., when surfaces drop below 110°F.
Take micro-breaks every 10–15 minutes on cooler substrates for boot cooling, and carry your dog over heat-shimmering ʻaʻā stretches.
A $25–$40 infrared thermometer keeps everyone in your pack safe.
When Boots Aren’t Enough on Hot Rock
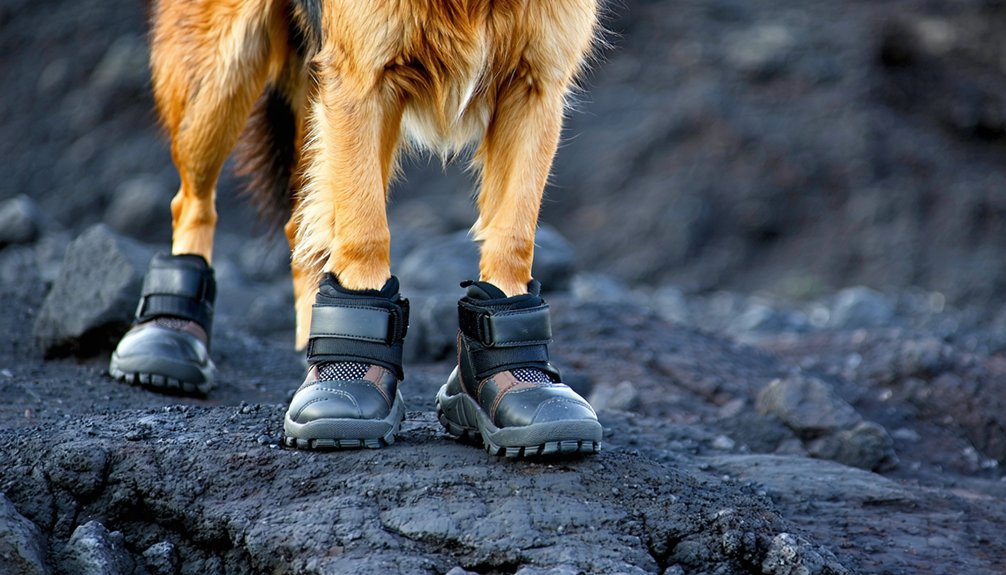
They reduce direct pad contact, but they don’t guarantee safe internal temperatures. Thin soles and dark rubber can exceed 140°F on black lava, transmitting heat to your dog’s pads within minutes. There’s no ASTM/ISO standard for canine footwear on volcanic rock, so any “lava-tested” claim is marketing, not certification. Worse, boots that trap heat accelerate maceration, and over-reliance encourages longer, faster exposure—raising your dog’s total heat dose.
Protect your companion with layered defenses:
- Thermometer checks: use a handheld infrared device ($25–$40), since dark rocks stay unsafe hours after air cools.
- Timed rest breaks: stop every 10–15 minutes on dirt, vegetation, or platforms.
- Smart windows: hike before 8:30 a.m. or after 5:30 p.m.
Boots alone won’t carry you both through.
Field-Test Boot Grip and Mud Release Yourself
Every grip claim on a boot’s packaging means nothing until you’ve tested it yourself.
Start with a DIY mud release check: mix 60% soil, 30% water, and 10% crushed pumice, press the sole under 20–25 lb for a few seconds, then lift vertically. Mud should detach within half a second, lugs emerging clean.
For your edge grip check, set the sole on basalt or 36–60 grit sandpaper, apply 25 lb, and slide laterally—you want over 8 lb resistance.
During abrasion wear testing, watch for shiny, rounded rubber patches signaling lost edges.
On real trails, run a mixed loop and count steps until traction recovery clears packed lugs.
Repeat after flex cycles, because softened materials behave differently than fresh ones.
Clean Boots and Check Paws After Every Hike
Always clean your boots right after a hike, before mud, grit, and debris harden in the tread or seams. Cleaning immediately keeps dirt from pushing deeper into materials during storage.
Use a stiff brush, damp cloth, and warm water, and remove laces and insoles to reach hidden grime. Wipe the interior too, since sweat and salt accumulate inside.
This quick post hike routine supports odor prevention and protects boot longevity.
Check your dog’s paws at the trailhead and again at home, since volcanic rock invites trouble.
- Inspect pads, between toes, and around claws for cuts, gravel, or irritation.
- Watch for limping, licking, or reluctance to bear weight.
- Clear tread grooves to restore traction and paw health.
Dry fully before storing.
Frequently Asked Questions
Are “Lava-Tested” Boot Claims Backed by Any Official Certification Standards?
No, lava testing claims aren’t backed by official certification standards. There’s no ASTM, ISO, or USDA standard for canine footwear on volcanic rock. Like savvy buyers in our community, you’ll treat these as vendor marketing claims.
Should I Carry Spare Boots and Supplies on Long Hikes?
Yes—pack boot backups for any hike over 6–8 miles. Fellow volcanic-trail hikers know sharp ʻaʻā shreds soles fast. Smart trail logistics mean spares, paw balm, gauze, and tweezers, preventing painful evacuations and keeping everyone moving.
Can My Dog Go Barefoot on Level, Low-Risk Trail Stretches?
Yes, if your barefoot risk assessment checks out. Confirm packed dirt, cool temps below 110°F, and no trail surface hazards like sharp lava edges. With thick, healthy pads, your dog joins us comfortably barefoot.
Are Recent Lava Flows Riskier Than Older Weathered Rock?
Yes, recent flows are riskier. Volcanic surface testing confirms fresh ʻaʻā has razor-sharp edges, unstable clinker, and hotter, darker rock. Our weathering risk comparison shows older flows blunt and cool over time—so you’ll want maximum paw protection.
Does Paw Wax Replace the Need for Boots Entirely?
No, paw wax can’t replace boots entirely. Paw wax effectiveness offers temporary protection and trail comfort, but it won’t shield against sharp lava cuts. Like fellow hikers know, boot alternatives stay supplemental—wax complements boots, never substitutes structural defense.
Conclusion
You’ve got the tools now: a snug heel lock, layered closures, and a measured fit that won’t twist loose on jagged lava. Break those boots in, watch for radiating heat, and pull your dog off the rock when paws can’t take it. Field-test grip before you commit, then clean and inspect after every hike. Do this consistently, and you’ll keep your dog moving safely across terrain that punishes shortcuts. Protect those paws.
References
- https://www.alibaba.com/product-insights/how-to-choose-pet-friendly-hiking-boots-that-grip-volcanic-rock-and-resist-mud-suction.html
- https://www.alibaba.com/product-insights/are-pet-friendly-hiking-boots-for-dogs-actually-preventing-paw-injuries-on-volcanic-rock-in-hawaii.html
- https://walkeepaws.com
- https://www.cleverhiker.com/more-gear/best-dog-boots/
- https://fidohikes.com/gear/best-dog-boots-for-hiking/
- https://ruffwear.com/products/grip-trex-dog-boot-pairs
- https://www.treelinereview.com/gearreviews/best-dog-shoes
- https://www.alldogboots.com/Dog-Hiking-Boots-s/87.htm
- https://www.reddit.com/r/BackpackingDogs/comments/1daok0g/booties_for_my_dog_going_on_a_multi_day_hike/
- https://ruffwear.com/collections/dog-boots