Plan 3–4 liters per person daily, plus about 1 ounce per pound for your dog, then add a 20–30% buffer for heat, dry food, and trail miles. Separate potable from utility water using color-coded, food-grade containers certified by FDA or NSF. Treat your supply with a sediment-carbon-UV sequence, and keep boiling and chlorine tablets as backups. Sanitize tanks every 1–3 months. Below, you’ll find the full breakdown for every step.
TLDR Key Takeaways
- Plan ~1 oz of water per pound of dog daily, adding a 20–30% buffer for heat, dry food, altitude, and trail miles.
- Separate potable from utility water using color-coded containers, reserving FDA/NSF-certified, BPA-free food-grade jugs for drinking and cooking.
- Treat water in sequence—sediment, then carbon, then UV—to remove solids, chemicals, and inactivate bacteria, viruses, and protozoa.
- Always cool boiled water before offering it to dogs, preventing oral and esophageal burns; boil one minute, three minutes above 5,000 ft.
- Sanitize tanks every 1–3 months using 1/4 cup unscented bleach per 15 gallons, flushing until no chlorine odor remains.
How Much Water You and Your Dogs Really Need
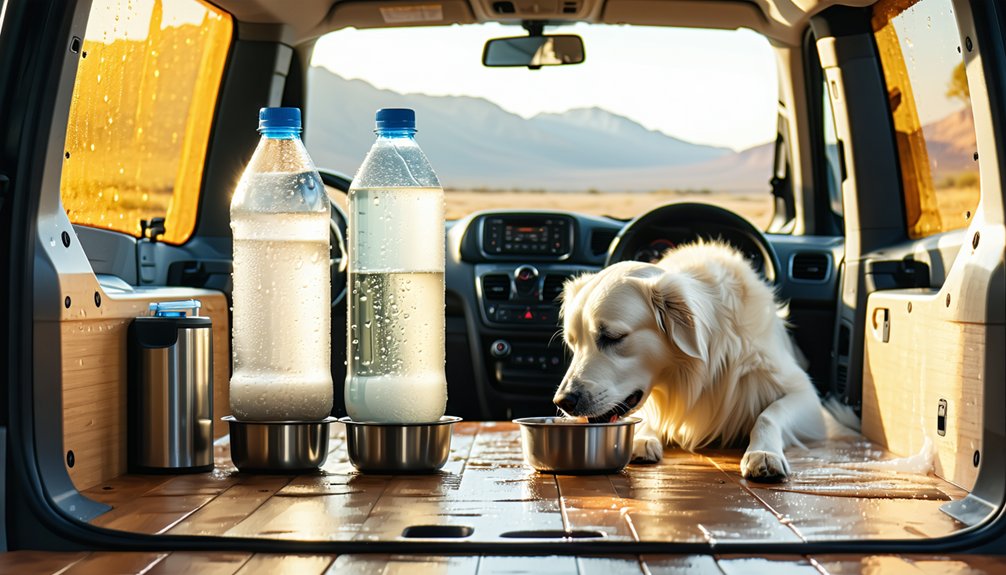
Before you load a single jug into your van, you need to know exactly how much water you and your dogs will drink.
Adult men average 3.7 L/day, women 2.7 L/day, but off-grid van life demands 3–4 L/day per person to cover drinking, cooking, and hygiene.
Your dogs need roughly 1 oz per pound daily—a 20 lb dog drinks 600–720 ml, a 60 lb dog up to 2.1 L.
Heat stress, dry food, altitude, and trail miles push these numbers higher, so add a 20–30% buffer.
Smart hydration monitoring keeps your whole pack safe: watch for drinking that climbs or drops during travel.
When you plan precisely, you’re not just surviving the road—you’re thriving together, mile after mile.
Split Your Drinking Water From Utility Water
Once you’ve calculated your pack’s daily needs, split that supply into two distinct systems: potable water for drinking and cooking, and utility water for everything else.
This separation protects your drinking supply from contamination while cutting filter wear, since dishwashing, gear rinsing, and dog baths don’t demand the same filtration level.
You’ll want clearly labeled, color-coded containers—blue for potable, another color for utility—to maintain potable/utility labeling consistency in tight quarters.
Keep potable jugs small and easily rotated; reserve larger reservoirs for utility tasks.
Run dedicated lines with dedicated fill ports, and perform regular backflow valve checks to prevent utility water from creeping into your drinking loop.
Routine taste odor testing confirms quality, and a split system builds redundancy for emergency contamination response.
Pick Food-Grade Tanks and Backup Containers
With your potable and utility systems separated, the containers holding that water determine whether it stays safe over weeks off-grid. You’ll want food-grade polyethylene (PE) rated for potable water, verified by FDA, NSF, or equivalent certification to prevent chemical leaching. Choose BPA free and phthalate-free containers, and avoid recycled or unmarked plastics with unknown resin sources. Match every hose, fitting, and pump line to food-grade ratings.
| What to Choose | Why It Matters |
|---|---|
| Food-grade PE | Prevents leaching |
| NSF/FDA certified | Verified potable safety |
| Opaque tanks | Slows algae, biofilm |
| BPA free containers | Reduces plasticizer exposure |
| Stackable jerry cans | Modular backup capacity |
Opaque tanks block light, slowing growth, so you and your dog drink confidently anywhere.
Where to Store Water So It Stays Safe
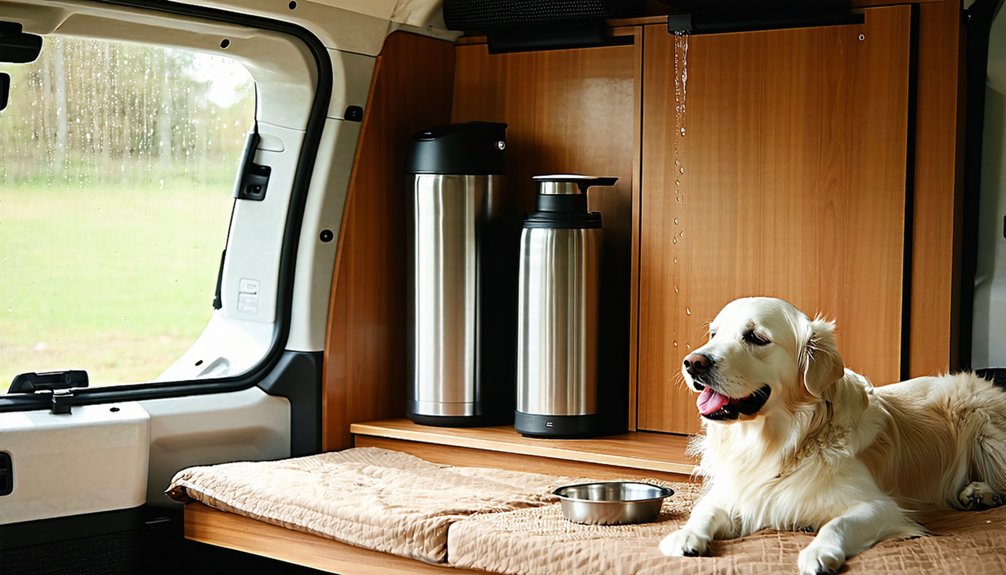
Even certified food-grade tanks fail you if you stash them in the wrong spot, because location drives temperature, light exposure, and contamination risk over weeks off-grid.
Store your water in a cool, shaded area—under benches, inside cabinets, or behind opaque panels—to minimize sun exposure that fuels algae and biofilm.
Position containers low and near the axle to secure them in transit, reducing sloshing and cap failures on rough roads.
To avoid cross contamination, separate water from fuels, solvents, and scented cleaners, since some plastics absorb odors.
Keep raw and treated supplies clearly labeled and distinct.
To keep dogs safe, store primary containers out of reach, preventing chewing or valve damage.
Maintain a hygiene buffer zone where muddy boots and wet towels never touch your storage.
One Big Tank or Several Small Ones?
Choosing between one big tank and several small ones comes down to a tradeoff between capacity efficiency and redundancy. A single large tank simplifies your “fill once, use longer” planning, supporting a longer reserve when refill stops are uncertain. But it creates a single point of failure if a fitting, seam, or valve gives out.
| Single Large Tank | Several Small Tanks |
|---|---|
| Capacity efficiency | Leak redundancy planning |
| Fewer refills | Rotate clean supply |
| Single failure point | Isolate problem container |
| Bulky, harder to fit | Weight distribution strategy |
| Heavy in one spot | Spread mass, easier handling |
For your multi-week trips with dogs, redundancy usually wins. Distributing water across containers protects your reserve, keeps drinking water separate, and balances loading—so one cracked tank won’t leave your pack stranded.
Inline, Sediment, and Carbon Filters Explained
In an off-grid van system, an inline filter is a cartridge installed directly in the water line, treating every drop that passes through at that point. You’ll want them sequenced correctly: sediment first, then carbon, then storage or fixture.
Your sediment filter handles mechanical straining, trapping suspended solids like sand, silt, and rust based on pore size. Cartridge sizing matters here—a 20-micron rating flows freely, while 5-micron captures finer particles but raises clogging risk. Placing sediment first protects your carbon downstream, extending its life.
Your carbon filter then uses activated carbon for adsorption and catalytic reduction, removing chlorine, VOCs, pesticides, and taste or odor issues your dog notices too. Remember, neither step removes dissolved solids, hardness, or pathogens—you’ll need separate treatment for those.
Why a Carbon-Plus-UV Dual System Works Best
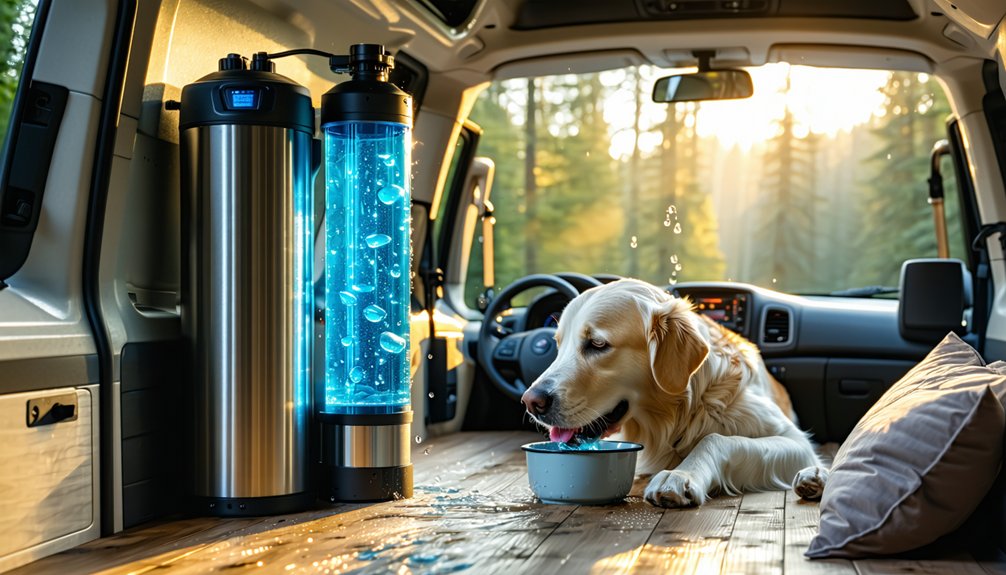
Because no single filter handles every threat, pairing activated carbon with UV disinfection gives you the most complete protection for your dog’s stored water. Carbon tackles chlorine, VOCs, pesticides, and off-flavors, while UV inactivates bacteria, viruses, and protozoa by damaging their DNA. Used alone, each leaves gaps—carbon won’t kill microbes, and UV won’t remove chemicals or heavy metals. Together, they cover both fronts.
Sequencing matters, too. Carbon’s role in Turbidity Control and UV Shadowing Management lets light penetrate evenly, helping UV reach up to 99.99% inactivation. By removing organics and chlorine, carbon protects your quartz sleeve and curbs biofilm, sustaining performance for weeks.
When you run sediment → carbon → UV, you join travelers who trust dual systems to keep their dogs hydrated and safe.
Filter on the Fill, Filter Again at the Tap
Just as sequencing your carbon and UV stages matters, where you place filters in your water’s trip makes a real difference. You’ll want a two-point approach: filter on the fill, then filter again at the tap.
Filtered Intake at the fill stage handles Sediment Blocking—catching rust, grit, and particulates before they settle in your tank. This Biofilm Control protects pumps, valves, and storage capacity over multi-week trips.
| Stage | Micron Rating | Primary Job |
|---|---|---|
| Fill | 10–20 micron | Sediment removal |
| Tap | 0.1–5 micron | Taste, fine polish |
| Combined | Multi-stage | Multi Barrier Hygiene |
At the tap, denser carbon media polishes only what you and your dog drink, removing off-tastes and adding a microbial barrier you’ll both appreciate.
Treat Water From Streams, Rivers, and Rain
When you’re refilling from streams, rivers, or rain instead of municipal taps, you’re taking on water that can carry bacteria, viruses, and protozoa like Giardia and Cryptosporidium—even when it looks crystal clear and runs fast. Smart sourcing cuts your treatment burden before filtration even starts.
Understanding pathogen risk factors helps you and your crew protect every pup on the road.
- Collect upstream, at higher elevation, practicing livestock runoff avoidance away from campsites and agricultural fields.
- Choose moving water over stagnant pools to limit microbial growth.
- Factor in seasonal rainfall impacts—heavy rain spikes turbidity and bacterial loads.
- Skim the top few inches, then enjoy sediment pre settling benefits by decanting clearer water.
- Harvest rainwater using first-flush diverters into clean, food-grade containers.
Boiling and Tablets as Your Backup Plan
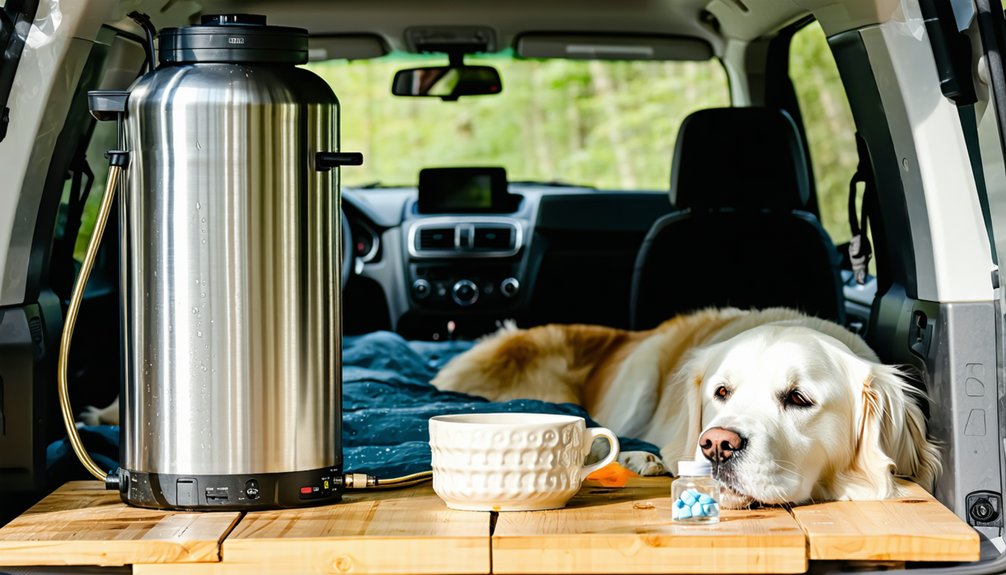
Smart sourcing reduces your treatment load, but it won’t eliminate every pathogen lurking in stream or rainwater—you need reliable backup methods when your primary filter clogs, fails, or freezes.
Boiling’s your most reliable single method for killing bacteria, viruses, and protozoa.
Boil time guidance is straightforward: hold a full rolling boil for one minute, or three minutes above 5,000–6,500 ft, where lower temperatures reduce efficiency.
Always cool boiled water before offering it to your dogs, preventing oral and esophageal burns.
When fuel runs low or boiling’s impractical, chemical tablets become your secondary backup.
Follow label instructions exactly, since tablet contact timing varies—chlorine-based products typically need at least 30 minutes before water’s safe.
Pre-filter turbid water first, and reserve iodine for short-term emergencies only.
Clean, Flush, and Sanitize Your Tank
Although your filter and backup methods handle the water going into your dog’s bowl, the tank storing that water needs its own maintenance routine.
Plan a full sanitization every 1–3 months, flushing more often in hot climates where biofilm forms fast.
After each multi-week trip, run a quick flush and partial clean to cut sediment and microbial load.
Follow this proven routine:
- Drain fully through the tank drain, low-point drains, and all faucets
- Inspect the interior—biofilm detection means checking for slime, discoloration, or sediment
- Scrub walls and corners with a long-handled brush
- Sanitize with 1/4 cup unscented bleach per 15 gallons, soaking 4 hours or overnight
- Flush until no chlorine odor remains
For odor troubleshooting, drain tanks when you’re not traveling.
When to Replace Filters and UV Gear
Because a clean tank can’t compensate for worn-out filtration, you’ll need to track when your gear actually expires—not just when it looks dirty. UV-C lamps light for years, but germicidal output fades silently, so follow calendar-based replacement every 12 months of cumulative ON time. Watch alarm indicators and hour counters for dose verification, and never trust visible brightness alone.
| Component | Replacement Interval |
|---|---|
| UV-C Lamp | 12 months / ~9,000 hrs |
| Sediment Pre-Filter | 3–6 months |
| Carbon Block | 6–12 months |
In hard water, hardness fouling scales your quartz sleeve, mimicking lamp end-of-life, so schedule sleeve inspection several times yearly. Replace filters early if flow drops, and if your dog shows recurring gastrointestinal upset, you’ll know your dose isn’t enough.
Frequently Asked Questions
Can Dogs Drink Filtered River Water, or Do They Need Bottled Water?
Yes, your dog can drink filtered river water if you’ve combined filtering with disinfection. For safe handling, boil or treat it, preventing cross contamination by serving in clean bowls. Bottled water’s simpler, but proper filtration works too.
How Do I Find Reliable Water Refill Points Along My Route?
You’ll find reliable water sources using apps like iOverlander, Sanidumps, and Campendium, plus campgrounds, rest areas, and big-box stores. Apply verification methods—check recent reviews, confirm potable taps with staff—so you and your pup stay confidently hydrated.
Does Cold Weather Risk Freezing My Van’s Water Tank and Pipes?
Yes, cold weather definitely risks freezing your tank and pipes below 32°F. You’ll want proper insulation thickness, freeze protection, and winterization steps. Use pipe heatmaps to spot vulnerable runs, keeping fellow van-lifers’ water flowing safely.
How Much Does a Complete Van Water Filtration System Typically Cost?
You’ll typically spend $500–$2,000 for a complete system. Your cost breakdown includes pump, plumbing, and filter cartridges. Like fellow vanlifers, budget for water testing and a maintenance schedule—replacement filters run $20–$200 every three to twelve months.
What Are Signs My Dog Is Becoming Dehydrated While Traveling?
Watch for increased panting severity, sunken eyes, dry or sticky gums, and thick saliva. You’ll also notice lethargy, loss of skin elasticity, and slow capillary refill. Catching these early keeps your traveling companion safe and thriving.
Conclusion
You’ve got the system to keep your dogs hydrated and healthy miles from any tap. Plan your water volume realistically, separate drinking from utility supplies, and store everything in food-grade tanks out of direct sun. Treat wild sources properly, keep boiling and tablets as backups, and sanitize tanks on schedule. Replace your filters and UV gear before they fail, not after. Do this consistently, and you’ll travel longer, safer, and worry-free with your pack.
References
- https://www.youtube.com/watch?v=-xAJH0YMhTk
- https://bhodevans.co.uk/best-ways-to-purify-water-in-your-campervan/
- https://vanlifers.com/practical-ways-to-store-water-for-off-grid-van-camping/
- https://www.youtube.com/watch?v=Br2kI9f2SOs
- https://engineerswhovanlife.com/campervan-water-filtration/
- https://rvboondocker.com/boondocking-off-grid-water-solutions/
- https://kombilife.com/van-life-water-systems-complete-guide/
- https://www.retreatcaravans.com.au/blog/water-storage-ideas-off-grid-caravans/
- https://www.youtube.com/watch?v=5oFbMuF3b7U
- https://www.youtube.com/watch?v=SCtLEcsgMUU