Class 3 scrambling with a dog demands bombproof recall, a technical high-cut restraint system (not a pet-store strap), and real spotting skills—stay uphill, break moves into steps, and use the restraint for guidance near drop-offs. Shorten your leash on narrow ledges, carry backup gear, and know your dog’s heat and endurance limits before committing to exposure. Honest assessment matters more than ambition here. The gear, training, and warning signs ahead will show you exactly where those limits lie.
TLDR Key Takeaways
- Use a three-strap, high-cut harness with locking carabiner compatibility, not a basic walking strap, for technical terrain.
- Position yourself uphill, spot each move individually, and guide with the harness restraint instead of the collar.
- Shorten the leash to 2-3 ft or use a tether anchored redundantly, keeping length shorter than the drop distance.
- Only trust a dog off-leash on Class 3 terrain if recall is bombproof across distance, duration, and distraction.
- Respect heat and endurance limits, capping exertion at 20 minutes in caution zones, 10 in extreme heat.
Is Your Dog Ready for Class 3 Scrambling?
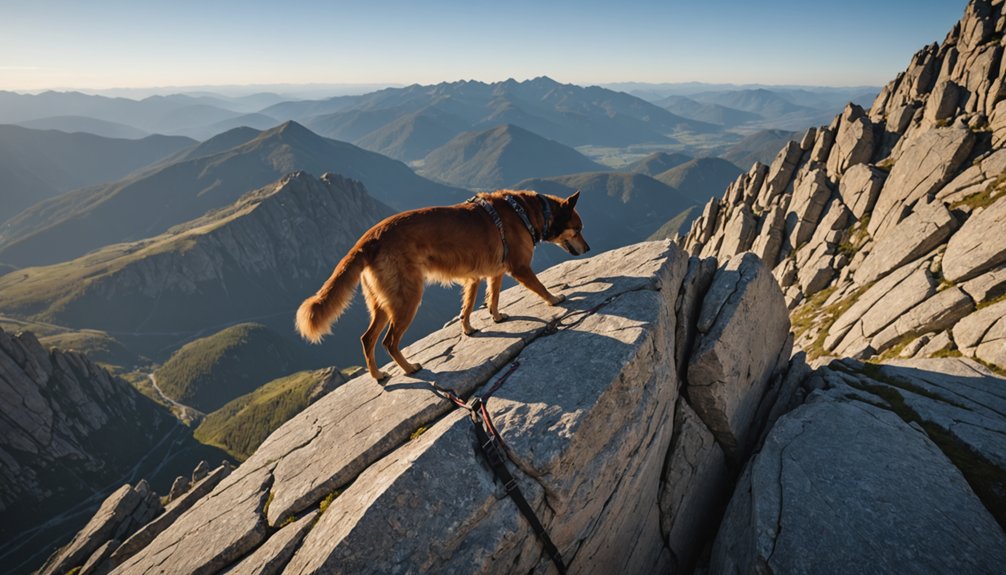
Before you clip in and head for exposed rock, take an honest look at your dog’s temperament and training.
Class 3 terrain demands more than fitness—it demands proven dog behavior under pressure. Remember that Class 3 slopes typically run between 45 and 75 degrees, meaning a slip carries far greater consequences than on easier trails.
Does your dog hold a recall or stay when distractions surge?
Can it place paws deliberately on narrow ledges without hesitation?
Watch how it handles novelty and stress: calm, adaptable dogs read changing footing and adjust their movement accordingly.
Off-leash reliability matters too—a dog that checks in frequently shows the communication you need for safe route-finding.
This assessment is owner responsibility, not guesswork.
You know your dog’s limits better than any checklist.
If you’re uncertain about its composure on exposed terrain, don’t gamble—test it on smaller scrambles first. Just as maintaining three points of contact keeps a scrambler stable, your dog needs steady, deliberate footing to safely negotiate the same exposed terrain.
What Does Class 3 Terrain Actually Involve?
Once you clip onto steep, rocky ground where handholds matter as much as footholds, you’re in Class 3 territory.
This isn’t full rock climbing, but it borrows from it—you’ll use both hands and feet, often relying on three points of contact as you move.
Expect steep, irregular rock, loose stone, and exposure that turns a slip into a serious fall.
Some sections offer large, secure holds; others demand careful terrain assessment as holds shrink and the line ahead splits into multiple options.
Cairns or natural features guide you more than any marked trail.
Downclimbing often feels trickier than the climb up.
With your dog beside you, every choice about line, footing, and pace carries more weight than it would solo.
Remember that even a hike consisting almost entirely of Class 1 or 2 terrain earns its rating from its hardest stretch, so a single Class 3 section can define the whole route’s difficulty. By contrast, Class 4 climbing often calls for a rope given the fatal fall potential involved.
Training Your Dog Before You Rope Up
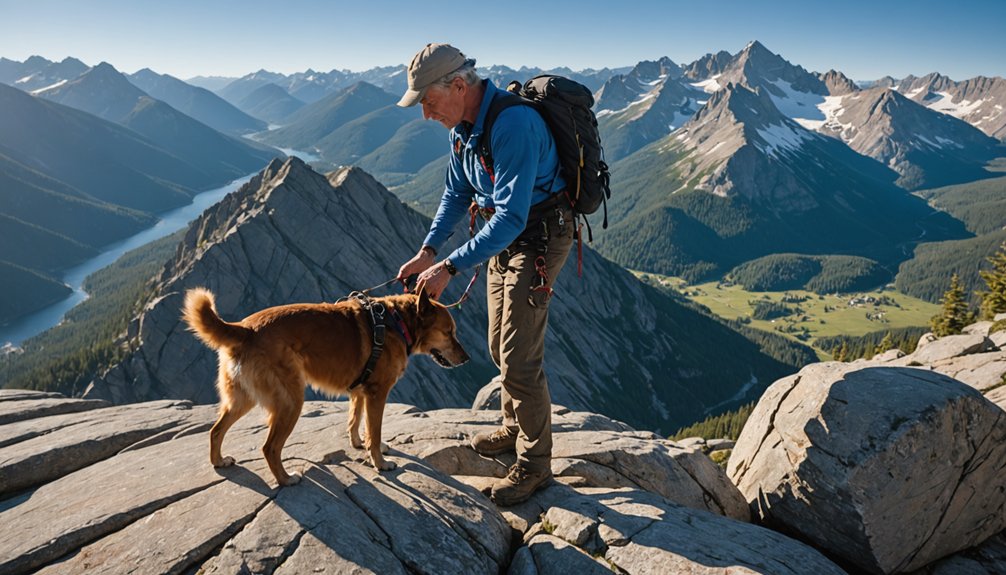
Terrain assessment skills only get you so far if your dog hasn’t already perfected the basics on flat ground.
Dog training for scrambling starts long before you touch rock.
Recall has to be bombproof—distance, duration, distraction, all tested before you trust it near a ledge.
“Wait” holds your dog steady at belay stances and anchor sites while you work.
Loose-leash walking builds the foundation for tether use later, and “leave it” keeps sudden lunges away from exposure.
Harness acceptance matters just as much.
Counter-condition with treats, let your dog investigate before you fit anything, and desensitize handling at the chest, back, and neck.
Add clip-noise conditioning early.
Break the process into small steps, rewarding calm engagement at each stage before moving forward.
Choosing the right harness style, such as a front-clip harness for a dog that tends to pull, can make the entire training process smoother.
None of this happens on the mountain—it happens at home, first.
Choosing a Harness That Works on Steep Rock
A basic walking strap won’t cut it once gravity enters the equation. On steep rock, restraint design determines whether you’re in control or scrambling to recover a slip. Look for chest, belly, and rear panels that handle load distribution across your dog’s frame, not just the neck. Material selection matters too—heavy-duty nylon webbing with reinforced stitching survives abrasion against ledges and chimneys. Keep in mind that many attachment points and webbing found on standard gear are not strength-rated for high-angle use, so verify before trusting a setup on exposed terrain.
Safety features separate technical gear from pet-store equipment: reinforced handles, a centralized load-bearing ring, and redundant attachment points. Since you’re borrowing concepts from climbing restraints, prioritize rope integration—locking carabiner compatibility and static leash connections are non-negotiable. For reference, the Doubleback™ Harness is strength-rated to 2,000 lbf or 8.9 kN, showing the level of load-bearing capacity technical dog harnesses can achieve. A three-strap, high-cut pattern resists escape when your dog panics on exposure. Fit snug, size by girth, and never compromise on hardware quality. Beyond hardware strength, everyday testing criteria like ease of adjustment still matter on technical terrain, since a harness that’s hard to tighten quickly can cost you precious seconds on an exposed ledge.
Essential Gear Beyond the Harness
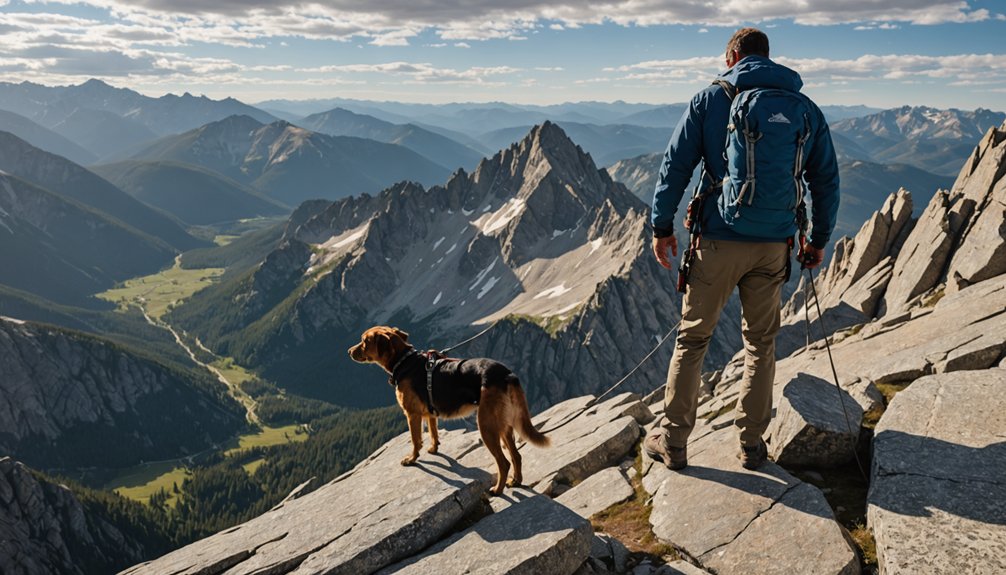
Getting the gear right solves only part of the equation—you still need a system around it. A restraint controls your dog’s body; everything else controls the risk around it. Build safety protocols into every attachment point, and carry emergency equipment before you need it, not after. A correctly fitted harness should allow two fingers to slide under each strap, ensuring the restraint itself never becomes a liability on exposed terrain.
| Gear Category | Purpose | When It Matters Most |
|---|---|---|
| Leash + backup strap | Redundant control | Exposed ledges, crux moves |
| GPS collar + ID tag | Recovery if separated | Broken terrain, off-leash zones |
| Booties + paw wax | Paw protection | Sharp rock, hot slabs |
| Emergency carry sling | Injury evacuation | Steep, impassable sections |
| Reflective gear | Visibility | Dawn, dusk, storms |
Freedom on the rock comes from preparation, not improvisation. Equip your dog like the terrain demands it—because on Class 3 ground, there’s no room for gaps. Since retractable leashes pose significant dangers due to tangling and difficulty gripping, they should never be part of a scrambling setup. A Beacon Dog Safety Light with up to 20 hours of operating time and highly visible colors can be a smart addition for dawn or dusk scrambles.
How Do You Spot Your Dog on Exposed Ledges?
Spotting starts before you ever touch your dog.
Real ledge safety depends on route planning that happens before you’re committed to exposure.
Scan the terrain ahead, identify bailout points, and know your stance zones before your dog takes a single step onto rock. Just as boundary training relies on recognition first, consequence second, spotting relies on reading the terrain before any physical correction is needed.
Once you’re in position, spotting becomes physical, not reactive. On warm rock outings, also test the surface with the five-second rule before letting your dog scramble across exposed sections:
- Stay low and stable with three points of contact before making any move.
- Position yourself uphill so corrective action pushes your dog toward safety, not the edge.
- Use the restraint, not the collar, for lift and lateral guidance near drop-offs.
- Break each move into discrete steps, spotting individually instead of letting momentum carry the scramble. If you want to see this principle demonstrated in real time, dogparkour.org has videos showing proper spotting mechanics on exposed terrain.
Freedom on exposed terrain comes from control, not improvisation.
Perfect the mechanics on low obstacles first, then trust them on the ledge.
Leash Control on Narrow, Technical Sections
Good spotting mechanics only work if your leash setup matches the terrain.
On narrow ledges and tight paths, shorten your leash to 2-3 ft for tighter control.
Wrap excess around your hand above the handle to cut another 12-18 in, or use a traffic handle to switch lengths instantly as terrain shifts.
Figure-eight knots split a 6-ft leash into two 3-ft segments, locking in a max radius before you hit exposed sections.
A carabiner-based shortening method fixes your loop length so it won’t slip on uneven ground.
This is leash management built on real terrain assessment—read the section ahead, choose your length before you commit, and adjust on the fly when the path narrows or opens up.
Tethering Your Dog During Technical Pitches
Two hands on the rock and zero on the leash—that’s the moment a tether earns its place on a technical pitch.
Tether safety isn’t about restraint; it’s a backup against sudden movement toward edges or loose rock while you’re focused on the climb.
Pitch planning determines whether tethering even makes sense given stance size, fall exposure, and your dog’s experience.
- Gear up right: back-clip body restraint system, locking carabiner, climbing-rated webbing—skip the collar and consumer tie-outs.
- Anchor smart: solid, redundant placement away from sharp edges and loose rock.
- Keep it short: tether length stays shorter than the distance to any drop.
- Test the range: check for snags, edge contact, or gully hazards before committing.
Stay attentive—unattended tethering defeats the purpose entirely.
What Hidden Hazards Should You Watch For?
A scramble’s terrain hides more than loose rock. Environmental hazards lurk in plain sight and just beneath it.
Debris or plant matter can mask ravines, holes, or unstable ground, so test suspicious surfaces before your dog crosses them. Watch for unprotected shafts, compromised ledges, and false floors that trigger sudden drops.
Sharp objects pose their own threat.
Broken glass, embedded nails, rebar, and bent fence posts can puncture a paw or impale a body in overgrown sections. Barbed wire and razor wire catch limbs and collars fast, especially where tall grass conceals them.
Scan your route ahead of your dog, not beside it. Recognizing these dangers early keeps you moving confidently without sacrificing control or safety.
Heat, Altitude, and Endurance Limits on Scrambles
Because heat and elevation stack their effects on a scrambling dog’s body, you can’t treat them as separate concerns.
Heat limits for dogs sit far below your own practical heat limits—75°F heat index demands caution, 85°F air temp means indoors is safer. Altitude effects compound this: thinner air raises heart rate, accelerates dehydration, and cuts your dog’s panting-based cooling efficiency. High risk ranges above 90-100°F heat index turn a manageable outing into a dangerous one, especially on exposed rock.
- Cap safe duration at 20 minutes in caution zones, 10 in extreme heat
- Start early, shift hard moves to cooler hours
- Slow your pace and add breaks at altitude
- Carry more water than you think you’ll need
Know your endurance limits before you commit to the route.
Warning Signs It’s Time to Turn Around
Once a scramble starts demanding more from your dog than it’s built to give, the smart move is retreat, not persistence. Constant risk assessment means watching both terrain and your dog simultaneously. Loose blocks, hollow holds, and unexpected exposure demand immediate terrain evaluation—if the route steepens beyond Class 3 or ledges offer no safe stance, turn back.
Watch your dog’s behavior: hesitation at obstacles, scrabbling for traction, or needing lifted over most moves signals you’ve exceeded its ability. Stiff posture, hard stares, or reluctance to bear weight after a section are red flags demanding attention.
Add in deteriorating weather, crowding at chokepoints, or daylight slipping away, and the equation gets simple: retreat now protects the freedom to climb again another day.
Picking Dog-Friendly Routes Over True Grade 3 Climbs
Sustained Class 3-4 scrambling punishes dogs in ways that guidebook grades never capture.
Route planning means choosing terrain built for four legs, not chasing summits that demand technical grit.
Your dog can’t read exposure or spot holds—that’s your job, and it starts long before the trailhead.
Terrain assessment separates good choices from bad ones fast:
- Short, staircase-like rock steps beat long exposed walls every time
- Multiple line options let you pick the easiest path, not the boldest one
- Walking sections between obstacles give paws and joints real recovery
- Bypass routes around bad steps keep you off terrain with no escape
Skip the sustained exposure.
Choose ridges with walk-off alternatives, blocky rock over loose choss, and objectives where the crux is optional—never mandatory.
Frequently Asked Questions
Can Dog Boots Actually Cause Slipping Instead of Preventing It on Slabs?
Yes—you’ll often see boots hurt more than help. Smooth soles and rotation kill natural paw traction on rocky terrain. You’re better trusting bare pads and nails; they grip micro-edges boots simply can’t feel.
Are Certain Dog Breeds Inherently Unsuited for Class 3 Scrambling Regardless of Training?
Yes—breed limitations are real. Short-legged, brachycephalic, or toy breeds can’t safely handle Class 3 terrain, no matter how you train them. Your owner responsibilities include recognizing this honestly: choose routes matching your dog’s actual body, not your ambitions.
What Should You Do if Your Dog Panics Mid-Scramble on an Exposed Ledge?
Secure your dog immediately with the restraint handle, stay low, and hold three points of contact. Follow panic protocols: stay quiet, avoid dragging, and prioritize ledge safety first. Calm your dog, then retreat once you’re both stable.
Is Pet Insurance Available That Covers Scrambling or Climbing-Related Injuries?
Yes, you’ll find insurance options covering accident-related falls, fractures, and lacerations. Check policy coverage carefully—”normal activity” exclusions and pre-existing condition clauses can limit payouts. Read the fine print before you climb, and insure your freedom wisely.
How Do You Safely Carry a Small Dog if It Can’t Downclimb?
You cradle your dog against your chest, one arm under the chest, one under the hindquarters. Skip flimsy dog carriers on technical terrain—use a restraint or puppy sling instead, keeping all four paws pointed toward the ground.
Conclusion
You don’t need a dog that can climb like a mountain goat—you need one that trusts you completely on exposed rock. Test the gear, build the skills, and know your dog’s limits before you commit to anything resembling Class 3 terrain. Turn around when your gut says so. The mountain will still be there next season, but a fall doesn’t offer second chances. Scramble smart, not fast.
References
- https://www.reddit.com/r/UKhiking/comments/1ahdnou/looking_for_advice_scrambling_with_dogs/
- https://www.ukclimbing.com/forums/hill_talk/dogs_and_scrambling-626752
- https://doggearreview.com/best-dog-gear-for-hiking/
- https://www.reddit.com/r/hiking/comments/1dym0ow/how_bad_is_a_grade_3_scramble_actually/
- https://pathsandpaws.com/activities/technical-scrambling/
- https://www.thebmc.co.uk/en/hill-skills-how-to-protect-scrambles
- https://www.youtube.com/watch?v=eoXg2C3tmuE
- https://thebmc.co.uk/en/what-is-scrambling
- https://gnara.com/blogs/shefly-unzipped/how-to-scramble-a-beginners-guide-to-class-3-and-4-terrain
- https://www.youtube.com/watch?v=DJzYQqPtZaw