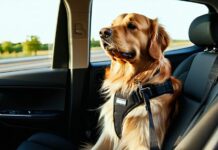
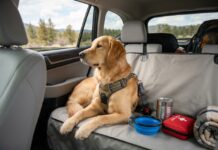
Anchor your dog’s crash-tested leash—never the collar—to a factory seat belt loop or LATCH point bolted into the body, not plastic trim. Clip the tether through both top straps to spread the load and reduce roll. Set the length short enough to keep your dog rear-only and low, then yank-test every buckle, clip, and anchor before driving. Recheck at rest stops. There’s more you’ll want to know first.
TLDR Key Takeaways
- Clip the tether through both overhanging top straps, not just one loop, to distribute crash and jerk loads more broadly.
- Anchor only to factory-grade points bolted into the body or frame, such as seat belt loops or LATCH anchors, never plastic trim.
- Set a short, non-retractable tether length that allows lying down and turning while preventing flinging into roll bars or windows.
- Use a centered two-strap connection to reduce roll, twist, and side-loading on uneven, bouncy terrain.
- Test webbing, buckles, anchors, and clips with yank and stress checks before every drive, since vibration loosens fittings.
Why Collar-Only Restraint Is Risky Off-Road
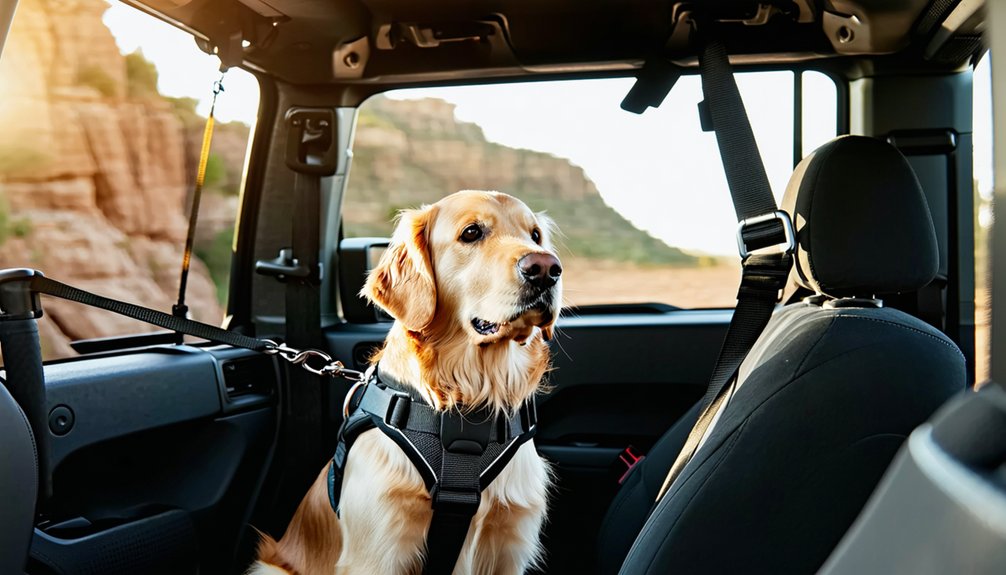
Although clipping a tether to your dog’s collar feels quick and convenient, it concentrates every crash and jerk force onto a small, vulnerable area: the cervical spine, trachea, and major neck vessels.
Off-road, you’ll face repeated pitching, bouncing, and side-to-side motion that turn neck loading dangers into cumulative microtrauma—or worse, sudden whiplash-type trauma and spinal cord injury during an abrupt stop.
Safety guidance for canine car restraints explicitly warns you never to anchor by the collar, since a thrown dog can “hang” by the neck.
That’s a genuine emergency airway risk: collars tighten, compressing the trachea, carotid arteries, and jugular veins, causing collapse.
Like every responsible owner who protects their companion, you’ll choose a body-anchored harness that distributes force safely.
Pick a Crash-Tested Chest Harness
Because off-road forces punish weak gear, you’ll want a chest harness that’s survived genuine crash testing—not just marketing claims.
Prioritize CPS certification, since the Center for Pet Safety runs independent protocols modeled on child car-seat testing and awards 5-star ratings only to harnesses that pass.
The Sleepypod Clickit Terrain and Clickit Sport Plus have earned that distinction, so you’re joining a community that trusts verified protection.
Always verify crash reports—look for published, third-party results rather than vague “crash-tested” labels or FMVSS 213–style claims that skip pass/fail disclosure.
Match weight bands carefully; the Terrain covers up to ~90 lb, the Sport up to ~110 lb.
Finally, avoid unvalidated marketing claims, because CPS data shows many advertised restraints still fail under stress, ejecting dogs or breaking hardware.
Fit the Harness With the Two-Finger Rule
A crash-tested safety strap only protects your dog if it fits right, and the two-finger rule gives you a reliable field check when you don’t have measuring tools on hand. Stand your dog naturally, fasten every buckle, then slide two flat fingers—index and middle—under each strap. You should feel slight, even pressure without pinching.
| Fit Result | Finger Test | Risk |
|---|---|---|
| Too tight | Can’t fit two | Chafing, restricted breathing |
| Just right | Two with resistance | Secure, comfortable |
| Too loose | Three or more slide in | Rotation, escape |
Check the neck, chest, behind front legs, and ribcage. For dense fur, add coat thickness checks so volume doesn’t hide tightness. On rough terrain, repeated fit reassessment keeps your companion safe through every jolt.
Clip Through Both Straps, Not One
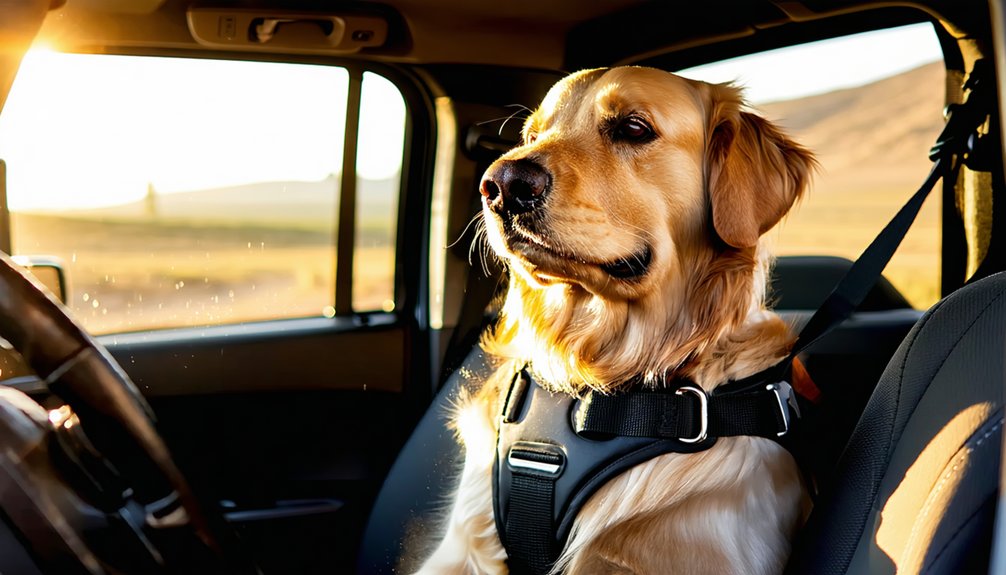
When you clip your tether through both overhanging top straps instead of just one loop, you spread the load across the suspension gear body rather than concentrating it on a single point. Kurgo’s Jeep installation steps tell you to run the seatbelt through both loops before buckling—follow that guidance.
A centered two-strap connection keeps the harness sitting square, reducing roll, twist, and side-loading when your Jeep bounces or your dog shifts. It also keeps force on the torso, not the throat.
Use heavy-duty metal hardware, and pass a secure carabiner through both top loops.
Make tether tension adjustments so the pull line stays straight from the seatbelt to the harness.
Perform vibration wear checks after each trail run, inspecting for abrasion where the tether crosses both straps.
Where to Anchor the Tether in Your Jeep
Although your gear and hardware matter, none of it holds up if you’ve clipped the tether to the wrong spot. Choose anchors bolted into the body or frame, not plastic trim. Apply frame bolt inspection criteria—check for corrosion, deformation, and torque—before trusting any point. Consider roll bar padding options to protect both your dog and the webbing from sharp edges.
| Anchor Point | Strength | Best For |
|---|---|---|
| Cargo hooks/tie-downs | High | Keeping dog behind rear seat |
| Roll/sports bar | Highest | Central, raised tether path |
| Mid-cab cross-tether | Medium-high | Limiting side-to-side flinging |
| Footman loops | High | Low, stable cargo anchoring |
| Rear belt mounts | Medium-high | T-shape cross-piece legs |
Pick metal hardware, avoid airbag zones, and you’ll keep your companion secure.
Use Seat Belt Loops or LATCH Anchors
Your Jeep already has two factory-grade anchor systems built in, and both can secure a dog rein without extra hardware.
Seat belt loops thread the vehicle belt through your equipment’s dual back loops, then click into the factory buckle.
The retractor locks during hard braking or nose-down descents, giving you progressive restraint that absorbs shock on uneven trails.
Pull the belt tight once so it locks faster.
LATCH anchors, those metal bars welded behind seat backs in Wranglers, offer a more rigid connection that reduces lateral swing but transmits higher peak forces.
Check your harness manufacturer’s safety compliance guidance, since many limit LATCH use by weight limit considerations—approving small-to-large dogs only, not extra-large.
Either way, use metal, load-rated, closed-gate hardware throughout.
Set the Right Tether Length for Comfort
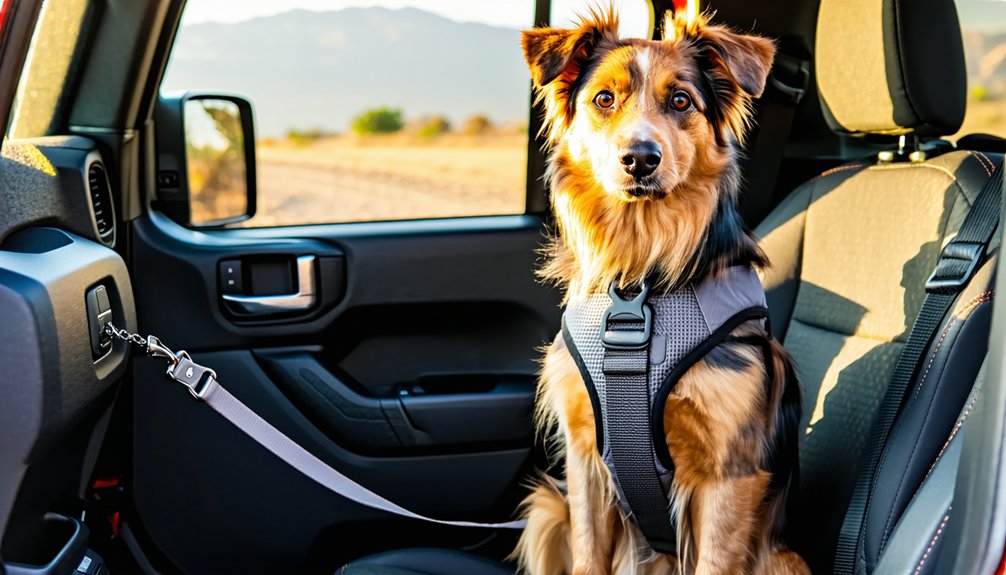
Once you’ve chosen your anchor point, dial in the tether length so it permits limited movement and nothing more.
You want your dog to lie down, sit, turn around, and switch sides—without roaming free or reaching the front seats.
Tether length limits matter most on rough terrain, where excess slack flings your dog into roll bars or window frames.
Keep your companion’s center of mass low and inboard, never perched on tub edges.
Run these off road comfort checks before every trail:
- Confirm your dog can lie fully stretched without harness tension.
- Verify a comfortable hip-to-hip shift and half-turn.
- Make sure the head and paws can’t clear the body line.
- Recalibrate length whenever you fold or remove rear seats.
When to Choose a Non-Retractable Tether
When the trail gets rough, choose a non-retractable tether—it’s the safer call every time. Fixed-length systems give your dog a predictable radius, so you always know where they’ll be during emergency braking or sudden jolts. That predictability keeps them clear of airbags, hard surfaces, and the driver’s controls.
Retractable leashes reel out slack unpredictably, creating dangerous loops that tangle around legs, necks, and gear when you’re bouncing off-road. Non-retractable tethers maximize slack control, eliminating that variability entirely.
You’ll also avoid the rebound and shock load that elastic mechanisms generate after extension—forces that can whip your dog in a rollover or sharp pitch. Skip the springs and spools that fail under stress, and trust a tether built for the conditions we share.
Test the Harness, Anchor, and Clip
Test every component before you trust it on the trail—your dog’s safety depends on it. We don’t gamble with our companions, so verify each link in the chain holds under real-world stress.
Run a webbing inspection checklist, then perform calibration yank tests on gear, anchor, and clip together.
- Inspect webbing for fraying, cuts, UV damage, or loose stitching—replace if tensile strength’s compromised.
- Snap buckles repeatedly and pull harder than expected leash force to confirm they lock.
- Yank anchor points sharply from multiple angles, checking for flex, bending, or loosening.
- Stress-test clips on the D-ring, pulling to detect gate opening or accidental release.
Confirm the two-finger clearance test passes, then tug forward, rearward, and laterally before driving.
Block Window Access in Open-Top Jeeps
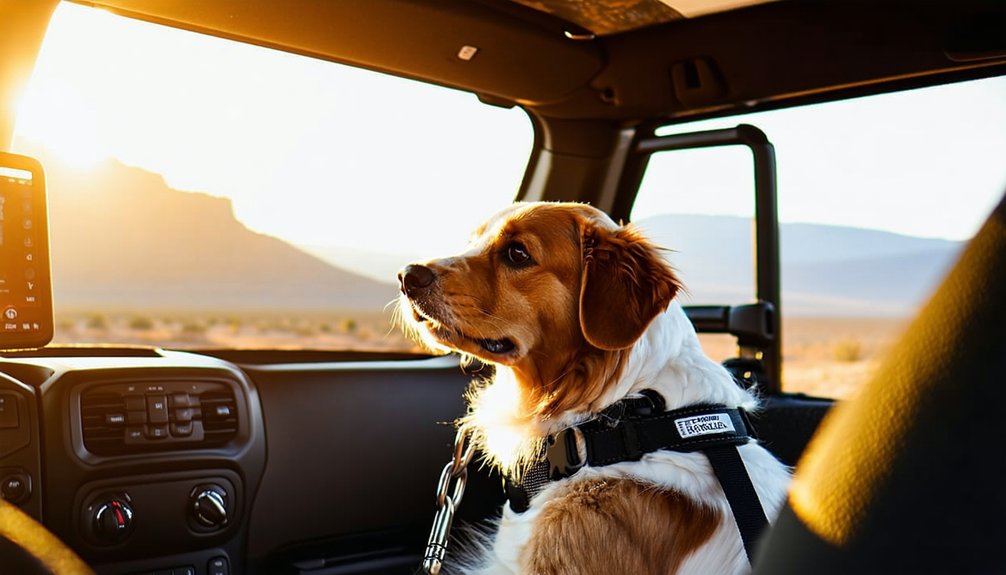
Because open-top Jeeps strip away the window glass that normally contains your dog, you’ve got to replace those barriers yourself.
Use mesh barriers like cargo or barrier nets sized for your Wrangler or Gladiator—they keep airflow open while blocking the gaps where soft tops and rear windows once sat.
Booty Nets and roll-bar nets mount to your sport bars to prevent window falls on rough terrain.
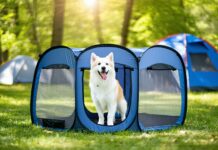
Want to reduce lunge risk further? Position a crash-tested crate crosswise behind the rear seats, tied down to cargo hooks, so your dog can’t slide toward open frames under hard braking.
Combine full-height cargo barriers with short tethers to limit your dog’s radius, keeping side openings out of reach.
Layer these solutions, and you’ll ride confidently together, every trail.
Keep Your Dog Out of the Front Seats
Blocking window access keeps your dog contained, but a determined dog can still scramble forward into the front seats—where it can crowd the driver, hit the gear shifter, or take a hard impact against the dashboard under braking. Set up layered protection so the rear stays the only option your dog has.
- Install a barrier behind the front seats, tied into roll bars or headrest posts, closing gaps above the console and between seat backs.
- Set a rear-only tether length so your dog can’t reach between front seats or lunge under the console.
- Reinforce rear boundary by keeping beds, toys, and water only in back.
- Teach front access cues like “back,” “stay,” and “place” before every trip.
Recheck Straps and Keep the Cabin Cool
A snug strap doesn’t stay snug on its own. Rough-road vibration and repeated entry or exit loosen fit, so recheck straps before every drive. You want about two fingers between strap and dog—snug without pinching or side-to-side shifting. Confirm full buckle engagement, especially after cargo changes or seat repositioning. Use rest stops for emergency stop practice and to verify tether length.
| Check Point | What to Verify | When |
|---|---|---|
| Strap fit | Two-finger gap | Before each drive |
| Buckle | Full engagement | After cargo changes |
| Tether | Controlled slack | At rest stops |
Heat builds fast in Jeep cabins, so monitor temperature closely. Watch for panting, drooling, or restlessness. Plan cooling break timing around outside heat, offer water, and pause travel when airflow drops.
Frequently Asked Questions
What Size Harness Should I Choose for My Dog’s Breed?
Match your leash to your dog’s chest girth, not just breed labels. Use our breed fit guide, but follow sizing measurement tips—measure the widest ribcage point, check the brand’s chart, and apply the two-finger rule. You’ve got this!
Can I Use the Same Harness for Everyday Car Rides?
Yes, you can—just pick a crash‑tested, dual‑purpose strap with metal D‑rings. Like fellow Jeep owners, you’ll value gear that supports leash etiquette on walks and pairs smoothly with crate training and secure vehicle tethers.
How Often Should I Replace My Dog’s Harness and Tether?
Replace your gear every 6–12 months with daily use, following replacement frequency guidance. Run a gear inspection checklist, watch tether wear signs, and complete a fitting comfort check before every ride—we Jeep-loving owners prioritize condition over age.
Are Dogs Prone to Motion Sickness on Rough Trails?
Yes, your dog’s prone to motion sickness on rough trails—bouncing amplifies vestibular stimulation. Like fellow off-road dog owners, you’ll recognize stress signs (drooling, whining, restlessness) and watch dehydration levels closely, since 17–48% of dogs are affected.
What Should I Do if My Dog Panics During Off-Roading?
Pull over safely, keeping your pup strapped. Use calming techniques—quiet tones, minimal stimuli—until breathing settles. Offer water once stopped, never during motion. Know your emergency exit plan, and together you’ll steer panic toward calmer trails.
Conclusion
You’ve now got the blueprint for keeping your dog safe on rough trails. Don’t cut corners: a crash-tested dog restraint, a properly fitted two-finger check, and a secure anchor point aren’t optional—they’re what stand between your dog and serious injury. Test every clip and strap before you roll out, block window access, and keep your pup out of the front seats. Recheck everything regularly, watch the cabin temperature, and you’ll both ride safer.
References
- https://jeeps.thefuntimesguide.com/dogs_riding_in_cars/
- https://www.extremeterrain.com/kurgo-impact-dog-car-harness-black-charcoal-8717-yj-tj-jk-cust-install-j109750.html
- https://www.reddit.com/r/Offroad/comments/tkwg1z/new_dog_owner_here_how_do_you_secure_your_dogs/
- https://www.offroadingpal.com/2020/08/how-to-secure-your-dog-in-jeep-wrangler-tips-and-accessories.html/
- https://www.alibaba.com/product-insights/creative-ways-to-secure-a-dog-harness-using-just-a-leash-step-by-step-techniques.html
- https://www.wranglerforum.com/threads/dog-harness-and-attachments.159866/page-3
- https://www.tomobrienindy.com/blogs/2539/car-tips/4-tips-for-offroading-with-your-dog-in-your-jeep-wrangler/
- https://www.youtube.com/watch?v=qi_H2edCVIM
- https://www.reddit.com/r/myog/comments/1p52c2x/help_me_add_handle_to_my_dogs_harness/
- https://www.wranglerforum.com/threads/how-do-you-secure-your-dog.261649/