Start by fully charging your collar, then pair it with the brand’s app and sign in. Grant location and notification permissions, choosing “Always” access for reliable geofencing. Create your boundary by placing at least three GPS points, keeping 80 feet at the narrowest spot and 15 feet from roads. Set your alert mode, then test before you trust it. There’s plenty more to know before you and your dog travel safely.
TLDR Key Takeaways
- Fully charge the dry collar (about 2.5 hours total) before traveling, then create geofences using the brand’s official app.
- Grant both location (“Always”) and notification permissions, and enable iOS Background Refresh for reliable geofence monitoring.
- Build a closed polygon with at least three points, keeping 80 feet at the narrowest spot and 15 feet from roads.
- Set alert mode (entry-only, exit-only, or both) before saving, then sync and confirm the fence is active in the app.
- Recalibrate at every new stop by running a GPS reset, then test outdoors near and far before trusting the fence.
Charge and Attach Your GPS Collar
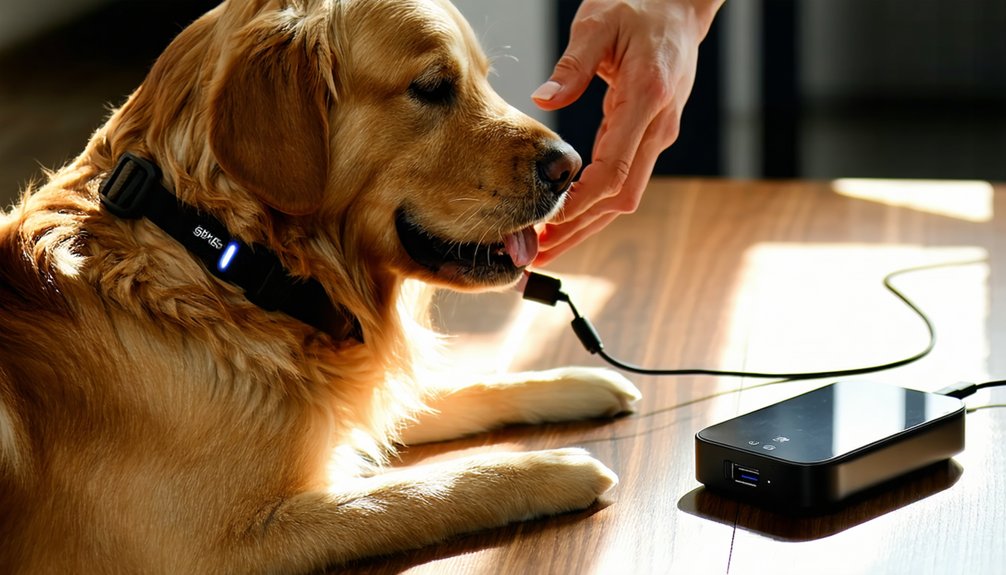
Power up your GPS collar fully before you hit the road. Many systems require a full charge before activation, and a full cycle takes about two hours, with setup adding roughly 30 minutes.
Waterproof charging care matters: dry the collar first, since charging while wet can damage the battery.
Locate the port—often on the back under a rubber plug, or a magnetic contact or charging base.
Connect the USB cable, plug into power, and watch for your indicator: a beep, or an LED that blinks green and turns solid when full.
Leave it plugged in until done.
For travel fit adjustments, sit the collar high behind the ears, antenna up, contact points touching skin.
Keep it snug—one finger fits—then trim excess strap.
Pair the Collar With Its App
Download your collar’s companion app from the correct store—usually the Apple App Store or Google Play Store—then create an account or sign in before pairing begins. Some systems require account verification before full use, and brand apps vary by name, like Garmin Alpha, Dogtra PATHFINDER2, or My PetSafe.
Complete app permission checks during setup so the app can access Bluetooth and location.
Next, turn on the collar and hold the power button until the LED rapidly blinks, signaling pairing mode.
Open the app, select the pairing option, choose your collar or enter its device ID, and keep your phone close during the handshake. Follow each prompt in sequence, then name your collar.
Confirm any device firmware updates, and verify the app shows a stable connection before continuing.
Turn On Location and Notification Access
With your collar paired, you’ll need to grant two separate permissions before geofencing works reliably: location and notifications. These are configured separately, so check both in your phone’s settings.
For location, grant access during the app’s first-run prompt or through your system settings. Geofence monitoring works best with Always (or “allow all the time”) access, since limited or disabled access can break tracking refresh and boundary alerts. On iPhone, enable iOS Background Refresh too, so updates arrive reliably.
For notifications, enable permission during the app’s launch flow or in your notification settings. Without it, you won’t receive exit-from-safe-zone warnings, even while tracking’s active.
If you declined a prompt earlier, troubleshoot permission prompts through your phone’s settings to restore access, then reopen the app so changes take effect.
Create Your First Geofence Boundary
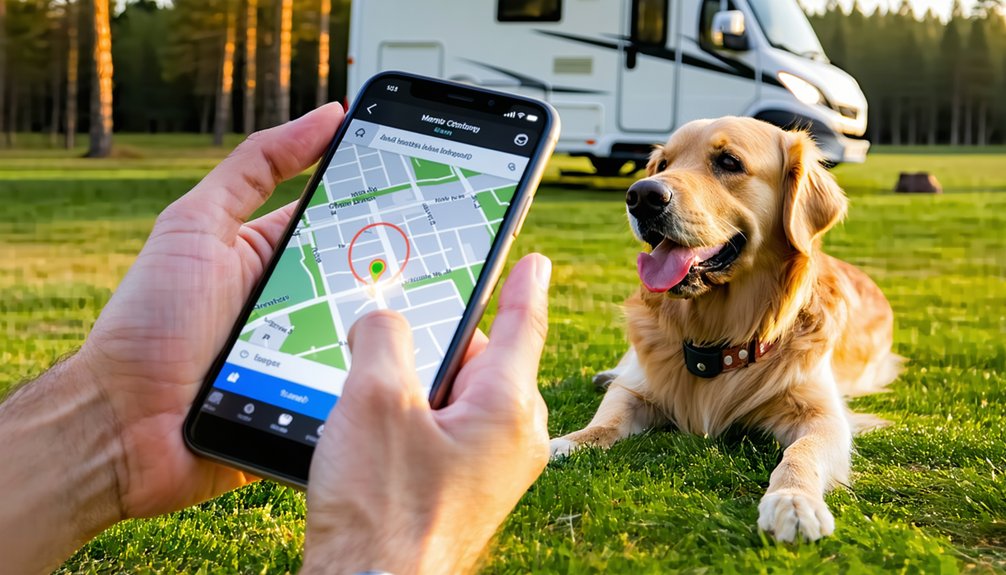
A charged collar is your starting point, so top it off before you open the brand’s official app to build your first fence. With your app permissions already granted, you’re ready to define the area on the map or by walking the perimeter. Whether you pick a circular fence or a custom polygon, give your dog room to roam safely.
- Choose your shape: Select “Create a Fence,” then drop GPS points—most systems need at least three to save.
- Size it right: Keep 80 feet at the narrowest point and 15 feet from roads.
- Account for drift: Place points 5 feet inside the real boundary.
- Name and save: Label by destination, then upload to the collar after completing weatherproofing steps.
How Many Points Does a Geofence Need?
Every polygon geofence needs at least three points to form a closed shape, and that triangle is the smallest custom boundary the documentation supports. You’ll close it by clicking back on your first point after placing the others. That triangle minimum points rule keeps things simple, but you can add more vertices when your dog’s travel area follows irregular trails, campsites, or curved edges. A geofence boundary is defined by a set of geographic points outlining its perimeter.
Geofence vertex limits vary by platform: one documents 250 points, another allows up to 500 with a recommended 4–50 for most use cases. Your collar app may set stricter limits. Aim for 4–8 points for ordinary shapes, more only when the area’s complexity demands it. Since GPS precision sits around 10–30 meters, extra vertices won’t sharpen alerts—they just complicate editing.
Size the Geofence for Campsites and Trails
Because tighter geofences track more accurately, you’ll want the smallest radius or footprint that still covers the campsite’s usable area. A solid radius selection rule is 150 m or twice the location’s size, whichever is larger, while mobile platforms recommend a 100–150 m minimum and some cap circles at 200 m.
For irregular sites and trails, polygon refinement matches the real shape better, keeping you and your dog inside the zone you actually use.
- Center first: Use the address, landmark, or map pin to place the zone.
- Honor terrain constraints: Durable ground means a more compact footprint.
- Refine the shape: Drag circle edges or move polygon vertices for trail corridors.
- Protect geofence accuracy: Exclude restricted areas, then save the boundary.
Add a Safety Buffer Near Roads and Gates
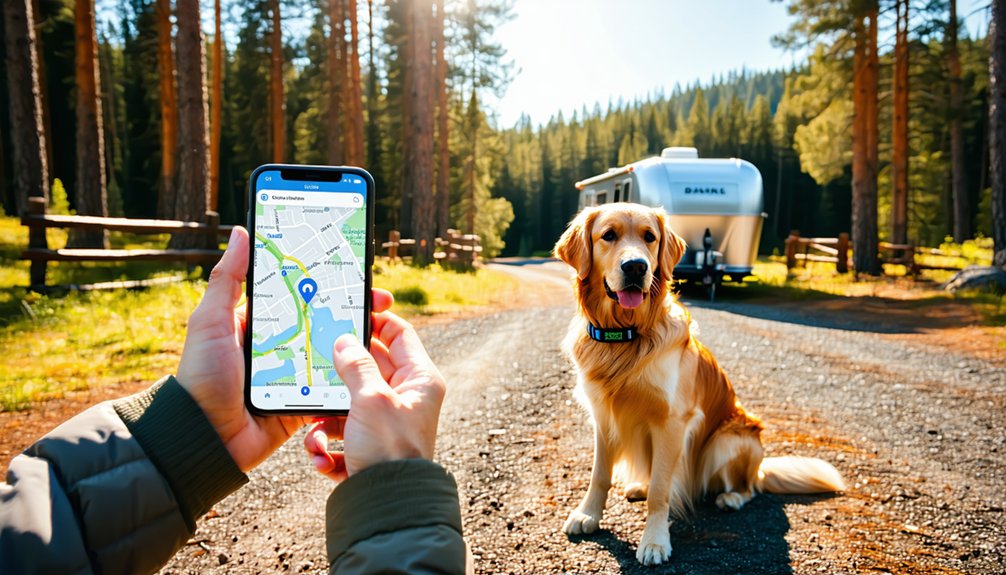
When you draw a geofence near roads and gates, add a safety buffer so the collar triggers before your dog reaches the physical boundary—not at it. Treat this buffer as a protection zone, not a precision line, since consumer GPS collars vary with signal quality. Keep your perimeter at least 15 feet (4.6 meters) from the house, and widen it where gates open toward roads, parking, or trailheads.
| Placement Factor | Recommended Action |
|---|---|
| Gate setback planning | Draw the alert before the gate opening |
| GPS drift control | Calibrate in an open area first |
| Road-facing edges | Add a wider setback |
| Difficult signal zones | Expand the buffer further |
Run supervised boundary tests afterward, so your dog learns the cues before travel.
Pick Entry, Exit, or Both Geofence Alerts
Before you save any geofence, you’ll need to choose how the collar reports boundary crossings: on entry, on exit, or both. Each mode shapes your alert noise settings and how quickly you respond when your dog moves.
- Exit-only: Choose single direction mode to optimize for escape response, since a dog leaving a campsite or hotel area is the main travel risk.
- Entry-only: Pick this when arrivals matter most, like confirming return to a vehicle staging area or rest stop.
- Both: Select dual-direction monitoring for temporary or shared zones that you enter and exit repeatedly.
- Manage alerts: Match the mode to the fence’s purpose to avoid duplicate notifications in busy areas.
Set the alert type before saving, like every trusted platform requires.
Share Alerts With a Travel Backup Contact
Add a travel backup contact so your dog’s safety doesn’t hinge on one phone or one person. Open your collar app or tracking platform and add secondary recipients, then use contact-sharing features so email, text, or push notifications reach your backup automatically. Confirm subscription settings for each channel, since some systems require separate enrollment for email and text.
When supported, prefer shared account access or delegated contact access, because shared visibility improves coverage while you travel.
Before you leave, store your contact’s current phone number, email, and app login if sharing requires it.
Define backup contact roles so one person monitors alerts and another handles follow-up.
Match shared alert expectations too, confirming whether alerts trigger on entry, exit, or both, so everyone responds together confidently.
Test the Geofence Before You Trust It
A geofence you haven’t tested is just a guess, so prove it works before you trust it with your dog. Like every careful traveler in our community, you’ll want to confirm the basics, then walk through realistic field scenarios that mirror how your dog actually moves.
- Power and sync first: Cycle the collar off and on, then confirm the fence is active and synchronized in the app.
- Pick open sky: Move outside, clear of buildings and trees, and let GPS settle.
- Start inside “Safe”: Walk toward the boundary only after the status reads safe.
- Verify the safety reminder sequence: Confirm the warning beep and staged alerts trigger before the correction zone.
Stage early warnings, never just the final edge.
Train Your Dog to Recognize the Edge
Once you’ve confirmed the geofence works, your next job is teaching your dog what that invisible edge actually means.
Start by making the boundary visible. Marker placement matters here—set flags or cones every 8 to 10 feet so your dog sees a consistent edge.
Begin indoors or on a leash, then move outdoors to those markers.
Teach the tone to predict a retreat, never punishment: when it sounds, guide your dog back and reward immediately.
Reinforcement timing is critical—treat the instant your dog turns toward you.
Favor errorless learning by keeping early sessions easy and successful, lowering difficulty if your dog struggles.
When your dog ignores a real distraction and returns, deliver jackpot rewards.
Practice short, daily sessions at several edge locations for reliability.
Recalibrate the Geofence at Every New Stop
Because GPS fence accuracy depends on the collar’s current position, local signal conditions, and map alignment, you need to recalibrate at every new stop. Skipping this step means Recalibration causes drift, leaving your collar reading the wrong position and triggering false alerts.
Open the collar app, use the GPS reset or initialization tools, and confirm the live map before activating the fence. Travel timing matters, so plan ahead and let synchronization finish.
- Open the app and run GPS reset or initialization first.
- Leave the collar still at the home spot for 5–10 minutes with stable Wi-Fi.
- Allow 10–15 minutes for full synchronization before depending on the fence.
- Test outdoors near and far to confirm accurate readings.
You’ll keep your dog protected anywhere.
Frequently Asked Questions
Does Geofencing Work Without Cell Service in Remote Travel Areas?
Yes, your geofence still works offline since boundaries store on the collar. Understand the offline behavior, though: GPS accuracy holds, but live tracking and alerts face signal delay or stop—that’s the main geofence limitation you’ll share.
How Much Battery Does Continuous GPS Tracking Drain During Travel?
You’ll typically get 1–2 days per charge—battery life estimates we all rely on. Continuous tracking impact is real, so use power-saving tips like limiting live windows. Smart travel duration planning keeps your pup safe together.
Can I Set up Multiple Geofences for Different Trip Stops?
Yes, you can! Create separate saved fences for multiple trip stops, giving each location alerts that fit your custom routes. SpotOn, Dogtra Pathfinder, and Wagz all support naming and activating the right fence wherever you roam.
Is the Collar Waterproof for Rain, Lakes, or Swimming?
You’ll find it’s rain-safe only unless your manufacturer confirms lake or swimming immersion. Check the IP rating first. While setting Emergency contact integration and App notification settings, treat it as rain-ready so we all stay connected.
What’s the Monthly Subscription Cost for GPS Collar Tracking?
You’ll typically pay $5 to $20 monthly, with most plans near $8 to $12. Understand signal requirement details and offline geofence limits before traveling—joining fellow pet parents who plan ahead means smarter budgeting and fewer surprises.
Conclusion
You’ve now got everything you need to keep your dog safe on the road. Charge the collar, pair the app, build a solid boundary, and always test before you rely on it. Don’t forget to share alerts with a backup contact and recalibrate at every new stop. Geofencing isn’t foolproof, so pair it with attentive supervision and consistent training. Do that, and you’ll travel with confidence knowing your dog stays exactly where they belong.
References
- https://www.halocollar.com/blog/dog-safety/gps-dog-fence-vs-geofencing-alerts-why-real-containment-prevents-escapes/
- https://easypettech.com/gps-dog-collar-sos-geo-fencing/
- https://manuals.plus/spoton/gps-fence-dog-collar-fence-manual
- https://www.pettechsensei.com/post/how-to-set-up-a-gps-dog-collar-4-step-beginner-guide
- https://petgadgetpro.com/blog/how-to-set-geofencing-on-a-pet-tracker-app
- https://www.youtube.com/watch?v=KrAjye2Nzek
- https://pawtronicgpsfence.com/blogs/news/how-to-set-up-a-wireless-dog-fence-system
- https://www.youtube.com/watch?v=SMKdr4I7SYQ
- https://www.youtube.com/watch?v=F9EJuQYdVHg
- https://m.media-amazon.com/images/I/A1l6bnB9KqL.pdf
- https://www.youtube.com/watch?v=b_vag8VoJWc
- https://www.premierpet.com/uploads/400-2628.pdf
- https://images.thdstatic.com/catalog/pdfImages/5b/5b00a349-e0bb-46d0-8f26-d9adf40306af.pdf
- https://manuals.plus/m/d01b15fa1f28980939c4de536515ccc60c3cb71ecb58effde03ef001016fa259
- https://www.youtube.com/watch?v=OBsQvcWHiGk
- https://www.youtube.com/watch?v=vqtmAP6GSXU
- https://www.treelinereview.com/gearreviews/best-gps-dog-collars
- https://manuals.plus/m/f966ae6b787a4639d12e8d4227ff6e72ad67787b00f100838d496d61a4ffbad0
- https://i00.eu/file/403/21164-manual-en-p59389.pdf
- https://www8.garmin.com/manuals/webhelp/GUID-992E9C90-AE40-4ED4-B3C4-9D812BD4DF89/EN-US/Alpha_TT_25_OM_EN-US.pdf