Start by sizing your dog’s fan load—compact 12V kennel fans draw 10–25W, so plan for 8–10 hours of overnight runtime. Calculate your battery bank using average watts times hours, then add 10–20% for accessories and a 20–30% safety margin. Isolate your house battery from the starter with a DC-DC charger, protect it with a low-voltage disconnect, and add solar to extend your stay. Smart sizing keeps cooling reliable—here’s how.
TLDR Key Takeaways
- Estimate fan load first: 12V kennel fans draw 10–25W, so plan for 8–10 hours of overnight runtime when sizing your system.
- Size the battery bank by multiplying average watts by hours, then add 10–20% for accessories and 20–30% safety margin.
- Choose LiFePO₄ for off-grid use since it offers 80–90% usable capacity, half the weight, and 2000–6000+ cycles.
- Isolate the house battery from the starter battery using a DC-DC charger, which provides regulated multi-stage charging and lithium-specific settings.
- Add solar sizing for top-off, oversizing for cloudy days (30–50% output) and using MPPT controllers for 94–98% efficiency.
How Much Power Does a Dog’s Fan Need?
Before you size a battery, you need to know what your dog’s fan actually pulls, and the good news is that it’s not much. Most crate and kennel fans live at the low end of the range.
Battery and USB models draw just 2–10 W, while compact 12 V DC kennel fans run 10–25 W at max speed.
To find wattage from a label, multiply volts by amps (W = V × A).
For energy budget planning, calculate watt-hours: a 10 W fan running 8 hours uses 80 Wh, or about 6.7 Ah at 12 V.
Runtime estimation matters because speed settings change draw 3–5×.
Once you know your fan’s real numbers, you’re ready to build a system that keeps your pup comfortable.
Size Your Dual-Battery Bank for Overnight Cooling
Now that you know your fan’s draw, you can size a battery bank that’ll carry it through the night. Start with battery capacity math: estimate an 8–10 hour runtime, multiply average watts by hours, then add 10–20% for accessories and a 20–30% safety margin.
Convert those watt-hours to amp-hours by dividing by your system voltage.
Depth of discharge planning protects your bank’s lifespan, so size for your chemistry:
- Lead-acid: divide required Ah by 0.5 (50% usable).
- LiFePO₄: divide by 0.8–0.9 (80–90% usable).
- Cold nights: add 20–30% for lead-acid, less for lithium.
Round up to the next common size—20, 50, or 100 Ah—and parallel two matched 12 V batteries for double the runtime your pup deserves.
Core Components of a Dog-Fan Dual-Battery System
With your battery bank sized, you can assemble the five core systems that turn raw capacity into reliable overnight cooling.
Start with a dual-battery bank that isolates your house and reserve batteries from the starter battery, protecting your ability to crank the engine in remote spots.
Add power distribution and protection—fuses, breakers, bus bars, and a labeled panel—to route and safeguard every circuit.
Install charging hardware like a DC-DC charger, solar controller, and shore charger to replenish both banks.
Manage operation with control and switching gear: relays, selectors, thermostats, and timers.
Finally, prioritize battery monitoring and thermal safeguarding using a battery monitor, low-voltage disconnect, temperature sensors, and enclosure ventilation.
Together, these systems keep your dog cool and your setup dependable.
Pick the Right Battery Chemistry for Your Setup
Why does battery chemistry matter so much for a dog-cooling rig? Because your fan runs steady for hours, you need usable capacity, dependable runtime, and a chemistry that fits your travel life.
We’ve compared the realistic options so you can choose with confidence:
- AGM: Sealed, vibration-resistant, ~400–800 cycles at 50% DoD, but 100 Ah gives only ~50 Ah usable.
- Gel: Deep-cycle friendly, ~500–1000 cycles, yet sensitive to battery temperature and overvoltage.
- LiFePO₄: 2000–6000+ cycles at 80–90% DoD, half the weight, near-nameplate capacity under varying fan loads.
For a frequently cycled fan system, LiFePO₄ wins on lifetime cost per kWh.
Just confirm charger compatibility, since lithium needs a charger profile matched to its voltage and chemistry.
Choose Between a VSR Isolator and DC-DC Charger
Picking LiFePO₂ raises a follow-up question: how do you actually get that auxiliary battery charged while you drive?
You’ve got two paths, and the relay vs regulation distinction matters here.
A VSR isolator simply connects batteries when alternator voltage rises above ~13.3–13.7 V and disconnects below ~12.7 V. It’s cheap, easy to wire, and fine for basic lead-acid setups.
But modern smart alternators often drop to 12.4–12.8 V, opening the VSR prematurely and leaving your battery at 70–80%.
A DC-DC charger takes variable input and delivers a regulated, multi-stage profile—including a lithium setting—bringing your battery near 100%.
For your dog’s cooling fan, that reliability counts.
DC-DC also adds battery isolation safety through proper fusing and ignition sensing, protecting that pricey LiFePO₄.
Where to Mount the Auxiliary Battery Safely
Once you’ve settled on a DC-DC charger, you need a safe home for that auxiliary battery. Like any savvy camper protecting their dog, you’ll want a structurally strong, flat surface that supports the battery’s mass and handles corrugations, braking, and impacts. Keep it away from heat sources like turbochargers and radiators to prevent thermal runaway.
When choosing your spot, prioritize these essentials:
- Weatherproof mounting in interior or protected compartments, or an IP-rated box for underbody positions, minimizing moisture, dust, and road spray.
- Ventilation requirements, dedicating outside venting for flooded or AGM batteries to prevent hydrogen buildup.
- Safe access for inspection, torque checks, and replacement without unsafe reach over hot parts.
Secure it with a purpose-built tray and grade-rated bolts, avoiding crumple zones entirely.
Wire and Fuse Your Dual-Battery System Correctly
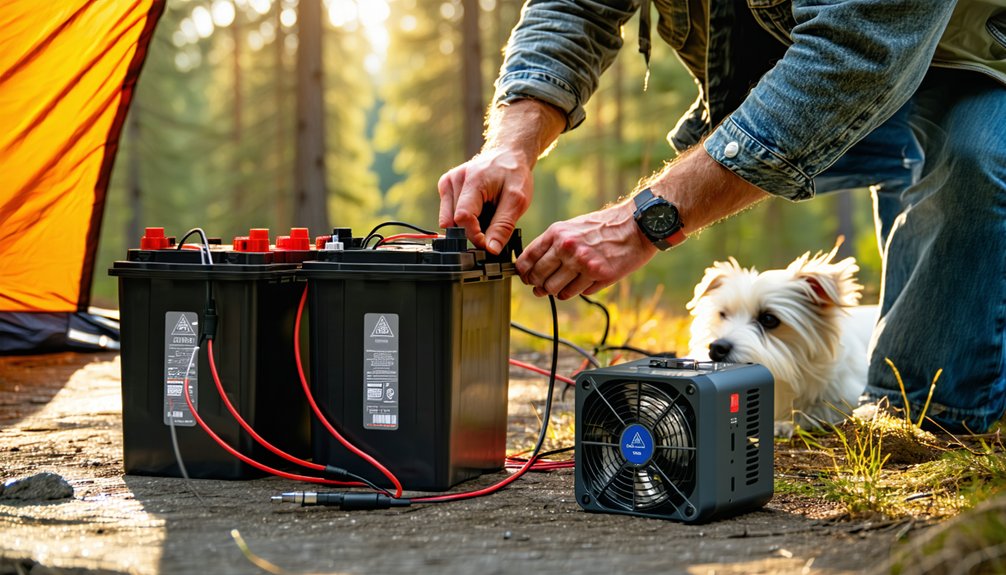
With your auxiliary battery mounted securely, you’re ready to connect it correctly. Start with cable ampacity matching: size your fuse to the wire’s continuous rating, not the fan load, adding a 10–15% buffer (some installers prefer 25%) so nuisance blows stay rare while the cable stays protected.
For battery to battery routing, pick cable from expected current plus run length. Most 12 V setups use 4 AWG for short interconnects; jump to 2 AWG for 100–150 A under 10 feet, and 1/0 or 2/0 AWG for longer, higher-current runs. This handles voltage drop prevention, keeping charging efficient.
Follow fuse placement rules carefully: mount overcurrent protection within 7 inches (18 cm) of each positive terminal, keeping it accessible. Add a 100 A VSR, and you’re set.
Run the Fan From a Fused 12 V Circuit
Because your fan draws far less current than the battery interconnects, you’ll size this circuit for the fan itself, not the system feed. Most 120 mm fans pull 0.15–0.5 A, while larger drum or automotive units reach 3–5 A. Get fuse sizing right by rating the fuse at 125–150% of the fan’s max current—so a 1.2 A fan takes a 2 A fuse, preventing nuisance trips while protecting conductors.
For wire gauge planning, match both fuse rating and run length:
- 16 AWG for ≤5 A on short runs
- 14–12 AWG for higher draw or long cable runs
- Upsize whenever voltage drop exceeds 3–5%
Branch this fused circuit off your auxiliary battery bus, keeping your dog’s cooling reliable wherever you camp.
Protect the Battery With Low-Voltage Cutoff
Although your fan sips power, leaving it running overnight can drain your auxiliary battery past the point of no return. A low-voltage disconnect (LVD) prevents over-discharge, which causes sulfation and permanent capacity loss in lead-acid batteries. Install it on your house battery feed, keeping your starter battery protected. Battery chemistry selection matters: adjustable modules let you tune cutoff and reconnect for lead-acid or lithium. Pair this with load power monitoring so you’ll know when voltage drops.
| Setting | Lead-Acid (12 V) | State of Charge |
|---|---|---|
| Cutoff | 11.5–11.8 V | ~20–25% |
| Absolute min | 10.5–10.8 V | Damaging |
| Reconnect | 12.5–13.0 V | Recovered |
That reconnect hysteresis stops loads from rapidly cycling on and off as voltage recovers, keeping your setup reliable and your pup comfortable.
Size Solar Panels to Extend Your Off-Grid Stay
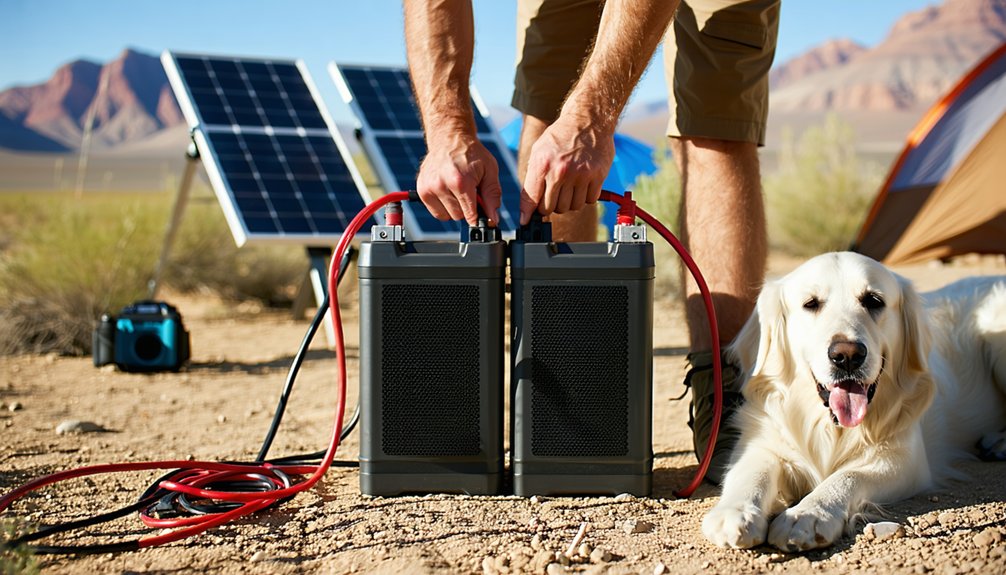
Once your LVD protects the battery, solar panels become your tool for staying off-grid indefinitely. Start with daily energy use: multiply your fan’s wattage by hours run, then add a 20–30% buffer for losses.
Divide that total by peak sun hours—4–5 hours works as a practical baseline—to estimate panel wattage.
- Calculate the load: A small cooling fan plus electronics often lands in the 100W–160W range.
- Build in derating: Multiply adjusted watt-hours by 1.33, since heat, dust, and angle steal real output.
- Plan for clouds: Mixed-cloud days deliver only 30–50% of rated wattage, so oversize accordingly.
Smart cloudy day planning keeps your battery bank topped off, so your dog stays cool and you stay out longer.
PWM or MPPT: Which Solar Controller Wins?
When your panels feed your dog’s cooling fan, the controller you pick decides how much of that solar energy actually provides the battery. PWM clamps panel voltage near battery voltage, running like a smart on/off switch at roughly 50–85% efficiency.
MPPT works as a DC-DC buck converter, tracking your panel’s Vmp and provides 20–43% more usable energy—often 94–98% efficient.
For small setups under 150–200 W with matched voltages, PWM keeps costs low. But for higher-voltage panels or cold mornings when voltage spikes, MPPT wins, paying back its extra $40–$200 in 3–12 months.
Avoid panel wiring mistakes that mismatch voltages and kill PWM efficiency, and look for controller noise reduction so your pup rests easy.
For serious systems, you’ll choose MPPT.
Pet Safety Backups When the Power Fails
Because off-grid systems fail at the worst possible moments, you need layered backups before your dog’s cooling fan ever goes dark. Don’t lean on a single powered device. Build redundancy so a dead battery never becomes a crisis.
- Redundant cooling: Keep frozen water bottles, damp towels, cooling mats, and shade structures ready, and move your dog onto cool ground when the fan quits.
- Emergency hydration planning: Set out multiple large, tip-resistant bowls, and check them more often since heat-stressed dogs drink more.
- Heatstroke rapid response: Monitor crate temperatures with a thermometer; once body temp exceeds 104°F, start immediate cooling and seek veterinary care.
You’re not alone in this—prepared campers protect their dogs by planning for failure first.
Frequently Asked Questions
How Loud Are Crate Fans, and Will Noise Stress My Dog?
Most crate fans run 35–60 dB. You’ll want noise level testing before camping, watching for stress indicators and sleep disturbance. Use fan speed control on low—you’ll join countless owners keeping anxious dogs comfortable and calm.
Can I Retrofit This System Into a Rental or Leased Vehicle?
You shouldn’t hard-wire one—most rental compliance policies ban permanent electrical mods. Instead, join fellow campers using portable power stations or strap-in battery boxes. They meet transferability requirements, plug into 12V sockets, and leave no trace.
How Long Does a Typical Dual-Battery Installation Take?
You’ll typically need 6–12 hours, or one working day, for most setups. Add time for solar charging sizing and temperature sensor tuning to keep your pup cool. We’ve found simple builds finish faster—you’re in good company here.
Are There Waterproof Fan Options for Rainy Camping Conditions?
Yes, you’ll find plenty of weatherproof options! Look for IPX4–IPX5 ratings, weatherproof fan guards, and corrosion-resistant components like sealed motors and powder-coated steel. Mount yours under an awning, and you’ll keep your pup comfortably cool, rain or shine.
What Maintenance Does the Auxiliary Battery Need Between Camping Trips?
Recharge fully right after trips, then do monthly periodic charge testing and battery temperature checks. Store it cool and dry, clean the terminals, and use a smart maintainer—you’ll keep your setup reliable like fellow campers do.
Conclusion
You’ve now got everything you need to keep your dog cool off-grid. Size your battery bank for realistic overnight loads, match the right chemistry to your climate, and pick a DC-DC charger when your alternator can’t safely top off lithium. Add a low-voltage cutoff to protect your investment, and let solar extend your stay. Most importantly, build in manual backups—shade, water, and ventilation—because no electrical system’s foolproof when your dog’s safety depends on it.
References
- https://www.youtube.com/watch?v=bU9PkGfY5Mo
- https://static1.squarespace.com/static/549ed406e4b031a7658c3dc1/t/5a81f3bc652dea024c4d4705/1518466167894/Dual Battery Setup – Ivan Bustor.pdf
- https://ontrackoutdoor.com.au/blogs/news/power-your-adventures-a-step-by-step-guide-to-setting-up-a-dual-battery-system
- https://www.youtube.com/watch?v=ja5sE_-ikdg
- https://www.facebook.com/groups/393192879725557/posts/709395524771956/
- https://www.youtube.com/watch?v=l3Ior-S6ilA
- https://www.classbforum.com/threads/pet-safe-offgrid-practices.654019/
- https://www.all12volt.com.au/dual-battery-setup-guide/
- https://4x4offroad.au/guides/dual-battery-system-setup-beginners-guide/
- https://www.luckyduck.com/lucky-kennel-fan/